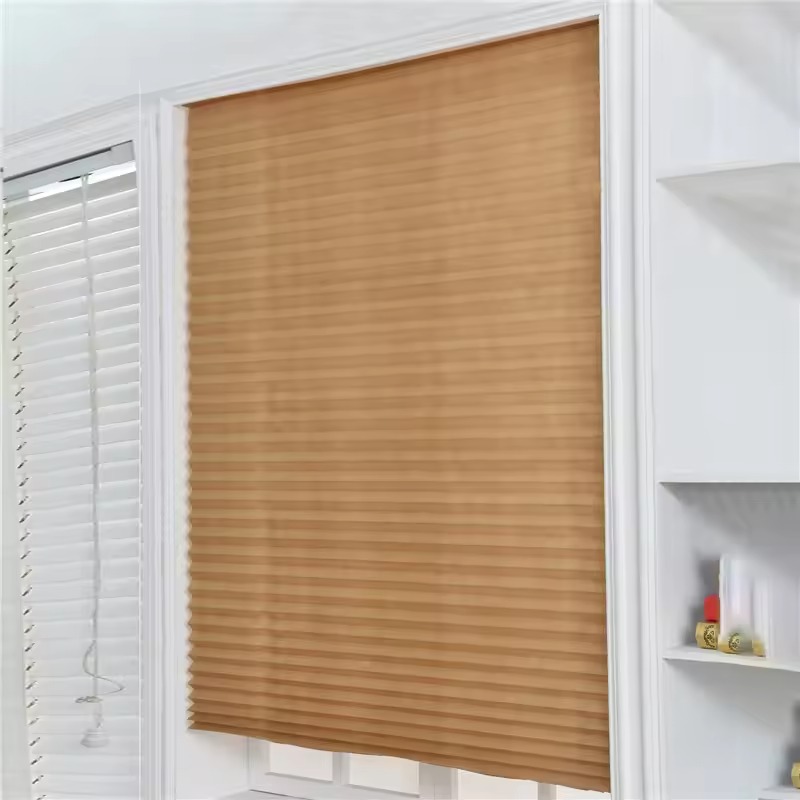
Introduction to Mini Blinds
Modernizing your space with the right window treatments can significantly enhance its appeal and functionality. Mini blinds offer an excellent way to achieve just that with their sleek design and versatile nature. Let’s delve into the benefits of choosing mini blinds for your windows and explore the different types available.
Benefits of Using Mini Blinds
Mini blinds are a popular choice for many due to several benefits. They are affordable, which means you don’t have to break the bank to improve your window aesthetic. Their compact design makes them suitable for a variety of room sizes and window shapes. Additionally, they provide effective light control, ensuring you can set the ambiance you desire in your home. For those prioritizing energy efficiency, mini blinds help in minimizing heat transfer, keeping your space comfortable all year round.
Another key benefit of mini blinds is their ease of maintenance. Unlike heavy draperies that require frequent and often elaborate cleaning procedures, mini blinds are straightforward to care for. This makes them a practical option for high-traffic areas of your home.
Types of Mini Blinds Available
When selecting mini blinds, you’ll find there’s no shortage of options. The most common materials used are aluminum and vinyl due to their durability and moisture resistance, which makes them ideal for kitchens and bathrooms. Faux wood mini blinds are also available for those who love the look of wood but desire a more cost-effective and moisture-resistant alternative. Each type of mini blind comes in a variety of colors and finishes, allowing you to match them seamlessly with your interior decor.
In addition to material choices, you can select from cordless mini blinds, which are safer for homes with children and pets, or opt for motorized blinds that offer the ultimate convenience. Whatever your preference or need, there is a mini blind to fit your specific requirements.

Required Tools and Materials
Before beginning the installation of your mini blinds, it’s important to gather all necessary tools and materials. Completing this step ensures that the installation process goes smoothly without unnecessary interruptions.
Basic Tools for the Installation Process
For successful mini blinds installation, here are the basic tools you will need:
- Electric or manual screwdriver
- Drill with various bit sizes
- Level to ensure your blinds hang straight
- Measuring tape for accurate measurements
- Pencil to mark where brackets will go
- Pliers might be handy in certain situations
These tools are essential for mounting the brackets and securing the mini blinds in place. Make sure each tool is in good working condition before you start.
Understanding Your Mini Blinds Kit Components
When you open your mini blind kit, you should find several components inside. Typically, these include:
- The mini blinds themselves
- Mounting brackets essential for installation
- Screws and anchors to affix the brackets
- A valance to cover the headrail for a neat finish
- Valance clips to attach the valance
- A tilt wand or cord for blind operation
Review the mini blinds kit carefully to ensure you have all the parts specified in the instructions. If anything is missing or unclear, consult the manufacturer’s guide or customer support before proceeding. Knowing what you have and how it all fits together is the first step towards a flawless installation.
Measure and Prepare
Before diving into the heart of the installation, properly measuring and preparing your windows is crucial. This foundational step will pave the way for a smooth installation of your mini blinds, so it’s worth taking the time to do it right.
How to Measure Your Windows for Mini Blinds
To start, grab your measuring tape. For accuracy, measure the width at the top, middle, and bottom. Write down the smallest measurement for width. For height, do the same at the left, middle, and right, and note the tallest measurement. If installing inside mount blinds, measure the depth of the window frame to ensure enough space for the blinds to operate.
Remember to measure from where you plan to install the brackets; this can affect the final window size needed for the blinds. Double-checking measurements ensures your mini blind will fit perfectly.
Tips for Inside Mount vs. Outside Mount Measurements
Choosing between inside and outside mount affects how you measure:
- For inside mount: They should fit within the window frame. Measure the inside width and height of the frame. Subtract about 1/4 inch from the width for proper clearance.
- For outside mount: Measure beyond the frame edges where you want the blinds to cover. Add extra inches to both width and height for better coverage, normally about 1.5 to 3 inches.
For both mounts, ensure there are no obstructions like handles or locks that could interfere with the blinds. Use a level to check if your windowsills are even; if not, adjust your measurements accordingly.
Neat preparation leads to a seamless installation. With precise measurements and a clear understanding of your window frame, you’re all set to proceed to the installation phase with confidence.

Step-by-Step Installation Process
Let’s walk you through the installation of your mini blind. These steps ensure your blinds are mounted securely and look great.
Installing Bracket and Hardware
Start with the brackets, as they hold your blinds in place. Pick up your power drill and drill bit. Drill pilot holes where you marked with a pencil. Now, take the brackets and line them up with the holes. With your screwdriver or drill, drive the screws through the brackets into the pilot holes. Make sure they’re snug and steady.
Securing the Headrail and Mounting Mini Blinds
Next, it’s time to mount the mini blinds. With the brackets in place, grab your mini blinds. Lift them up to the brackets. Slide the headrail into the brackets. It should click or lock into place. If it doesn’t, adjust the brackets until it fits right. Once secure, the mini blinds should hang evenly and move smoothly.
Attaching the Valance for a Finished Look
The last step is adding the valance. It tops off your blinds, hiding the mounting hardware. Snap the valance clips onto the headrail. Then, slide the valance into the clips. Adjust it so it’s straight and centered. Your mini blinds now have a sleek, finished appearance. With these steps, you’ve become a mini blinds installation pro.
Troubleshooting Installation Issues
Even with clear instructions, you might face issues installing mini blinds. Identifying common challenges helps fix them quickly.
Common Mini Blinds Installation Challenges
The installation of mini blinds can sometimes be tricky. Here are some problems you might encounter:
- Brackets not aligning with your window frame, making it hard to fit the headrail.
- Blind slats not level after installation, leading to uneven appearance.
- Difficulty operating the tilt wand or adjusting the blinds.
- The blinds not raising or lowering smoothly, which can be frustrating.
Solutions for Smooth Operation and Fit
To ensure your mini blinds work properly, follow these solutions:
- Recheck the bracket alignment with a level. Adjust as necessary for a proper fit.
- If slats are uneven, ensure brackets are level and evenly spaced. Adjust if needed.
- For tough tilt wand operation, check for jammed slats. Align or replace them to fix.
- For raising and lowering issues, verify the cord is not tangled or stuck.
If these tips don’t fix the issues, refer to the manufacturer’s guide or contact support. Regular maintenance also prevents many problems. Stay proactive to enjoy smooth, reliable operation of your mini blind.

Maintaining Your Mini Blinds
Maintaining your mini blinds is key to their longevity and performance. Regular cleaning and a few simple safety measures can make a significant difference. Here’s how you can keep your blinds in top condition.
Routine Cleaning and Maintenance
To ensure your mini blinds last, routine care is essential. Here are some easy steps:
- Dust regularly with a soft cloth or duster to prevent buildup.
- For deeper cleaning, use a vacuum with a brush attachment on a gentle setting.
- Spot clean stains with mild detergent and a damp cloth. Be gentle to avoid damage.
- Once a year, take down the blinds for a thorough clean. Soak in warm, soapy water if suitable for the material.
- Dry the mini blinds completely before rehanging to prevent any mold or warping.
Consistently caring for your blinds keeps them looking fresh and functioning properly.
Safety Tips for Homes with Children
If children are part of your household, blind safety is crucial. Follow these tips:
- Opt for cordless mini blinds to eliminate the risk of strangulation.
- If corded blinds are already installed, use cord cleats to keep cords out of reach.
- Keep furniture away from windows to discourage kids from climbing and reaching the blinds.
- Regularly inspect the blinds for wear and tear that might pose hazards.
By implementing these safety measures, you can create a safer environment for your children while still enjoying the benefits of mini blind. Keep these key points in mind to maintain and safely use your mini blinds for the long term.
Final Touches and Testing
Once you’ve installed your mini blind, the final touches and testing are crucial to ensure everything is in good working order. This phase is about making slight adjustments for optimal functionality and comfort in your space.
Ensuring Proper Functionality
After installation, you need to check if the blinds work correctly:
- Test the raising and lowering mechanism. The blinds should move smoothly.
- Rotate the tilt wand or use the tilt cord. Slats must pivot without resistance.
- Look for any snagging or tugging. Troubleshoot as needed.
- Confirm the headrail is secure. It shouldn’t wobble or slide out of the brackets.
Double-check all parts. They should be tight, aligned, and well-placed. If you find that something isn’t quite right, refer back to the troubleshooting section to make necessary adjustments.
Adjusting for Light and Privacy Control
Mini blinds give you control over light and privacy. Test different settings:
- Tilt slats to various angles. See how light and privacy levels change.
- Raise blinds halfway. Check if they stay in place and the room’s privacy.
- Lower them completely. Ensure full coverage and that no light sneaks in.
Experiment with the blinds at different times of day to find the positions that work best for you. Remember, the goal is to combine functionality with your personal preference for a comfortable living environment.


