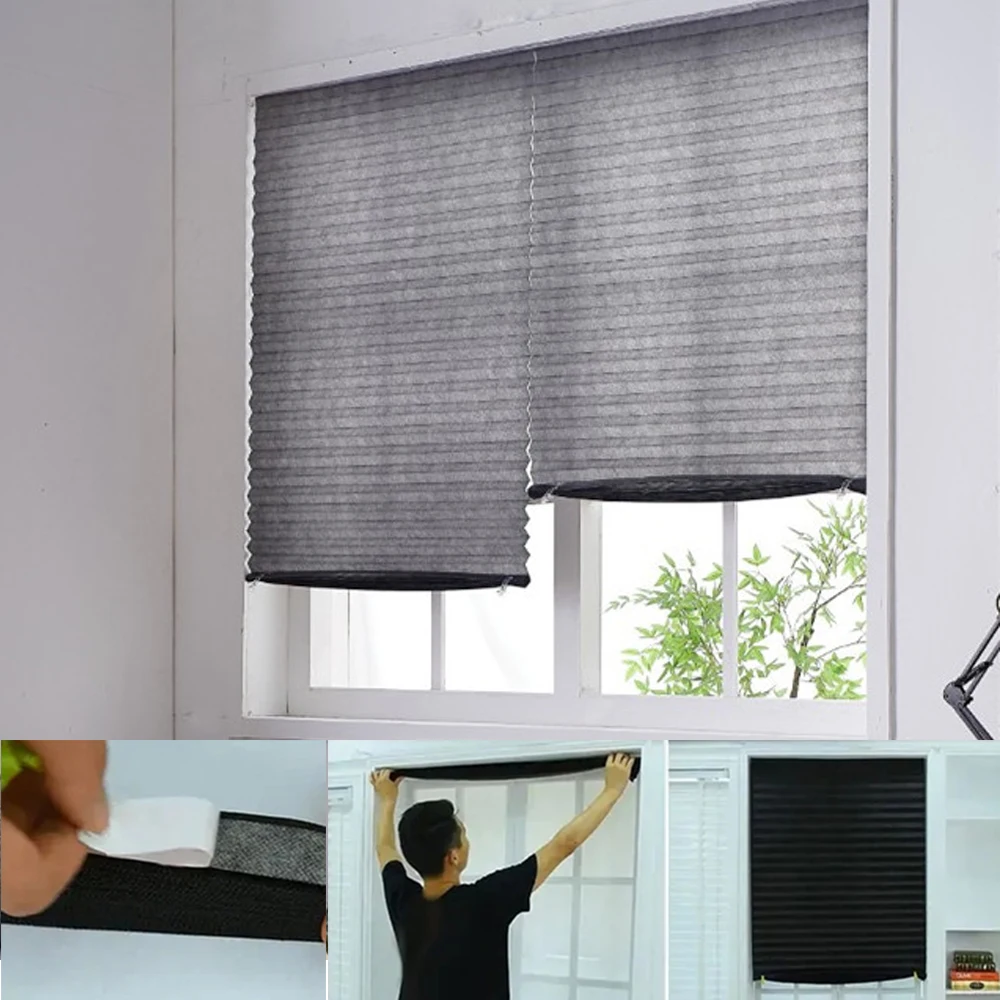
Blinds are a versatile window treatment option that not only provide privacy and light control but also enhance the aesthetic appeal of any room. Whether you’re a DIY enthusiast or a first-time home decorator, installing blinds can seem daunting at first. Fear not! This comprehensive beginner’s guide will walk you through the process step by step, ensuring a hassle-free and rewarding experience.
Preparing for Installation: Measuring Your Windows
Before diving into the installation process, accurate measurements are crucial. Here’s how to measure your windows correctly:
- Inside Mount vs. Outside Mount: Decide whether you want an inside mount (blinds fit within the window frame) or outside mount (mounted on the wall above the frame). Inside mounts require precise measurements of the window’s width and height, while outside mounts give more flexibility and can cover larger areas.
- Measuring Tips: Use a steel tape measure for accuracy. Measure the width at three points (top, middle, bottom) for inside mounts and choose the narrowest measurement. For height, measure from the top to the bottom of the frame for inside mounts, excluding any window sill. Add a few inches to the width and height for outside mounts to ensure complete coverage.
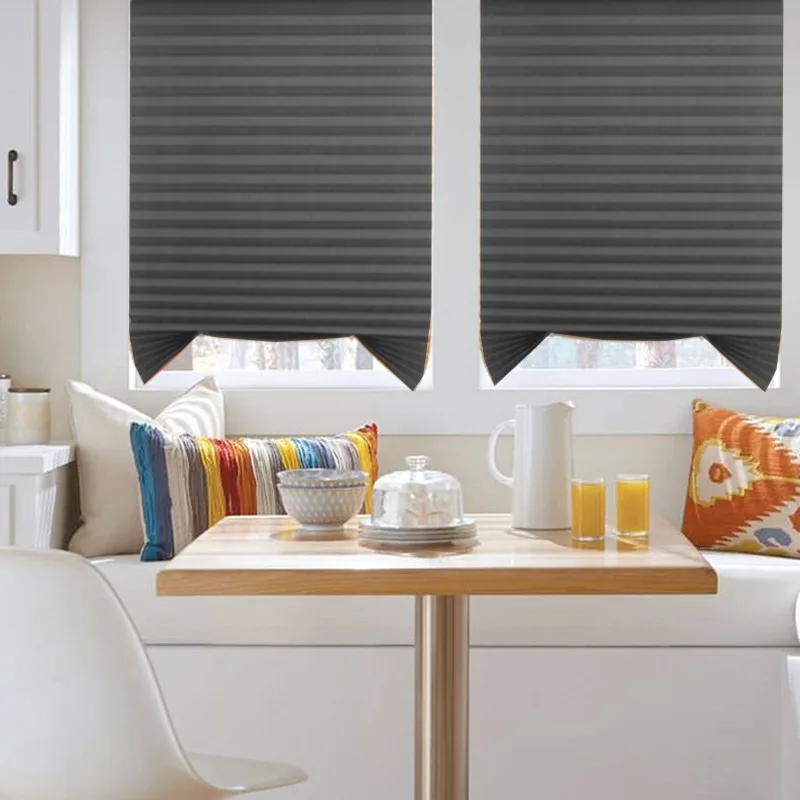
Choosing the Right Blinds
With measurements in hand, it’s time to select the perfect blinds for your space:
- Material and Style: Options range from aluminum and PVC to natural woods and fabrics. Consider the room’s style, light control needs, and durability requirements.
- Lift Mechanisms: Choose between corded, cordless, or motorized options. Cordless and motorized blinds are safer for homes with pets and children and offer a cleaner look.
- Color and Finish: Select a color and finish that complements your room’s decor and enhances the ambiance.
Gathering Tools and Materials
Prepare your workspace and gather the necessary tools:
- Essential Tools: Screwdriver, drill, level, pencil, measuring tape, ladder, and a partner to help with heavier blinds.
- Included Hardware: Most blind kits come with brackets, screws, and mounting hardware. Verify that all components are present before starting.
Installing Brackets for Inside Mount Blinds
For an inside mount:
- Mark Bracket Locations: Using the included template or measuring, mark the spots for the brackets on the top of the window frame.
- Leveling: Ensure brackets are level to prevent blinds from tilting. Use a level tool to confirm alignment.
- Attach Brackets: Drill pilot holes if needed, then screw the brackets securely into place.
Installing Brackets for Outside Mount Blinds
If opting for an outside mount:
- Measure and Mark: Measure up from the window sill or floor (depending on preference) and mark the bracket locations on the wall, ensuring brackets are level.
- Attach Mounting Board (Optional): For added stability, consider attaching a wooden board to the wall first, then mounting the brackets to this board.
- Secure Brackets: Drill pilot holes and screw the brackets into the wall or mounting board.
Attaching the Blinds
With brackets in place, it’s time to install the blinds:
- Slide the Headrail: Align the headrail (the top part of the blind holding the slats) into the brackets. Depending on the design, this might involve snapping or sliding the headrail into place.
- Secure the Blind: Lock or tighten any provided screws to secure the blind to the brackets.
Final Adjustments and Testing
Before calling it a day, make some finishing touches:
- Test the Operation: Operate the lift mechanism to ensure smooth movement. Adjust the tilt rod or wand to check slat movement.
- Trimming: If necessary, follow the manufacturer’s instructions to trim the blind’s width using a hacksaw for metal or PVC blinds, or scissors for fabric types.
- Cleaning and Care: Familiarize yourself with the recommended cleaning methods to maintain your blinds’ appearance.

Troubleshooting Common Issues
Encountering difficulties? Here are solutions to common problems:
- Uneven Blinds: Double-check leveling and adjust brackets if necessary.
- Difficult Operation: Ensure all screws are tight and there’s no obstruction in the mechanism. Lubricate moving parts if needed.
- Light Gaps: For inside mounts, consider using light-blocking tapes or adjusting the blinds’ fit.
Enhancing Your Blinds with Additional Features
To take your blinds to the next level:
- Valances: Add a decorative valance to conceal the headrail for a polished look.
- Hold-Down Brackets: For doors or windows prone to drafts, use hold-down brackets to keep bottom slats in place.
Safety Considerations
Ensure your blinds are safe, especially for households with young children and pets:
- Cordless or Motorized: Opt for these options to eliminate hanging cords.
- Cord Cleats: If using corded blinds, install cord cleats to keep cords out of reach and neatly wrapped.
- Regular Checks: Routinely inspect blinds for any wear or damage that could pose a hazard.
Customizing Your Blinds for a Personal Touch
Beyond the standard installation, customizing your blinds can elevate the ambiance of your living space and reflect your personal style. Here are a few creative ideas to personalize your window treatments:
Color Blocking: If you have solid-colored blinds, consider painting or staining the slats in alternating colors to create a trendy color-blocked effect. This works particularly well with wooden blinds and can add a pop of color to a neutral room.
Patterned Fabric Inserts: For fabric blinds, replace some of the slats with patterned fabric inserts. Choose a fabric that complements your room’s decor, and use a sewing machine or adhesive to attach it securely. This technique adds texture and visual interest without overwhelming the space.
Decorative Trimmings: Attach tassels, beads, or other trims along the bottom edge of your blinds for a touch of elegance. This works particularly well with lighter fabrics and can bring a bohemian or vintage vibe to a room.
Personalized Valances: Customize a valance to match your room’s theme or to display your favorite quotes, patterns, or images. You can print custom fabric or use stencils and fabric paint to add personalized designs.
Smart Integration: Upgrade your blinds with smart home technology. Motorized blinds can be controlled via smartphone apps, voice commands, or programmed schedules, offering convenience and energy efficiency. Some systems even integrate with smart home ecosystems for seamless control.
Blending Blinds with Other Window Treatments
Blinds don’t have to stand alone; they can be beautifully combined with other window treatments to create layered looks and added functionality:
Curtains and Drapes: Pairing blinds with curtains or drapes not only adds a layer of insulation but also allows for more flexible light control and privacy. Choose sheer curtains for a soft, diffused light or heavier drapes for full blackout capabilities.
Shades: Layering blinds beneath Roman or roller shades can create depth and texture. This combination is particularly useful for bedrooms or media rooms where complete darkness is desired.
Top Treatments: Valances, cornices, or pelmets can be added above the blinds to conceal the hardware and create a polished finish. These can be custom-made to match or contrast with your blinds and overall room design.
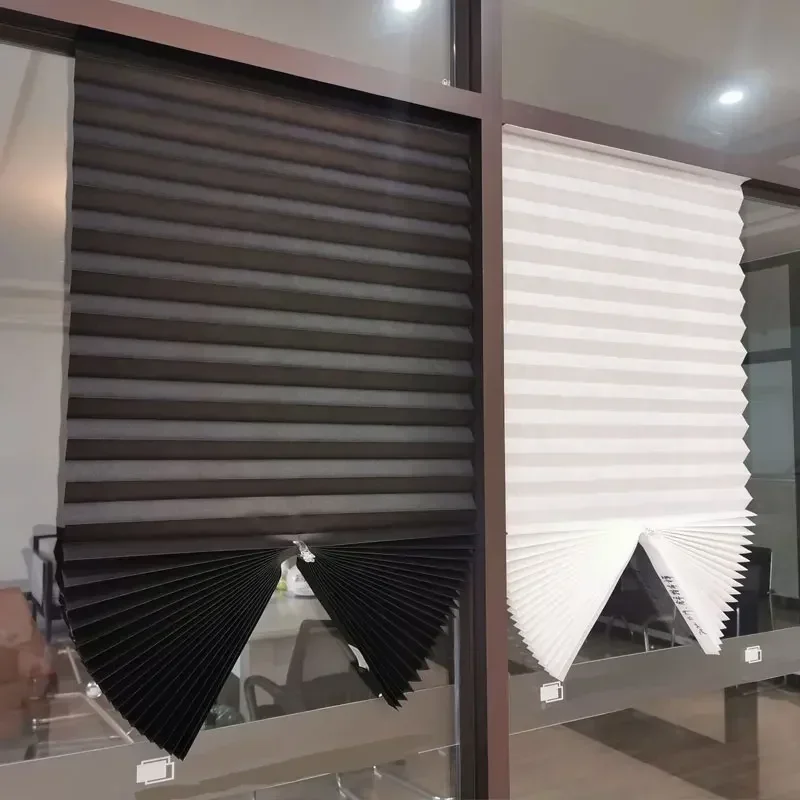
Blinds as Room Dividers or Unique Decor
Thinking beyond windows, blinds can also serve as versatile room dividers or unique decor elements:
Room Dividers: In open-plan living spaces, vertical blinds or panel tracks can be used to section off areas without blocking natural light completely. This is a great solution for creating a home office, study nook, or private reading area.
Ceiling-Mounted Blinds: Mounting blinds on the ceiling can create an interesting visual effect, especially in rooms with high ceilings. This approach can make a space feel cozier and add a touch of drama.
Wall Art: Repurpose old or unique blinds as wall art. Paint or decorate individual slats and arrange them in a creative pattern on a wall. This is an affordable and eco-friendly way to add a personal touch to your decor.
Maintenance and Longevity
To ensure your blinds remain in top condition, regular maintenance is essential:
Dusting: Regular dusting with a microfiber cloth or a vacuum cleaner with a brush attachment can prevent the buildup of dirt and allergens.
Deep Cleaning: Depending on the material, blinds may need occasional deep cleaning. Follow the manufacturer’s instructions for safe cleaning methods. For instance, wooden blinds can be wiped with a damp cloth and mild detergent, while fabric blinds may need to be spot cleaned or professionally cleaned.
Inspect and Repair: Promptly address any broken slats, frayed cords, or malfunctioning mechanisms to prevent further damage and ensure safety.
By incorporating these customization ideas, combining blinds with other window treatments, and maintaining them well, you not only enhance the aesthetic appeal of your home but also contribute to a more functional and personalized living environment. Your windows can become true design features, reflecting your unique taste and lifestyle.
Celebrating Your Accomplishment
Installing blinds yourself not only saves money but also provides a sense of accomplishment. Stand back and admire your handiwork, enjoying the newfound privacy, light control, and refreshed look of your room.
By following this step-by-step guide, you’ve transformed your windows from simple openings to stylish and functional elements of your home’s interior design. Remember, practice makes perfect, and with each installation, you’ll gain confidence and proficiency. Happy DIY-ing!


