


Introduction
Blinds are an essential feature in many homes, providing privacy and light control while also contributing to the room’s décor. However, there comes a time when you need to take them down, whether for cleaning, repair, or replacement. Removing blinds can seem like a daunting task, especially if you’re unfamiliar with the process or worried about damaging your window frames. This guide will provide you with detailed instructions on how to safely take down your blinds, ensuring a smooth process from start to finish. By following these steps, you’ll be able to remove various types of blinds with confidence and minimal hassle.
Preparing Your Workspace
Before beginning the process of removing your blinds, it’s crucial to prepare your workspace to ensure safety and efficiency. Start by clearing the area around your window to provide ample space for movement and to prevent any accidents. Remove any furniture, decorations, or obstacles that could hinder your access to the blinds. Additionally, lay down a drop cloth or old sheet beneath the window to catch any dust or debris that might fall during the removal process. This will also protect your flooring from potential damage. Make sure you have all necessary tools on hand, such as a screwdriver, pliers, and a step stool or ladder if the blinds are installed at a high level. Having everything ready will save time and reduce the risk of interruptions once you start the task.
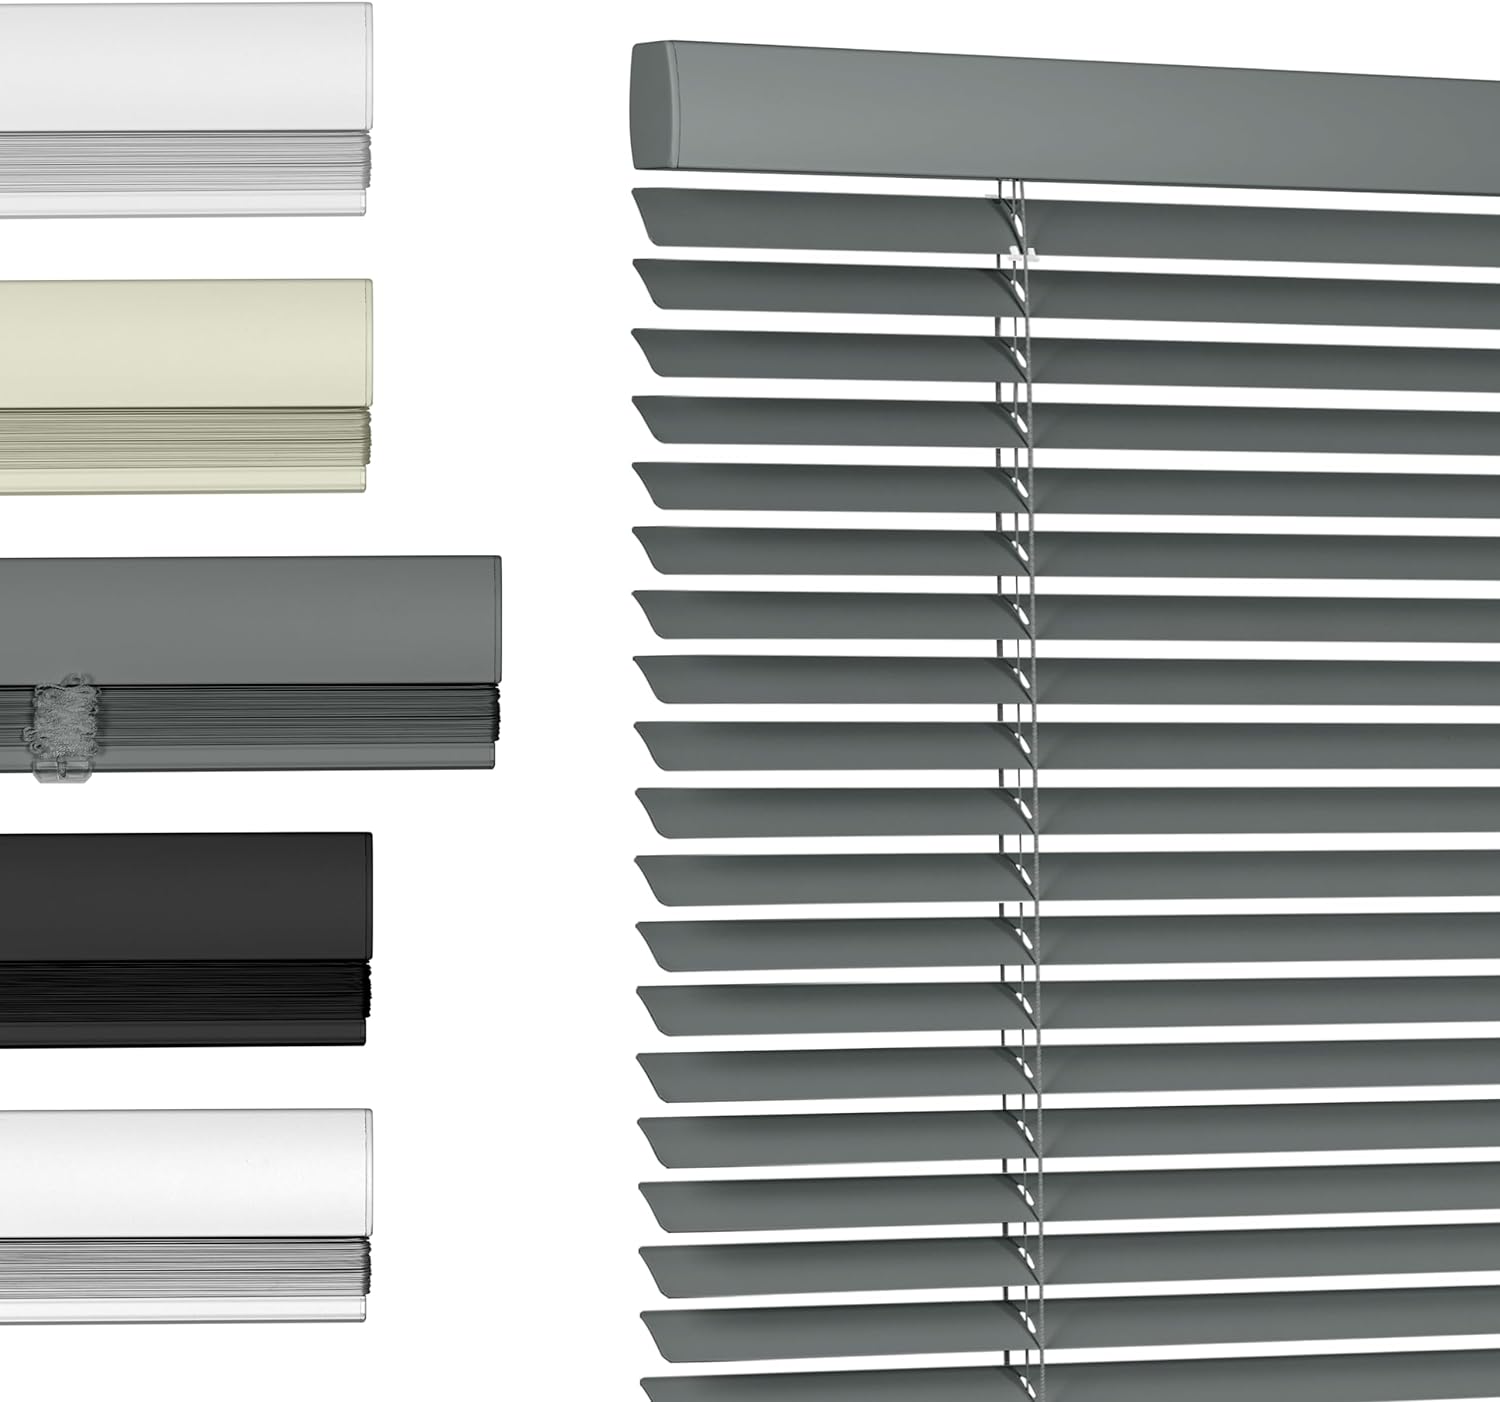
Identifying Your Blind Type
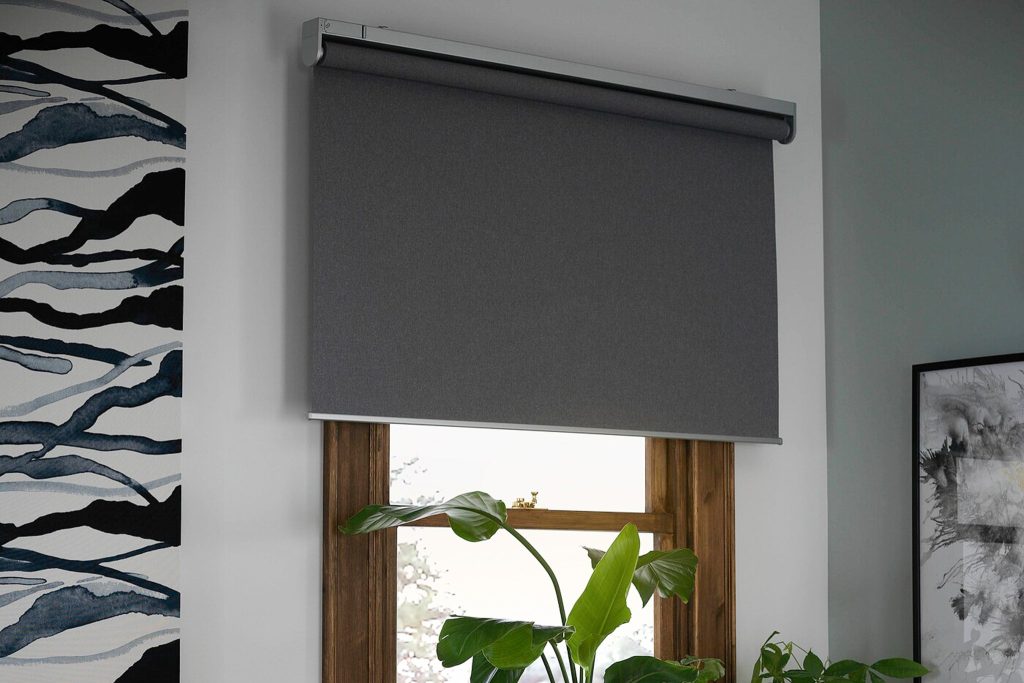
Blinds come in various styles and mechanisms, each requiring a slightly different approach for removal. It’s essential to identify the type of blinds you have installed before proceeding. Common types of blind include Venetian blind, roller blinds, vertical blind, and Roman shades. Venetian blind feature horizontal slats that can be tilted to adjust light levels, while roller blinds consist of a single fabric piece that rolls up and down. Vertical blind have vertical slats that can be rotated and drawn to the side, and Roman shades are fabric blinds that fold into pleats when raised. Understanding the specific type of blinds you have will help you determine the correct removal method and avoid damaging the blinds or window frame.
Checking Manufacturer Instructions
While this guide provides general instructions for removing blind, it’s always a good idea to check the manufacturer’s instructions specific to your blind model. These instructions often include valuable details about the unique features and components of your blinds, which can significantly aid in the removal process. Look for any paperwork that came with the blind when they were initially installed, or search online for the manufacturer’s website and product manual. Following the manufacturer’s guidelines ensures that you handle the blinds correctly and reduces the risk of breaking any parts or voiding any warranties. If you cannot find the instructions, proceed with caution and pay close attention to the structure of your blinds as you dismantle them.
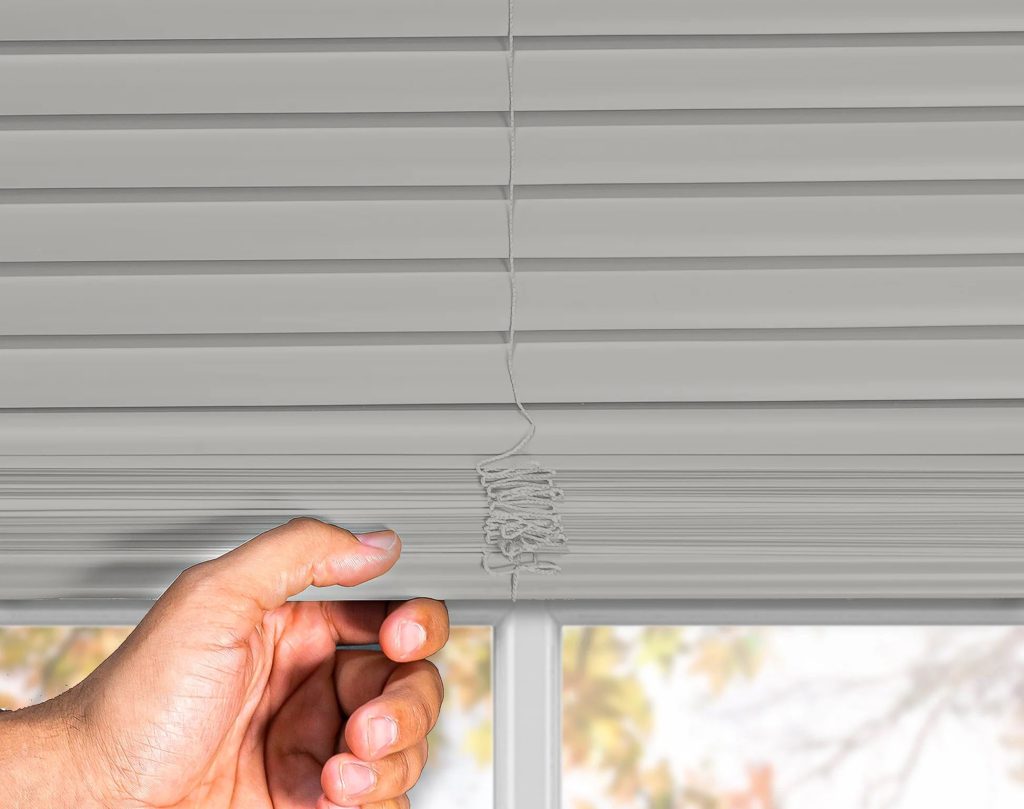
Lowering and Opening the Blinds
Before you begin dismantling your blind, lower them completely and open them fully. For Venetian and vertical blinds, tilt the slats so they lie flat. For roller blinds, unroll the fabric until it is fully extended. Lowering and opening the blind will make it easier to access the mounting brackets and other components. It also helps prevent the blinds from getting tangled or damaged during the removal process. Ensure that the blinds are stable in their lowered position before moving on to the next step. Taking this preliminary action sets the stage for a smoother and more controlled removal process.
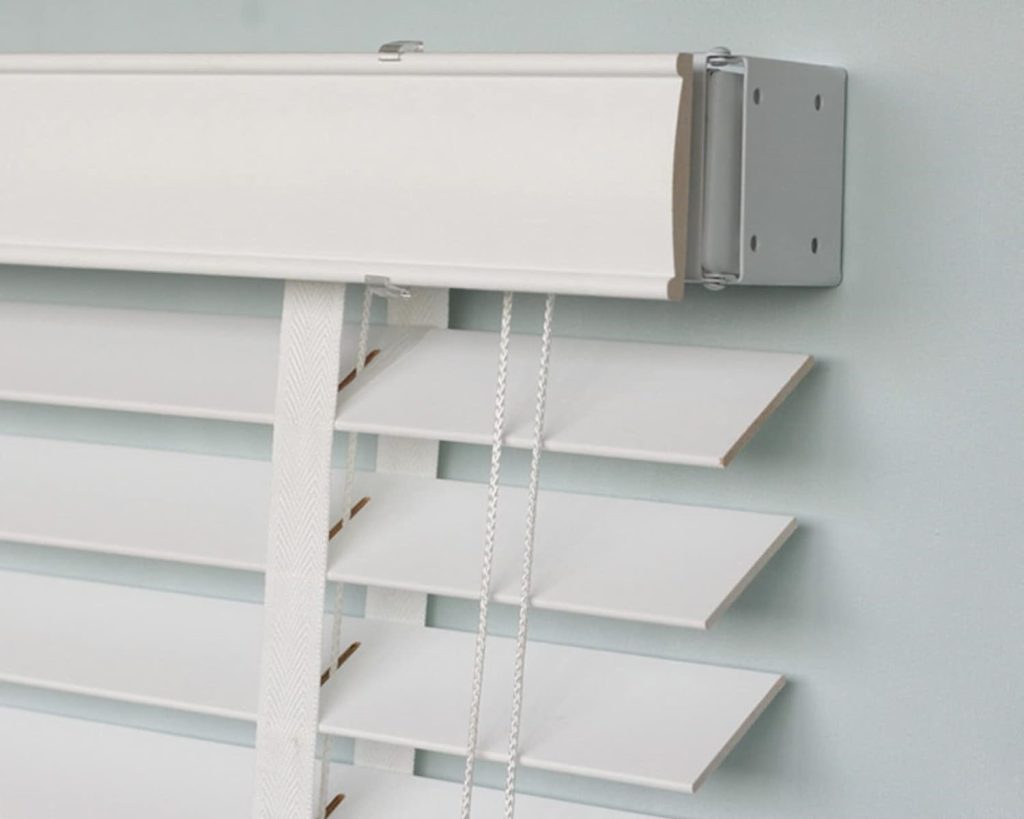
Releasing the Headrail
With the mounting brackets identified, the next step is to release the headrail from these brackets. The method for doing this can vary depending on the type of blinds. For many Venetian and vertical blind, you may need to press a release tab or lever on each bracket to unlock the headrail. For roller blind, you might need to pull the headrail forward or lift it gently to disengage it from the brackets. Roman shades may require you to untie or detach the drawstrings from the mounting hardware. Use both hands to support the headrail as you release it to prevent it from falling abruptly. If you encounter resistance, double-check that you have located all the release mechanisms and that they are fully disengaged before attempting to remove the headrail.
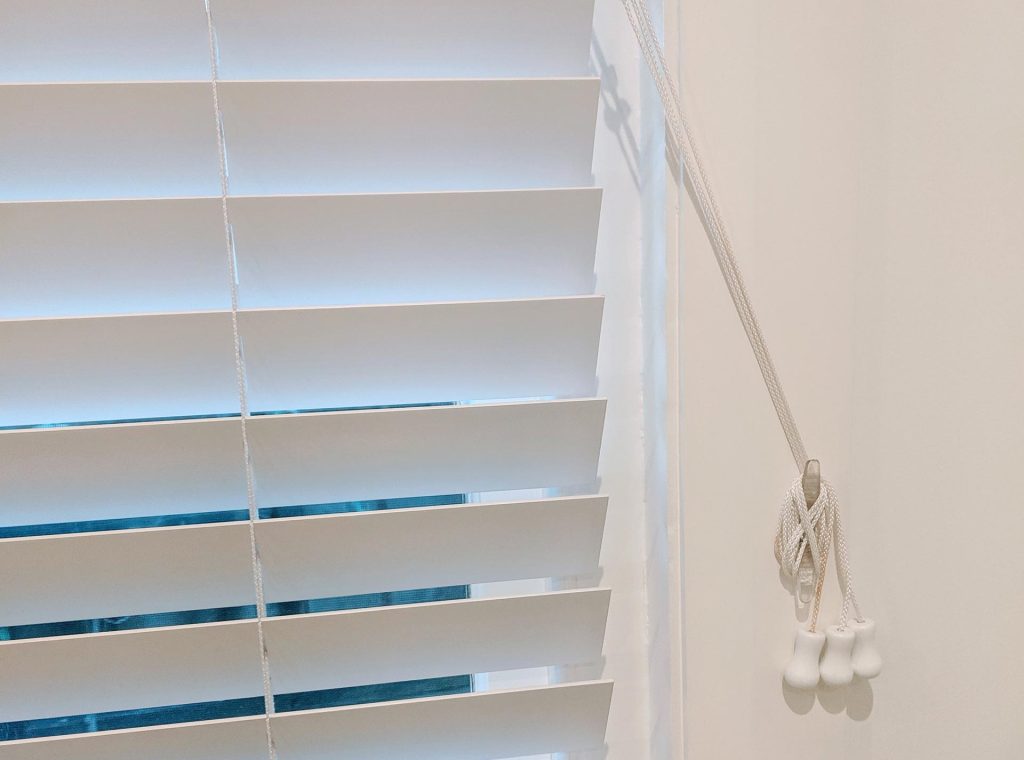
Addressing Corded Blinds
For blinds that feature cords, such as Venetian and Roman shades, it is essential to address the cords before fully removing the blinds. Untangle any knots or loops in the cords to ensure they do not become caught or damaged during removal. If the cords are threaded through pulleys or other mechanisms, carefully unthread them according to the manufacturer’s instructions. For safety reasons, keep the cords out of reach of children and pets throughout the removal process. If your blind have a cord lock mechanism, make sure it is disengaged to allow the cords to move freely. Properly handling the cords ensures that they remain intact and functional for future use or storage.
Removing Additional Components
Depending on the type of blind, there may be additional components that need to be removed after detaching the headrail. For example, vertical blinds often have a valance or decorative cover that conceals the headrail and brackets. Gently remove these components by unscrewing or unclipping them from the mounting brackets. If your blinds have side tracks or tension mechanisms, carefully detach these as well. Keep all screws, clips, and small parts in a safe place, such as a labeled bag or container, to prevent them from getting lost. Removing these additional components ensures that the window area is completely clear and ready for any further maintenance or installation tasks.
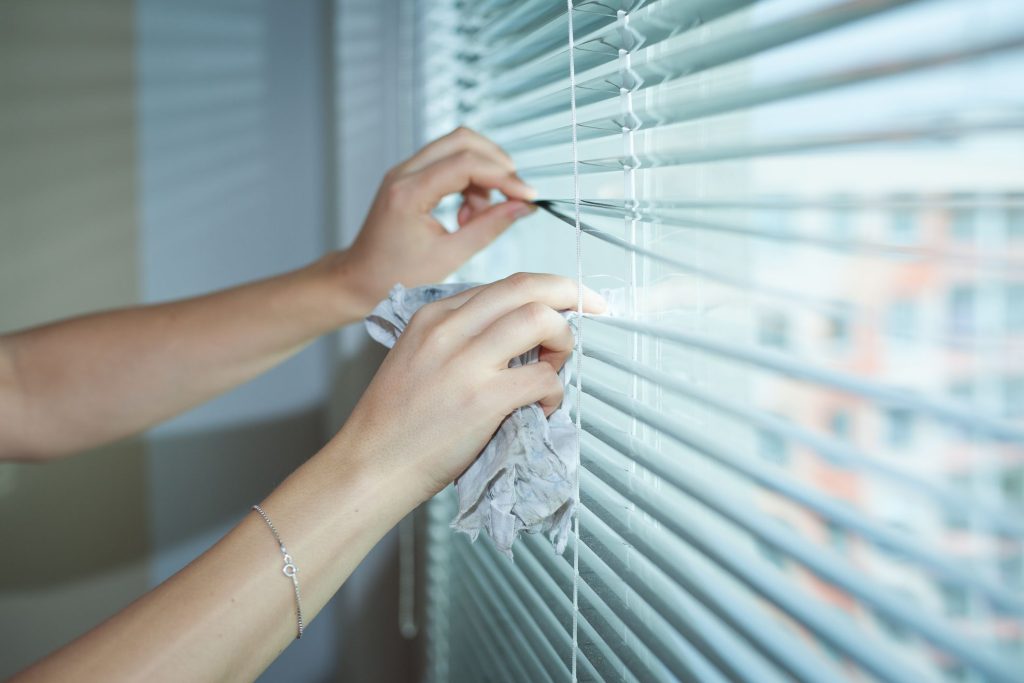
Cleaning and Storing Blinds
Once you have successfully taken down your blinds, it’s a good opportunity to clean them before storing or re-installing them. Dust and dirt can accumulate on blind over time, affecting their appearance and functionality. Wipe down the slats or fabric with a damp cloth or gentle cleaning solution appropriate for the material. For more thorough cleaning, you can use a vacuum with a brush attachment or follow any specific cleaning instructions provided by the manufacturer. After cleaning, allow the blinds to dry completely before storing them in a cool, dry place. If you plan to re-install the blind later, keep all parts together and label them clearly to make the reinstallation process easier.
Conclusion
Taking down your blind safely involves careful preparation, understanding the specific type of blind, and following a systematic approach to disassembly. By preparing your workspace, identifying and releasing the mounting brackets, addressing corded blinds, and taking appropriate safety precautions, you can remove your blind efficiently and without damage. Whether you are cleaning, repairing, or replacing your blinds, these steps ensure a smooth process and help maintain the integrity of your window frames and blind. With this comprehensive guide, you can confidently tackle the task of taking down your blind, ensuring a successful outcome every time.


