Introduction to Measuring a Picture Frame
When hanging artwork or photographs in your home, the importance of knowing how to measure a picture frame cannot be overstated. The right frame can enhance your artwork’s appearance, making it a focal point in any room. Moreover, correct measurement is crucial for ensuring that your selected piece fits perfectly within the frame and displays without any awkward gaps. This guide is designed to provide you with all the essential steps to measure a picture frame accurately, taking into account various factors, from the size of your artwork to the frame’s dimensions and mounting options. Whether you’re an art enthusiast, a DIYer, or just looking to create a lovely display, these tips will help you achieve perfect artwork placement.
Understanding Picture Frame Dimensions
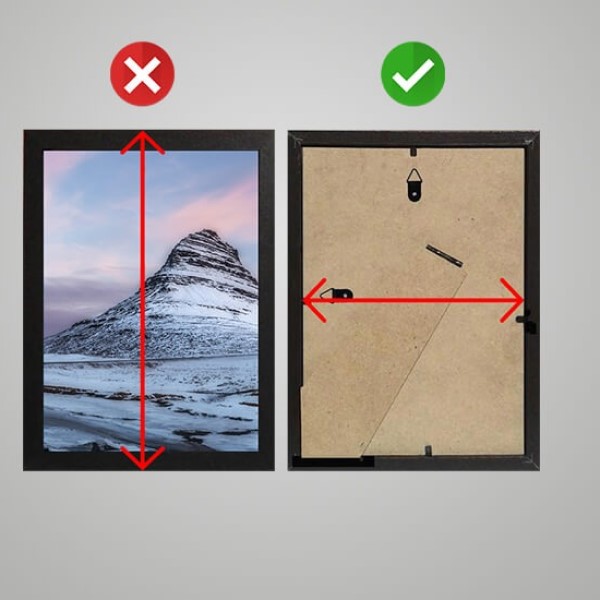
Before diving into the methods for measuring a picture frame, let’s clarify what frame dimensions mean. When you see a frame labeled with sizes like 8×10 or 20×30 cm, these numbers refer to the internal dimensions of the frame—the area designated for your artwork.
- Internal Measurements: Internal measurements represent the display area where your picture or artwork will sit. This is the size that needs to match your artwork for the best fit.
- External Measurements: External measurements represent the complete size of the frame, including the decorative borders that surround the artwork. This information is vital for planning how much wall space the framed piece will occupy.
- Matting Considerations: If you intend to add a mat to your artwork, it’s essential to factor in the additional space this requires. Mats provide a professional look and can enhance the visual appeal but do require larger frame dimensions.
Step-by-Step Guide: How to Measure a Picture Frame
Measuring a picture frame can seem straightforward, but being methodical ensures you don’t miss any important details. Below, we’ll highlight the steps to accurately measure a picture frame.
1. Gather Your Materials
Before you start, make sure you have the following tools on hand:
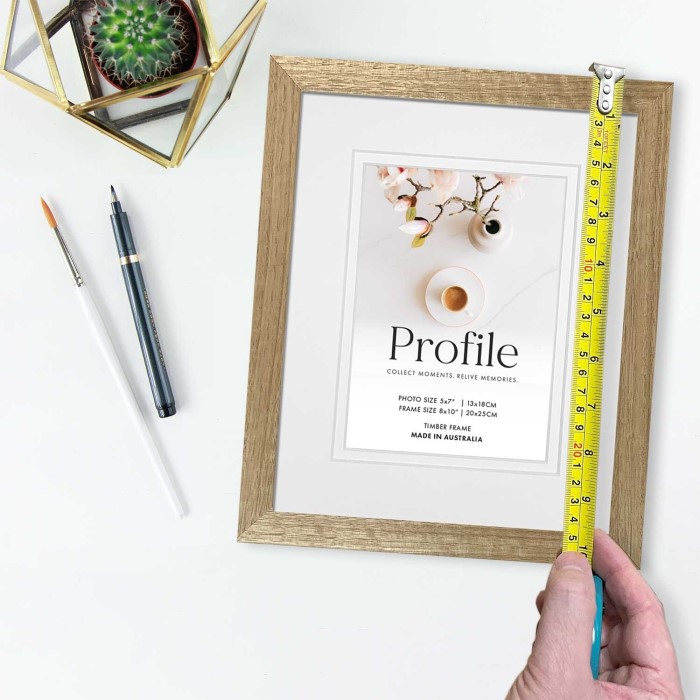
- Measuring Tape:
- A flexible measuring tape is specifically designed for accurate measurements in various situations.
- Its adaptability allows it to easily conform to the shape of different surfaces or objects, making it ideal for measuring lengths and widths.
- Using a measuring tape ensures that you get precise dimensions, which is crucial for any subsequent tasks, such as framing or installation.
- Notepad & Pen:
- Keeping a notepad and pen handy is essential for recording your measurements as you take them.
- Writing down your measurements helps to eliminate any confusion and provides a clear reference for later use.
- This practice not only aids in organization but also saves time by preventing the need for repeated measuring.
- Level (Optional):
- A level is an optional tool that can be highly beneficial if you intend to hang a frame or any object on a wall.
- Using a level ensures that your frame is perfectly straight, which enhances the overall aesthetic and visual appeal of the display.
- It can prevent the need for adjustments after the item is hung, making the hanging process quicker and more efficient.
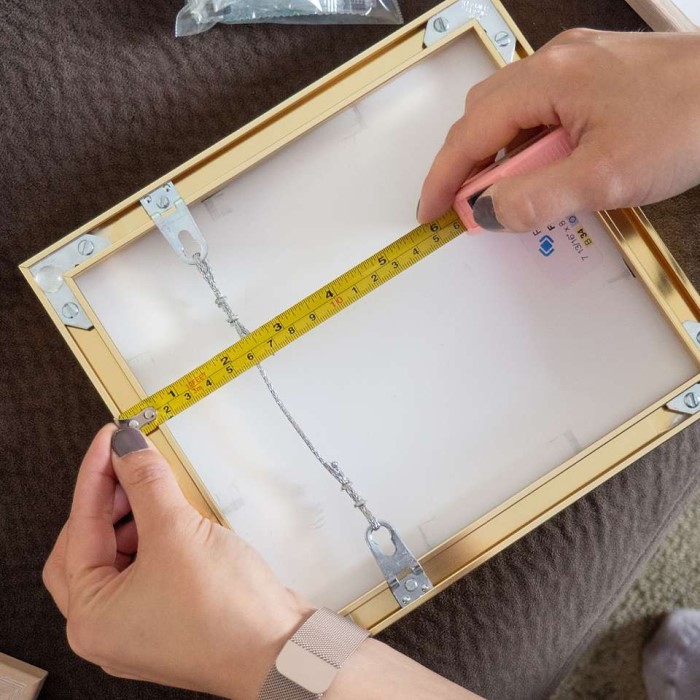
2. Measure the Artwork
The first step is measuring the actual artwork or photograph you wish to frame. Adhering to these guidelines will ensure accuracy:
- Width: Measure from the left edge to the right edge at the widest point.
- Height: Measure from the top edge to the bottom edge at the tallest point.
- Tip: Always measure twice to confirm accuracy. It’s easy to make a mistake, and double-checking helps avoid errors.
3. Finding the Right Frame Size
After obtaining the dimensions of your artwork, it’s time to figure out what size frame you need. To achieve a perfect fit:
- If your artwork is 8×10 inches, you should look for an 8×10 frame.
- If you’re using a mat, opt for a frame size larger than your artwork. For example, an 8×10 piece with a mat will typically require an 11×14 frame.
4. Measuring with Mats and Borders
If you intend to use a mat or decorative border around your picture, include their dimensions in your calculations. Here’s how to do it:
- Mat Width: Decide how thick you want the mat border (e.g., 2 inches) and measure its width.
- When selecting your frame, add this measurement to both the width and height of your artwork. For example, for artwork measuring 8×10 with a 2-inch mat, you would look for a 12×14 frame.
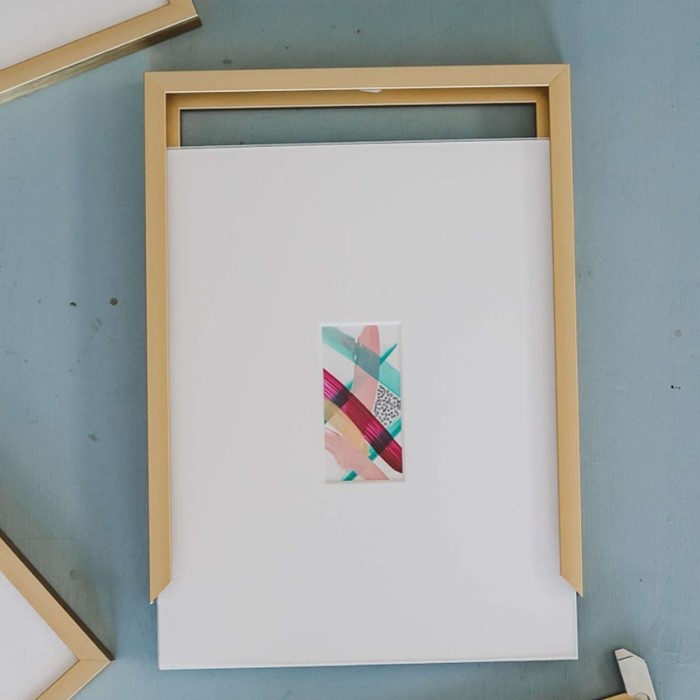
5. Confirm Frame Compatibility
Once you have made your calculations, check available frames in stores or online to ensure they match your desired sizes. Be mindful that some stores may have custom frames, while others provide standard sizes.
6. Final Measurements
Before finalizing your selection, double-check your measurements one last time. It’s better to catch any mistakes now than after you’ve already purchased the frame.
Common Frame Sizes Explained
Familiarizing yourself with popular picture frame sizes can greatly assist in choosing the right frame for your artwork. Some common sizes include:
- 4×6 inches: Suitable for small photographs, often used in personal albums.
- 8×10 inches: An ideal size for portraits or small art prints, commonly displayed on desks or shelves.
- 11×14 inches: Typically used for prints that need matting, providing a more polished appearance.
- 16×20 inches: Great for larger prints or posters, often used in home decor setups.
- 20×30 cm: This translates to approximately 8×12 inches, making it suitable for various sizes of photographs and prints.
Why Sizes Matter
Selecting the correct frame size not only impacts the artwork’s visual appeal but also contributes to cohesive room decor. A mismatched frame size can lead to an awkward or unbalanced look, diminishing your artwork’s overall charm.
Frequently Asked Questions
What does an 8×10 frame mean?
An 8×10 frame indicates the internal dimensions available for displaying your photograph or artwork. The actual image should ideally measure 8 inches wide by 10 inches tall. If you are using a mat, keep in mind that the matting process will require a slightly larger frame.
How big is a 20×30 cm frame in inches?
A 20×30 cm frame is approximately 7.87×11.81 inches. For reference, there are 2.54 centimeters in an inch, so converting centimeters to inches can help determine the size in a more familiar format.
How do I check the size of a photo frame?
To check the size of a photo frame, measure the internal dimensions of the frame with a measuring tape. Take note of the width and height of the photo area. It’s also beneficial to refer to any packaging or product descriptions if available.
Best Practices for Perfect Artwork Placement
Once you know how to measure a picture frame accurately, the next step is ensuring that your artwork is displayed effectively. Here are tips for achieving perfect placement:
Consider Wall Space
Take some time to evaluate the wall space where you plan to hang your picture frame. Ensure that the artwork complements the overall layout and design of the room. Think about the surrounding conditions—larger frames may necessitate more expansive wall areas, while smaller frames can add charm to tight spaces.
Use a Level
When it comes time to hang your artwork, using a level is critical to achieving a straight alignment. A crooked frame can be visually distracting and diminish the appeal of your carefully chosen artwork. Adjust until the frame is perfectly aligned, which will provide a polished finish to your display.
Experiment with Arrangement
Before permanently hanging your artwork, consider experimenting with various arrangements. Lay the frames out on the floor to visualize different setups and see what resonates. This allows you to play with spacing, layout, and combinations without the commitment of nails in walls.
Regular Maintenance
Once your artwork is displayed, regular maintenance is essential. Dust and debris can build up on frames over time, significantly impacting their appearance. Periodically cleaning them will ensure that your artwork looks its best and enhances your living space.
Seek Inspiration
Looking for ideas is a great way to motivate your arrangement decisions. Explore online platforms, such as Pinterest or Instagram, to find inspiration for your artwork placements. Following the latest trends in interior design can help you create a fashionable and cohesive display.
Conclusion
Learning how to measure a picture frame accurately is an indispensable skill that allows for perfect artwork placement in your home. By adhering to the systematic steps described in this guide, you can ensure that your selected piece fits well within its frame and enhances the overall aesthetic of your space. Proper measurements not only optimize your choices when it comes to the frame but also elevate your home decor to new heights. With these tips in mind, you’ll be empowered to frame your favorite pictures or artwork and create beautiful displays that truly reflect your personality and style. Embrace the art of measuring frames, and transform your walls into inspiring galleries that resonate with your artistic vision.