


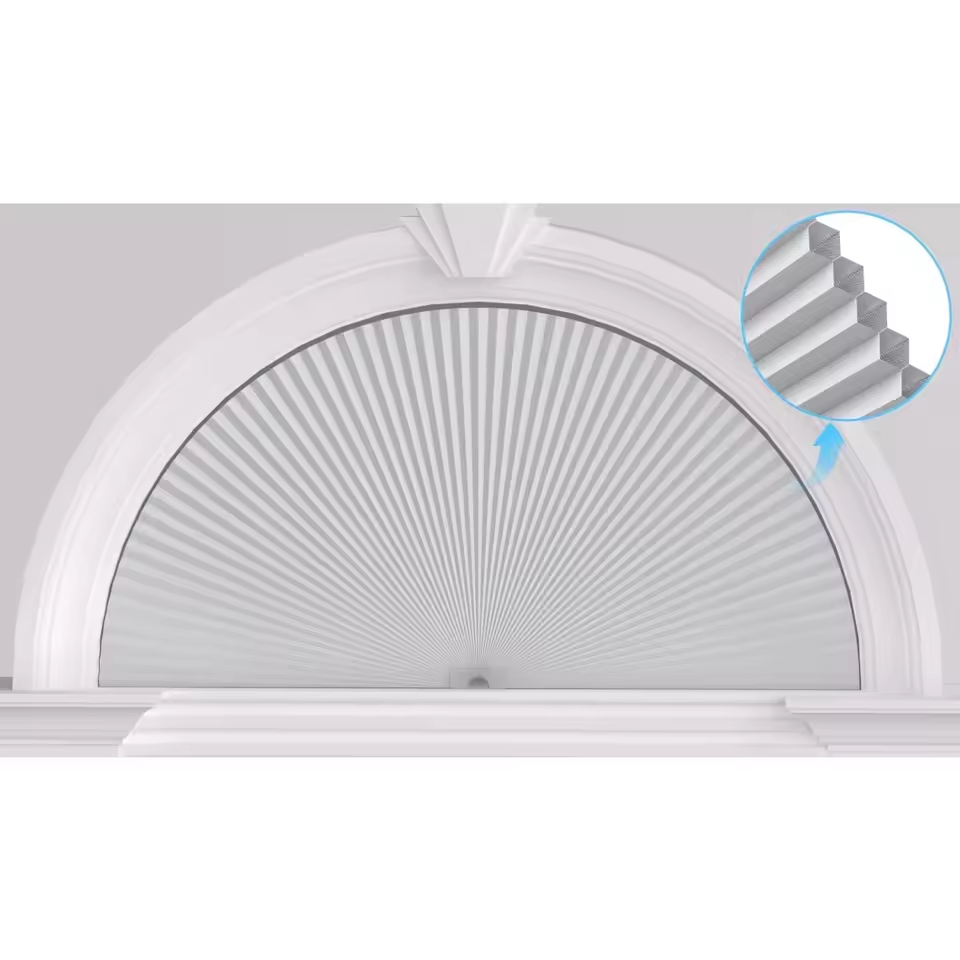
What Are No Drill Mini Blinds?
No drill mini blinds are modern window treatments that don’t require drilling holes. They offer an easy and hassle-free option for window coverings. These blinds use adhesive or clamp-based systems to securely attach to window frames. They provide privacy, light control, and an aesthetic upgrade without damaging your walls or windows.
Key Features of No Drill Mini Blinds
- Tool-Free Installation: No need for drills or screws, simplifying the process.
- Strong Attachment: Reliable adhesive or clamp systems ensure secure placement.
- Flexible Design Options: Available in various styles, colors, and materials to suit your decor.
- Damage-Free Removal: Can be easily removed without leaving marks or holes on surfaces.
- Adjustable Fitting: Designed to fit most standard window sizes for convenience.
Benefits of Choosing No Drill Mini Blinds
- Quick Setup: Saves time and minimizes installation effort.
- Versatile Usage: Ideal for renters or temporary spaces due to easy removal.
- Preserves Walls: Prevents permanent damage, allowing for redecoration flexibility.
- Stylish Appearance: Adds a modern and clean look to any room.
- Cost-Effective Option: Often more affordable compared to traditional blinds and setups.
- Convenient Adjustments: Easy to open, close, and adjust for light control and privacy.

Tools and Materials Needed for Installation
To install no drill mini blinds, you need the right tools and materials. With proper preparation, the process becomes quick and easy. Below are the essentials to get started.
Essential Tools for Setting Up No Drill Blinds
- Tape Measure: Ensures accurate measurement of the window for proper fit.
- Level: Helps in aligning blinds evenly for a polished look.
- Pencil: Marks placement spots on the window frame for easier installation.
- Cloth or Cleaning Wipe: Cleans the window area to ensure strong adhesion.
Materials Checklist Before Starting Installation
- No Drill Mini Blinds: Choose blinds that match your window size and decor.
- Adhesive System: Includes sticky pads or strips for secure attachment.
- Clamps or Clips: Necessary for clamp-based installations.
- Adjustment Tools (if provided): Helps in proper fitting and alignment.
Having all the tools and materials ready simplifies the installation process. These items ensure a secure and professional setup for your no drill mini blinds.
Step-by-Step Installation Guide
Installing no drill mini blinds is a simple process. Follow this step-by-step guide to ensure a smooth and efficient setup.
Preparing the Window Area
- Clean the Surface: Use a cloth or cleaning wipe to clean the window frame. Remove dust, dirt, or grease to ensure strong adhesion.
- Measure the Window: Use a tape measure to confirm the dimensions of your window. Accurate measurements ensure the blinds fit properly.
- Mark Placement Spots: Use a pencil to mark the points where the brackets will be attached. Ensure they are level.
Attaching the Brackets Without Drilling
- Position the Brackets: Align the brackets with the marked spots on the window frame.
- Attach Using Adhesive: If using sticky pads or strips, peel off the backing and firmly press the brackets into place. Hold for a few seconds to set.
- Secure with Clips or Clamps: For clamp-based blinds, carefully fit the clamps over the window frame. Tighten them as needed to ensure stability.
- Double-Check Stability: Gently tug on the brackets to make sure they are securely attached.
Securing the Mini Blinds in Place
- Insert the Blinds: Slide the mini blinds into the brackets. Ensure they align with the brackets correctly.
- Lock the Blinds: Secure the blinds by locking or snapping them into place, as per the product instructions.
- Test Movement: Adjust the blinds up and down to confirm smooth operation. Make adjustments as needed for proper alignment.
This guide ensures an easy and quick installation. Follow each step carefully for secure and effective results.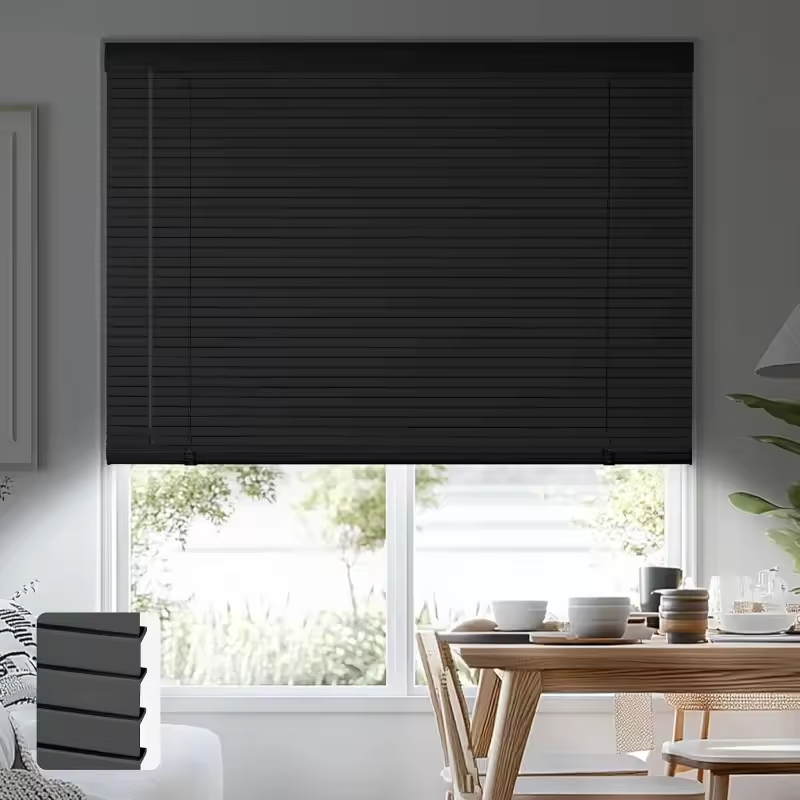
Tips for Proper Alignment and Adjustment
Proper alignment and adjustment are key to ensuring your no drill mini blinds work effectively. They not only enhance the appearance but also optimize functionality.
Ensuring Level Alignment for a Perfect Look
- Use a Level Tool: Place a level on top of the brackets to ensure they are even.
- Check Marks Before Attaching: Recheck the pencil marks for bracket placement to avoid uneven blinds.
- Adjust During Installation: Before securing, make minor adjustments to align the brackets properly.
- Step Back and View: After installing, step back to check alignment. Make corrections if necessary.
Level alignment enhances the visual appeal and ensures smooth operation over time.
Adjusting the Blinds for Smooth Operation
- Test Before Final Securing: Open and close the blinds before locking them to verify smooth movement.
- Check Cord Mechanism: Ensure the cord or wand operates without snagging or tightness.
- Reposition Slats if Necessary: Align the slats evenly if they appear crooked after installation.
- Avoid Over-Tightening Clamps: For clamp-based systems, tighten just enough to hold but not restrict movement.
Following these tips ensures your blinds look great and function effortlessly.
Maintenance and Cleaning Recommendations
Proper maintenance keeps your no drill mini blinds functional and visually appealing. Simple care ensures longevity and preserves their fresh look. Below are practical tips for maintaining and cleaning your no drill mini blinds.
How to Keep Your Mini Blinds Looking New
- Regular Dusting: Use a microfiber cloth or duster to remove dust weekly.
- Vacuum with Brush Attachment: Gently vacuum the blinds for deep cleaning without damaging the material.
- Inspect Adhesion Often: Check adhesive brackets or clamps for stability and reattach if needed.
- Avoid Excess Moisture: Keep blinds away from humid conditions to prevent adhesive wear or damage.
- Rotate Slats Occasionally: Open and close the blinds to prevent uneven wear over time.
Consistent care enhances their durability and maintains their stylish appearance.
Safe Cleaning Methods for No Drill Blinds
- Spot Clean Stains: Use a mild detergent mixed with water and a soft cloth to remove smudges.
- Avoid Harsh Chemicals: Do not use bleach or abrasive cleaners that can harm the finish.
- Detachable Components: If parts can be removed, clean them separately and let dry before reattaching.
- Quick Wipe for Adhesive Areas: Gently clean around brackets or clamps to avoid loosening them.
- Clean Twice a Month: Set a schedule for routine cleaning to prevent grime buildup.
By using these safe methods, your blinds remain both functional and attractive for years to come.
Common Problems and Solutions
No drill mini blinds are convenient, but occasional issues might require attention. Troubleshooting ensures optimal functionality and long-lasting use.
Troubleshooting Blinds That Don’t Stay Secure
Blinds that lose adhesion or stability can be frustrating. Address these problems with these practical solutions:
- Clean Surfaces Properly: Ensure the window frame is free of dust or grease before reinstalling blinds.
- Reapply Adhesive: Replace worn-out sticky pads with fresh ones for a stronger hold.
- Use Additional Support: Add extra clips or clamps for better stability if needed.
- Check Clamp Adjustment: Tighten loose clamps securely, but avoid over-tightening to maintain smooth operation.
- Inspect Product Quality: Verify clamps or adhesives are free from defects or damage. Replace broken parts promptly.
These steps restore secure attachment and prevent blinds from coming loose in the future.
Fixing Alignment Issues After Installation
Misaligned blinds can appear uneven and affect functionality. Follow these simple tips to fix alignment errors:
- Adjust Brackets: Loosen brackets slightly and realign them using a level for proper positioning.
- Recheck Measurements: Confirm window dimensions and placement marks for accurate adjustments.
- Align Slats: Reposition crooked slats gently to ensure even spacing and smooth operation.
- Test the Movement: Open and close blinds to check for smooth alignment after adjustments.
- Step Back for Perspective: View the blinds from a distance to identify any remaining misalignments.
Addressing alignment issues keeps your blinds functional and visually appealing. Regular adjustments maintain their performance over time.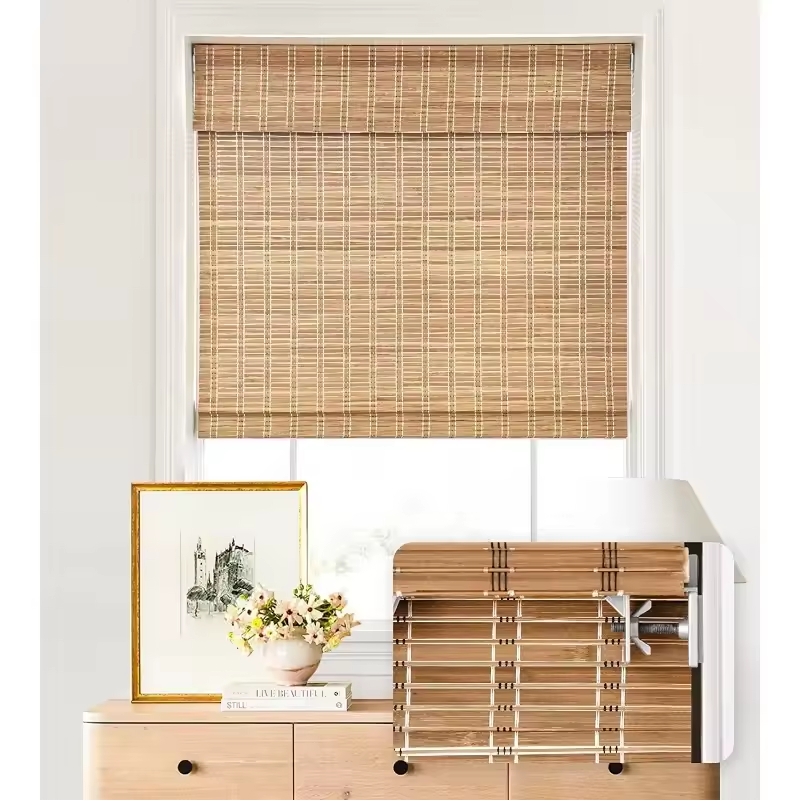
Where to Buy and Choosing the Right Style
Finding the right place to purchase your no drill mini blinds and picking a style that matches your needs is essential for a satisfying purchase. Both factors impact the quality, cost, and overall look of your window treatment.
Best Places to Purchase No Drill Mini Blinds
- Online Retailers: Websites like Amazon, Wayfair, and Home Depot offer a variety of no drill mini blinds. You can browse options, compare prices, and read customer reviews.
- Home Improvement Stores: Physical stores like Lowe’s and Home Depot provide expert advice and hands-on viewing of blinds. You can see samples and get a better sense of the material and quality.
- Specialized Window Treatment Stores: Boutique shops often carry premium designs and customized options for unique window sizes or decor.
- Department Stores: Stores like Walmart or Target stock affordable, basic no drill mini blind options suitable for many homes.
- Manufacturer Websites: Buying directly from manufacturers like IKEA or Levolor can provide access to brand-specific styles and customization.
Each buying option has benefits. Online platforms provide convenience, while physical stores allow for in-person inspection. Choose what works best for your preferences and location.
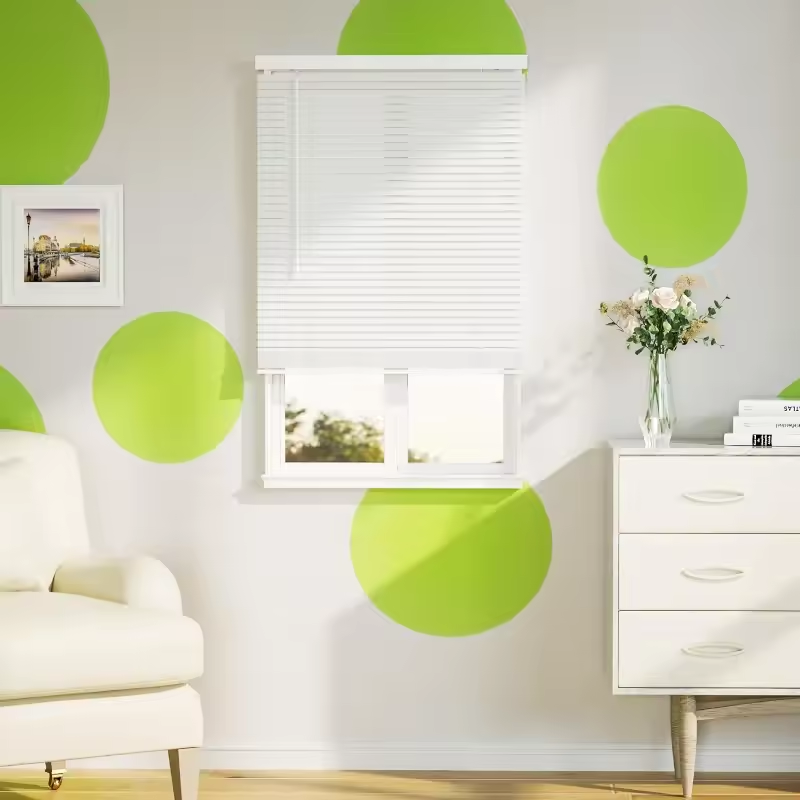
Factors to Consider When Selecting Mini Blinds
- Material Type: Choose from aluminum, faux wood, or fabric based on your home decor and durability needs. Aluminum is lightweight, while faux wood offers a classic look.
- Size Compatibility: Ensure the blinds you select fit your window dimensions. Measure carefully before shopping.
- Color and Finish: Pick colors that complement your room’s color scheme. Neutral tones are versatile, while bold colors add personality.
- Light Control Needs: If you need superior light-blocking, opt for blinds with blackout features. For filtered light, choose a lighter material.
- Installation Method: Ensure that the blinds come with a reliable adhesive or clamp system for hassle-free setup.
- Ease of Cleaning: Look for materials that are easy to dust or wipe clean to maintain their appearance.
- Budget Constraints: Set a price range and prioritize features that match your budget. Affordable options still provide great looks and functionality.
By focusing on where to buy and the factors affecting your choice, you can find no drill mini blinds that are functional, stylish, and suitable for your home.


