


Tools and Materials Needed for Installation
Installing mini blinds requires the right tools and materials. Gather these before starting to avoid delays.

Essential Tools to Gather
To install mini blinds, collect these essential tools:
- Measuring tape: Ensures accurate window measurements for a perfect fit.
- Screwdriver: Useful for securing mounting brackets and other hardware.
- Drill: Expedites the installation process, especially with harder surfaces.
- Pencil: Marks positions for brackets and screws.
- Level: Helps ensure the blinds and brackets are aligned.
Having these tools ready simplifies the installation process. Double-check that all tools are functional.
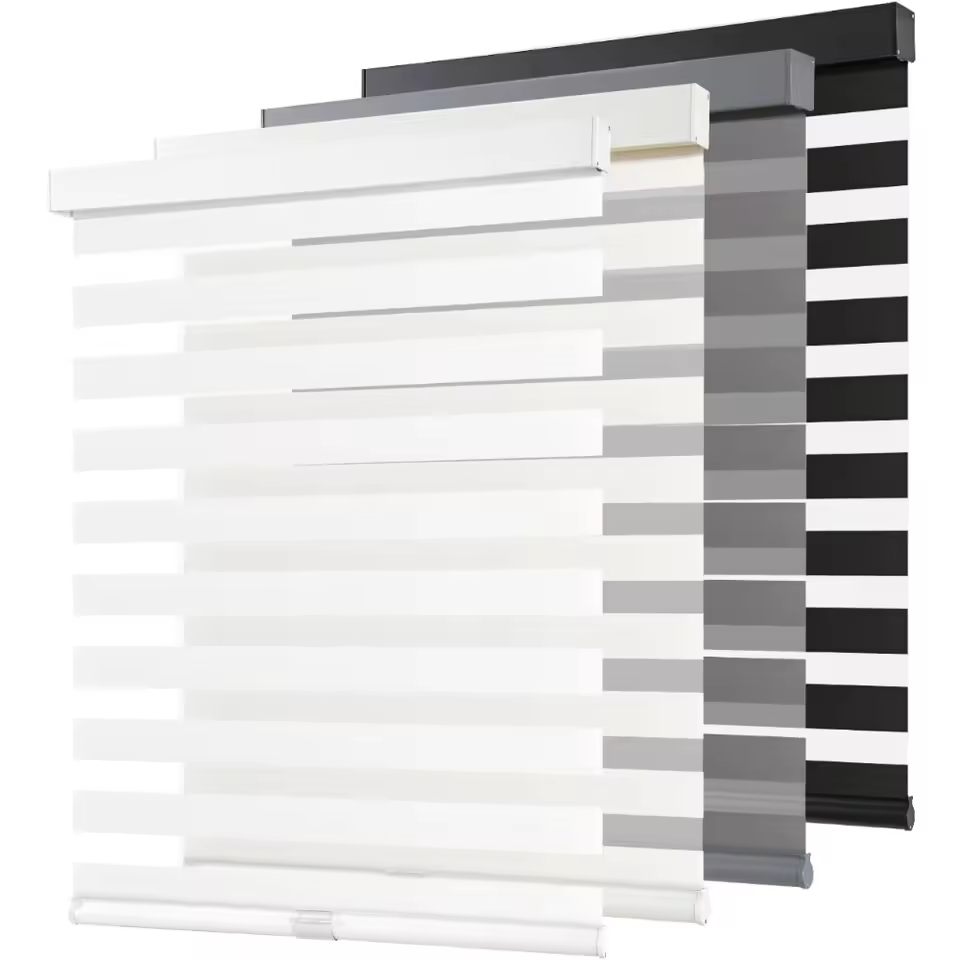
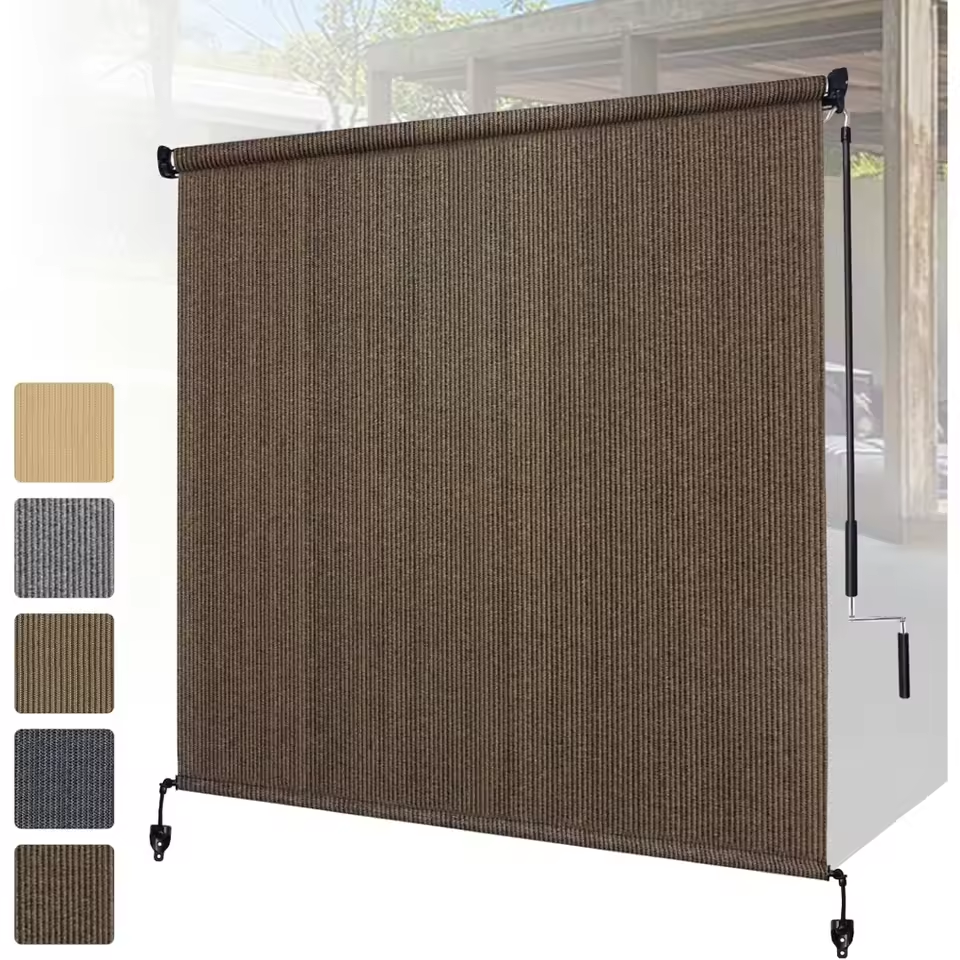
Types of Mini Blinds and Their Materials
Mini blinds come in various types and materials to suit different needs and styles:
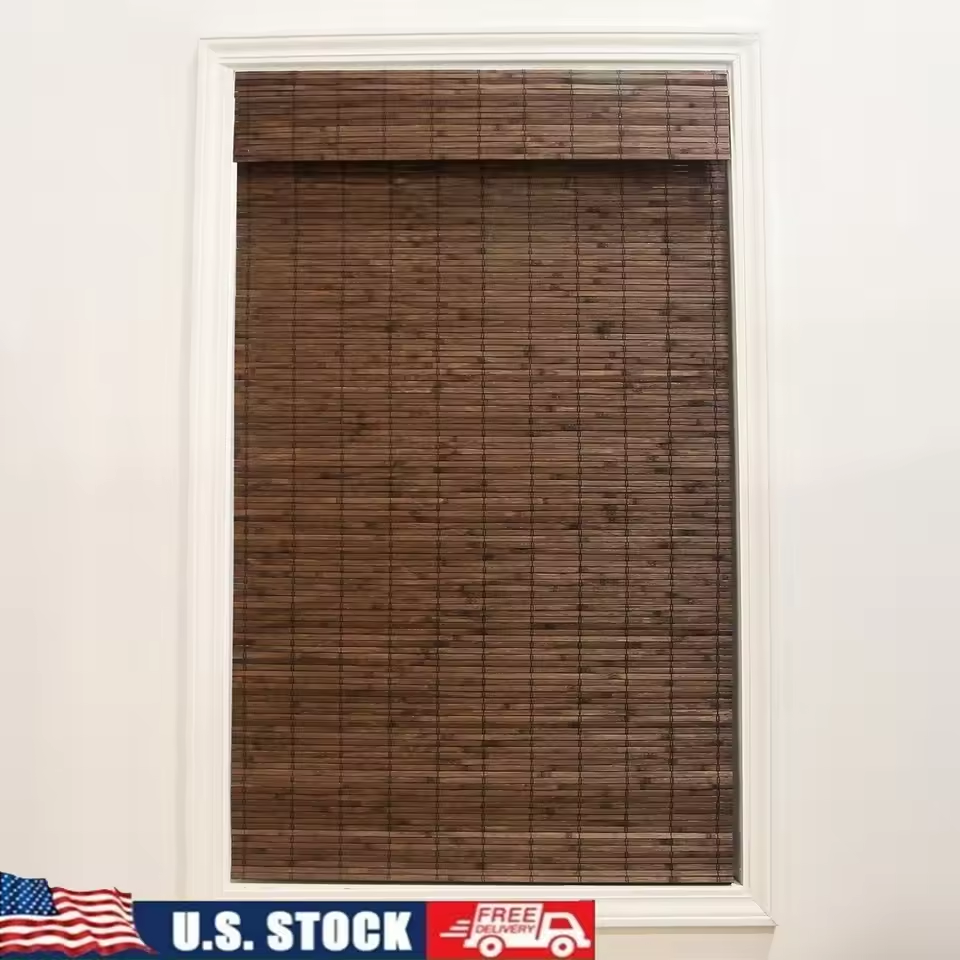
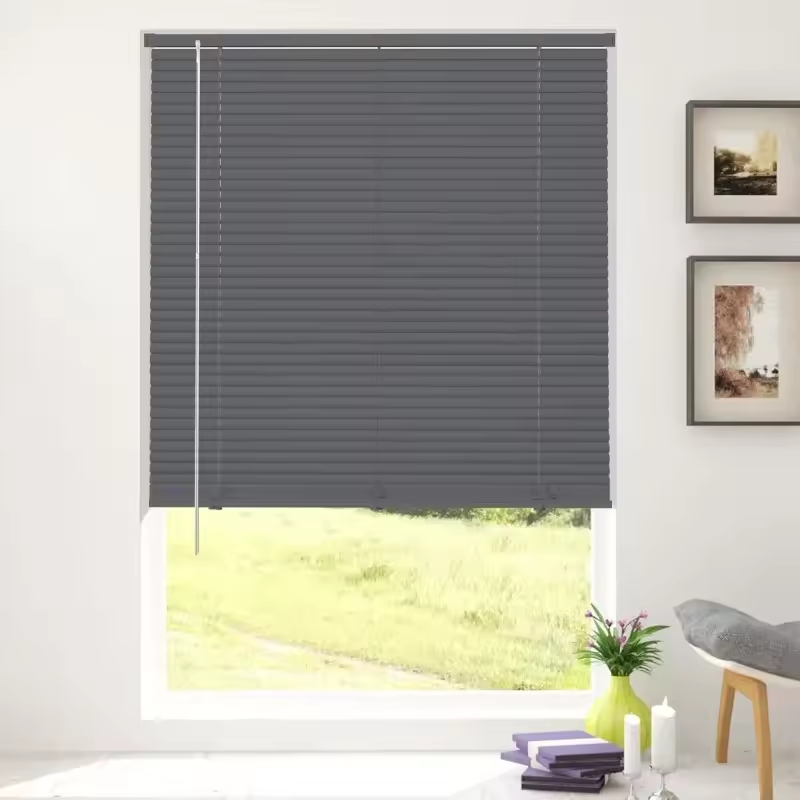
- Aluminum Blinds: Lightweight, durable, and resistant to moisture. Ideal for kitchens and bathrooms.
- Vinyl Blinds: Affordable, easy to clean, and suitable for high-humidity areas.
- Wood Blinds: Elegant and sturdy, perfect for living rooms and bedrooms. However, avoid using them in damp spaces.
- Faux Wood Blinds: Mimic wood but are more durable and moisture-resistant.
Choose blinds based on your room’s requirements and your aesthetic preference. Understanding the materials helps ensure you select long-lasting blinds.
Preparing Your Windows for Mini Blind Installation
Proper preparation ensures a smooth installation process for your mini blinds. Follow these steps to get started.
Measuring Windows Correctly
Accurate measurements are crucial for your mini blinds to fit perfectly. Here’s how to measure windows:
- Measure the Width: Use a measuring tape to measure the width at the top, middle, and bottom of the window. Note the smallest measurement.
- Measure the Height: Measure the height from the window’s top to the sill at three points—left, center, and right. Record the longest measurement.
- Mark the Measurements: Write down the dimensions and double-check for errors.
Choosing the most precise measurements ensures your blinds fit snugly, whether using an inside or outside mount.
Cleaning and Prepping the Window Frame
Prepare the window frame before installation to avoid any interruptions. Follow these simple steps:
- Clean the Surface: Wipe down the frame using a damp cloth to remove dirt and debris.
- Inspect the Frame: Check for damage, like cracks, that may impair installation.
- Fill Any Gaps: Use caulk to seal gaps or holes in the frame.
- Ensure Dryness: Let the cleaned surface dry completely before proceeding.
Proper preparation of your windows guarantees both a secure installation and lasting durability for the mini blinds.
 Choosing the Right Mounting Style
Selecting the correct mounting style is vital for a successful mini blind installation. You have two main options: inside mount and outside mount. Each style offers distinct advantages and suits specific window types.
Inside Mount vs. Outside Mount
- Inside Mount:
- Blinds rest inside the window frame.
- Offers a sleek, modern look.
- Best for windows with deep frames.
- Requires accurate measurements.
- Outside Mount:
- Blinds hang outside the window frame.
- Covers entire window space.
- Ideal for shallow or irregular frames.
- Flexible with slightly imprecise measurements.
Each style has unique features. Choose based on your window size and design preference.
Factors to Consider When Deciding
- Window Type:
- Deep, leveled frames are great for inside mounts.
- Uneven or shallow frames work better with outside mounts.
- Privacy Needs:
- Outside mounts block more light and provide extra coverage.
- Inside mounts blend seamlessly but may let light through frame gaps.
- Aesthetic Preference:
- Inside mounts give a cleaner look.
- Outside mounts can make windows appear larger.
- Ease of Installation:
- Inside mounts demand exact measurements and require even frames.
- Outside mounts allow more flexibility and work well with uneven surfaces.
Consider these factors carefully when choosing your mounting style. This decision shapes the functionality and look of your mini blinds.
 Installing the Mounting Brackets
Correctly installing the mounting brackets is essential for stable and functional mini blinds. Follow these steps carefully.
Placement of Brackets on the Window Frame
- Determine the Mounting Position: Decide between an inside or outside mount based on your preference.
- Mark the Bracket Locations: Use a pencil and measuring tape to mark bracket positions on the window frame. Ensure symmetry for even placement.
- Check Level Placement: Place a level against the marks to confirm the brackets align perfectly.
Securing Brackets Firmly
- Pre-drill Holes: Use a drill to make pilot holes on the marked spots. This prevents splitting.
- Attach the Brackets: Secure each bracket with screws using a screwdriver or drill. Tighten them firmly.
- Double-check Stability: Gently tug on the installed brackets to ensure they’re secure and properly aligned.
Accurate placement and secure brackets enhance the reliability of your mini blinds once installed.
Attaching the Mini Blinds
Once the brackets are securely installed, you can proceed to attach your mini blinds. This step requires care to ensure the blinds work properly and look great.
Sliding the Blinds Into the Brackets
- Align the Headrail with the Brackets: Hold the headrail of the blinds near the installed brackets.
- Insert the Headrail: Slide the headrail straight into the brackets until it clicks or fits securely.
- Secure the Headrail: Close the bracket covers or tighten screws on the brackets, depending on the design.
Make sure the headrail is firmly locked into place to prevent shifting or falling.
Ensuring Proper Alignment
- Check Even Placement: Use a level to confirm the blinds are straight across the window frame.
- Open and Close the Blinds: Operate the tilt wand or cord to test functionality and alignment.
- Adjust Brackets if Needed: Loosen and reposition brackets slightly if the blinds are not level.
A properly aligned set of blinds ensures they look polished and operate smoothly.
 Adjusting and Testing the Blinds
Once your mini blinds are installed, adjustment and testing ensure they function smoothly. Carefully following these steps will guarantee optimal performance.
How to Check Functionality
- Operate the Tilt Wand or Cord: Test the tilt wand or cord to open and close the slats. Ensure the slats rotate smoothly.
- Raise and Lower the Blinds: Lift and lower the blinds fully. Confirm they glide easily without sticking.
- Inspect the Locking Mechanism: If the blinds have a locking mechanism, check it holds the blinds securely when raised.
- Ensure Stability: Check the headrail and brackets remain firmly in place during operation.
Testing functionality identifies issues early and ensures your blinds are ready for daily use.
Making Final Adjustments
- Straighten the Blinds: Use a level to ensure the blinds are perfectly horizontal.
- Adjust the Tilt Cord or Wand: If the slats do not close evenly, make slight corrections to the cord or wand mechanism.
- Reposition Brackets if Necessary: If the blinds are not aligned, loosen the brackets slightly and reposition them.
- Tighten Loose Screws: Verify all screws are tight. Secure any that may have loosened during testing.
Proper adjustments ensure the mini blinds look polished and function seamlessly. This step is crucial for long-term usage satisfaction.
 Maintenance Tips for Mini Blinds
Proper maintenance keeps your mini blinds looking fresh and functioning well for years.
Proper Cleaning Techniques
- Dust Regularly: Use a microfiber cloth or duster to remove dust every week.
- Vacuum Gently: Attach a soft brush to your vacuum for delicate cleaning without damaging the blinds.
- Spot Clean Stains: Use a damp cloth with mild soap for stubborn dirt or marks.
- Deep Clean Periodically: Remove blinds, soak them in warm soapy water, then rinse and dry thoroughly.
- Avoid Harsh Chemicals: Use gentle cleaners to protect materials, especially wood and faux wood blinds.
Regular cleaning prevents dirt accumulation and keeps blinds looking brand-new.
Longevity and Care Practices
- Handle with Care: Operate cords and wands gently to avoid damage to the mechanisms.
- Inspect for Damage: Check for broken slats or loose parts and fix them promptly.
- Shield from Moisture: Keep blinds dry, especially wood blinds, to prevent warping or decay.
- Avoid Excess Sunlight: Use curtains or films to protect blinds from discoloration.
- Lubricate Moving Parts: Apply light oil to mechanisms for smooth operation.
Proper care ensures mini blinds stay durable and functional over time.


