Creating a DIY picture frame can be a delightful way to showcase your favorite memories. Whether it’s family photos, scenic landscapes, or cherished keepsakes, a beautifully designed frame can enhance your decor. This article will explore various creative methods for making DIY picture frames that are both easy and stylish. You don’t need to be an expert crafter to embark on this journey; with a little inspiration and creativity, you can create something uniquely yours. Below are eight engaging sections that will guide you through the process of crafting your own DIY picture frame.
Understanding the Basics of DIY Picture Frames
Before diving into the details of crafting a DIY picture frame, it’s essential to understand the basic components involved. A picture frame typically consists of three main parts: the frame structure, a backing, and a front protective cover. The frame serves as the main structure that holds your picture securely in place. This key component defines the overall aesthetic of the frame.
The backing plays a vital role as well. It supports the picture and prevents it from falling out of the frame. A well-fitted backing ensures that your precious memories remain protected at all times. Additionally, adding a protective front cover, made from glass or acrylic, keeps your images safe from dust, moisture, and potential damage. This protective layer enhances not only the longevity of the photo but also its visual appeal.
For a DIY project, you have the freedom to choose materials that reflect your style and vision. Whether you prefer a rustic wooden frame that adds warmth or a modern, sleek design for a contemporary look, the possibilities are endless. Starting your journey in creating a DIY picture frame opens up a world of creativity and personal expression.
Choosing Materials for Your Picture Frame
Selecting the right materials is crucial for creating a stunning DIY picture frame. Various options are available, each offering its unique advantages. Common materials include wood, cardboard, and even metal. Among these, wood is particularly popular for its durability and versatility. It provides a solid structure that can last for years and withstand various conditions. You can easily stain, paint, or leave it natural to achieve a rustic look that suits your decor.
If you’re seeking a budget-friendly option, cardboard can also work exceptionally well. With some creativity, you can transform simple cardboard into an eye-catching frame. It’s lightweight and easy to manipulate, making it ideal for simpler projects or for children to use. Additionally, don’t overlook the potential of using repurposed items. For instance, old window frames or reclaimed wood can provide a unique, vintage charm to your DIY picture frame.
Ultimately, the material you choose should align with the style you wish to achieve and complement the cherished memories you want to showcase. By thoughtfully selecting your materials, you can create a frame that reflects your personality and enhances your living space.
Step-by-Step Guide to Constructing Your DIY Picture Frame
Creating your DIY picture frame can be broken down into simple and manageable steps. First, measure the dimensions of your picture carefully. This will help you determine the exact size of the frame you need. Use a ruler or measuring tape for accuracy, and make sure to write down your measurements. Next, cut your chosen material according to these measurements. If you are working with wood, be sure to use the appropriate tools, such as a saw, and always take necessary safety precautions like wearing protective goggles.
Once all the pieces are cut, it’s time to assemble the frame by attaching each side. Use wood glue or a staple gun for a secure hold. Ensure each corner is aligned properly to maintain a clean look. After constructing the frame, it is important to add a backing. This will help ensure your picture stays securely in place and does not bend or warp over time.
Finally, apply any finishing touches. You can paint your frame, stain it, or add embellishments that match your desired aesthetic. This step-by-step guide simplifies the process of making your own DIY picture frame, ensuring you can showcase your treasured memories with style and care.
Creative Design Ideas for Your Picture Frame
When crafting your DIY picture frame, your creativity can truly shine through with a variety of design ideas. Start by considering how to embellish your frame with decorative elements. You can add ribbons, artificial flowers, or even beads for a personal touch. These embellishments can create a playful atmosphere or a more elegant look, depending on your chosen aesthetic.
Another fun option is using washi tape to create unique borders or patterns around your frame. This decorative tape is available in numerous colors, patterns, and styles, making it easy to customize your design. For those who prefer a more minimalist approach, consider clean lines and neutral colors. These options can blend seamlessly with your home decor, keeping the focus on the picture while enhancing the overall aesthetic of the frame.
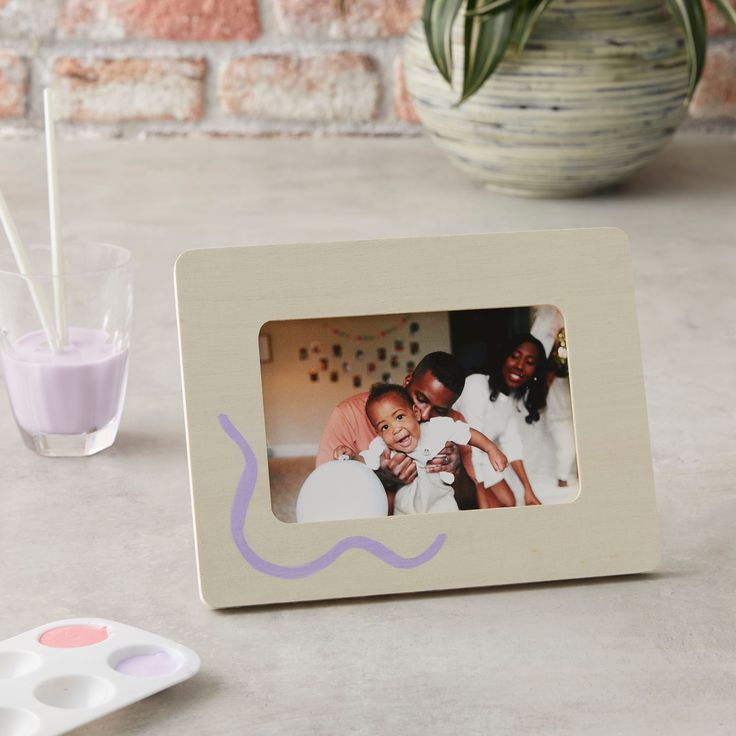
Alternatively, consider painting your frame to achieve stunning results. Choose bright colors to create a cheerful vibe, or opt for muted tones for a sophisticated elegance. Incorporating different textures is also a wonderful way to add depth. With so many design ideas available, your DIY picture frame can reflect your unique personality while beautifully showcasing your memories. Let your imagination run wild and create something truly memorable!
Incorporating Themes into Your DIY Picture Frame
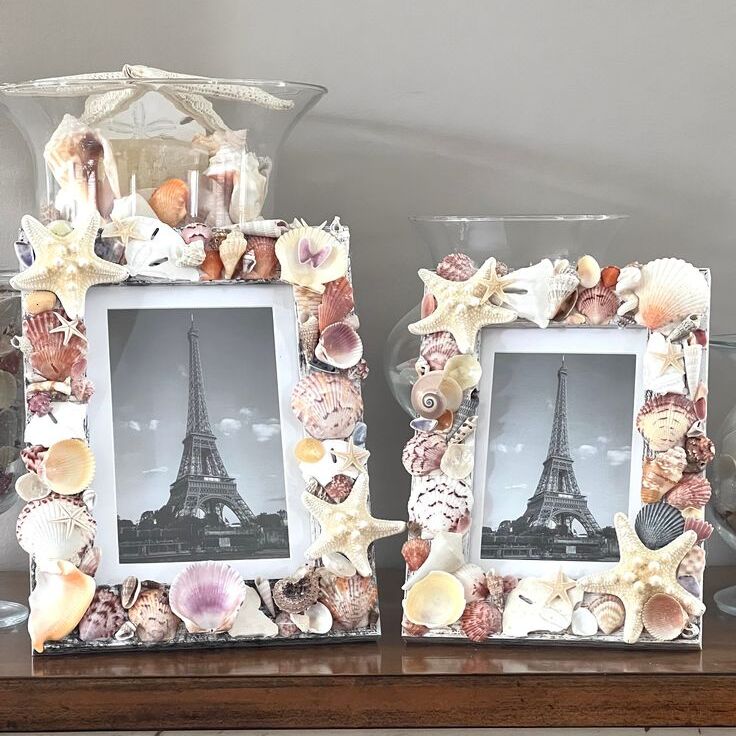
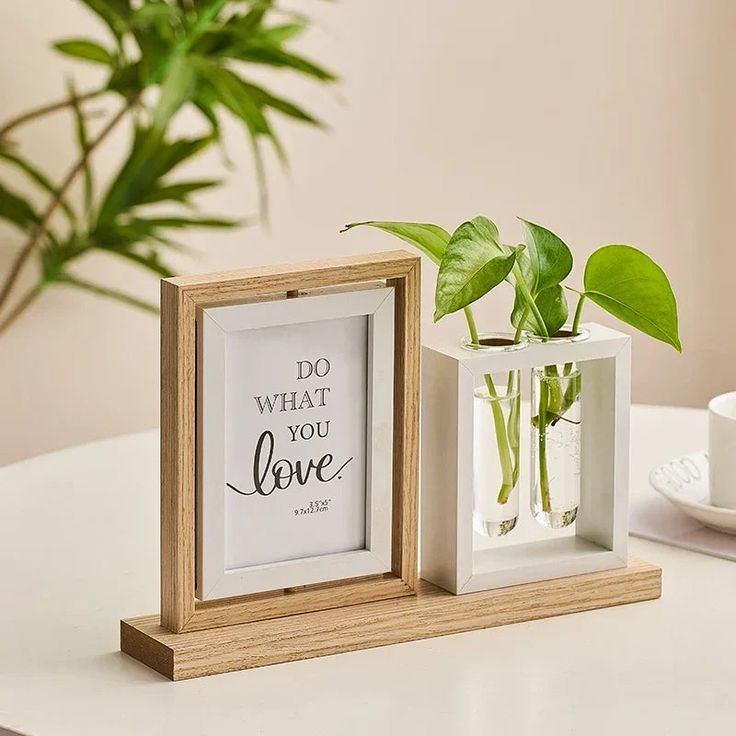
Incorporating a thoughtful theme can add an extra layer of meaning to your DIY picture frame. This approach helps transform a simple frame into a storytelling piece. Whether you’re commemorating a specific event, season, or occasion, consider using elements that reflect these themes. For instance, if you’re highlighting a beach vacation, you might decorate the frame with seashells or sand collected from the shore. This creates a captivating visual reminder of your time by the sea.
For a wedding, think about adding lace or decorative twine to evoke romance and elegance. These materials can beautifully reflect the love celebrated on that special day. If you’re creating a collage frame, consider grouping photos based on themes. You might organize them by family gatherings, travels, or personal milestones. This method tells a story, capturing the essence of shared moments in a cohesive way.
A well-thought-out theme enhances the visual appeal of your DIY picture frame. It also enriches the emotional value of the memories displayed within it, making the frame a cherished keepsake that resonates with deeper significance.
Utilizing Your Picture Frame in Home Decor
Once you’ve created your DIY picture frame, it’s time to incorporate it into your home decor. The placement of your frame can significantly impact how it is perceived in the room. A well-placed frame draws the eye and enhances the overall aesthetic. One popular idea is to create a gallery wall featuring multiple DIY picture frames in various sizes. This arrangement not only adds visual interest but also creates an eye-catching focal point in any space. It can quickly become a conversation starter for guests.
Alternatively, you can place your framed pictures on a mantel or shelf. Arranging them amongst other decorative items will create a curated look that feels personal and inviting. This method allows you to showcase your creativity while enhancing the room’s decor. Another great tip is to hang frames at eye level. This makes it easy for viewers to engage with the memories displayed and appreciate the artwork.
Remember, the beauty of your DIY picture frame shines brightest when thoughtfully integrated into your living space. With careful consideration of placement, your frame can enhance the overall atmosphere of your home.
Gifting Your DIY Photo Frame
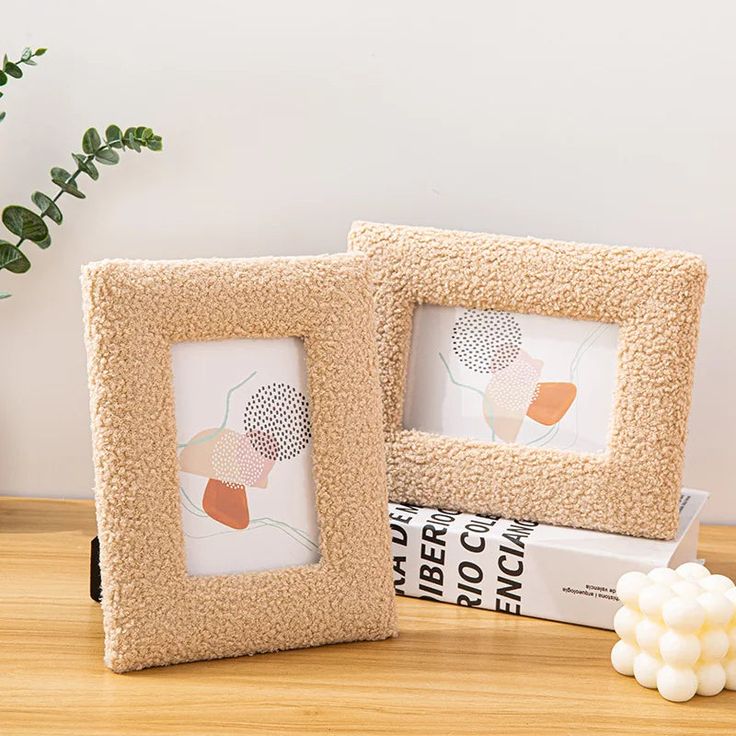
Handcrafted items like a DIY picture frame make exceptionally thoughtful gifts. These personalized frames can beautifully capture special moments for friends and family. Consider creating a custom frame to celebrate occasions such as birthdays, anniversaries, or holidays. When crafting the frame, think about including a photo that holds sentimental value. This could be a cherished memory shared with the recipient, adding an extra layer of meaning to the gift.
Wrap your DIY picture frame in decorative paper and ribbons to elevate its presentation. A beautifully wrapped gift not only looks appealing but also conveys more thoughtfulness. This gesture shows that you care about the recipient and value your relationship with them. Remember that this gift is not just a frame; it’s a heartfelt way to share memories and express your appreciation.
A beautifully crafted frame demonstrates your effort and dedication, making it a truly special present. Your loved ones will cherish this personal touch, and it will likely become a treasured keepsake in their home. Their memories will be beautifully framed, reminding them of your thoughtful gift for years to come.
Conclusion: Celebrate Your Memories with a DIY Photo Frame
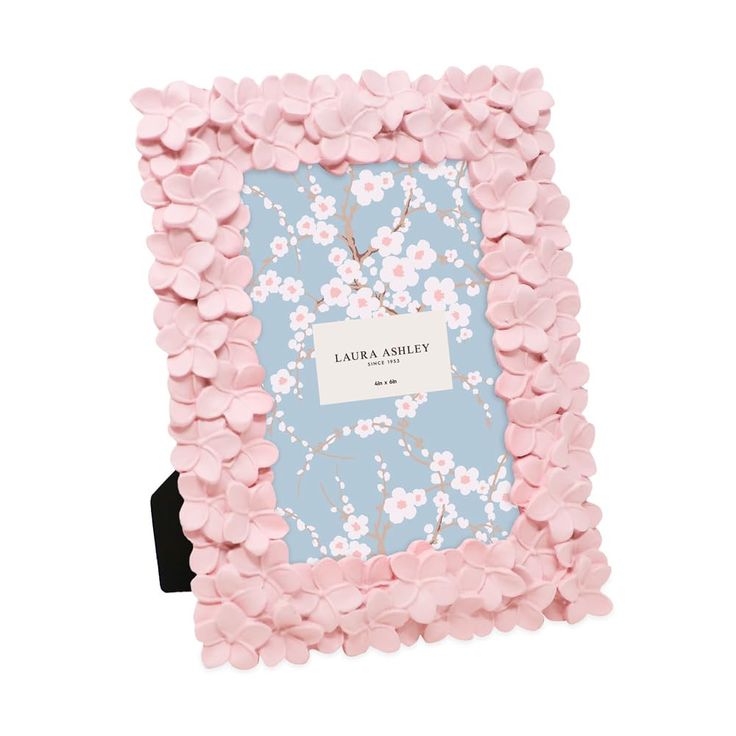
In conclusion, creating a DIY picture frame is an enjoyable and fulfilling project that allows you to showcase your precious memories stylishly. With an array of materials to choose from and endless design possibilities, each frame can be uniquely tailored to fit your personality and home decor. The steps involved—choosing materials, constructing the frame, and incorporating creative elements—are simple yet rewarding. Furthermore, the ability to personalize the frame makes it an exceptional gift for your loved ones. Embrace your creativity and take the opportunity to experiment with different designs and themes. Ultimately, your DIY picture frame serves as a beautiful reminder of cherished moments, celebrating the joy and love shared with family and friends. Let the craft of making your own DIY picture frame transform your memories into art that you’ll proudly display for years to come.


