Pre-Installation Checklist
Before starting your Levolor blinds installation, a proper pre-installation checklist ensures a smooth process. Here’s what you need to do:
- Check the Package: Ensure all parts are present as per the Levolor blinds instructions manual.
- Inspect the Window Area: Look for any obstructions like window handles or locks that might interfere with the blinds.
- Window Sills: Determine if your window sills extend out and how that may affect the blinds’ placement.
- Wall Material: Identify what type of wall material you are working with – drywall, plaster, or concrete, as it will determine the type of anchors and screws you’ll use.
- Gather Tools: Have your tools handy – you will typically need a drill, screwdriver, measuring tape, level, and pencil.
- Check for Squareness: Ensure that the window frame is square since an uneven frame can cause issues once the blinds are mounted.
- Cleaning: Clean the installation area so debris doesn’t interfere with the fittings.
By following these steps, you’ll be fully prepared to embark on the actual levolor blinds installation process.
Tools and Materials You Will Need
Gathering the right tools and materials is crucial for a successful levolor blinds installation. Make sure to have the following items:
- Measuring Tape: Precision is key, so a reliable measuring tape is essential.
- Level: A level helps ensure your blinds hang straight.
- Drill: A drill will be necessary for installing brackets into the wall.
- Screwdriver: You’ll need both flat-head and Phillips screwdrivers for various screws.
- Screws and Anchors: The type required will depend on your wall material.
- Pencil: To mark where you will be installing the brackets.
- Brackets: Included in the Levolor package, they hold the blinds in place.
- Ladder or Step Stool: Needed to reach the top of the window frame.
- Safety Glasses: Protect your eyes when drilling into the wall.
These tools and materials will support your efforts for a smooth levolor blinds installation. Having everything prepared before you start will save time and ensure that the installation process goes without any issues.
Measuring Your Window Space Accurately
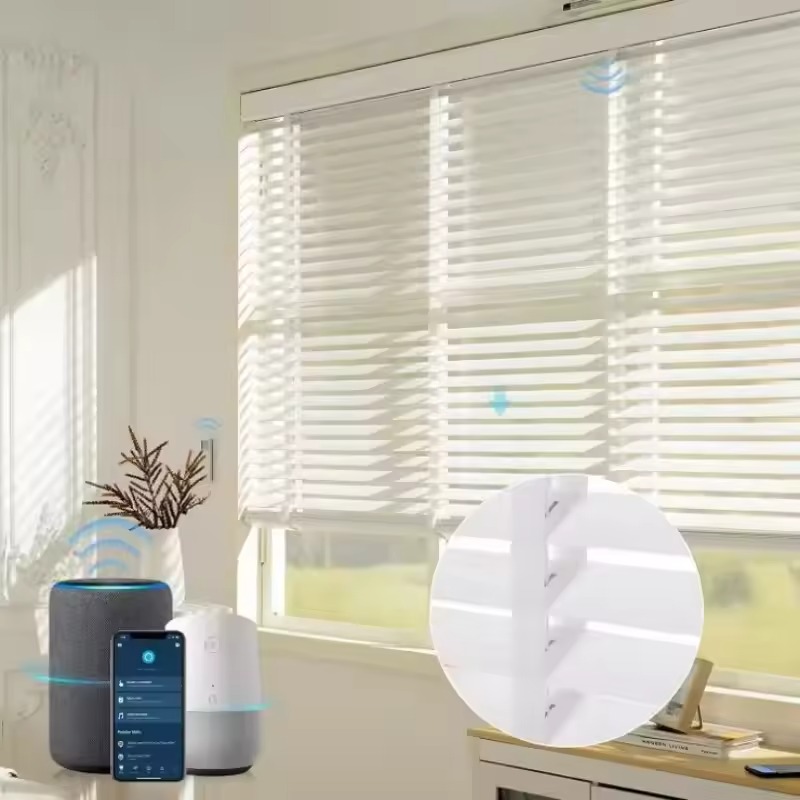
Measuring your window space is a critical step in the levolor blinds installation process. Accurate measurements ensure that the blinds fit perfectly and operate smoothly. Here are the steps to measure your window space accurately:
- Width Measurement: Measure the width of the window at three points: top, middle, and bottom. Use the narrowest width measurement for your blinds. This avoids any gaps on the sides.
- Height Measurement: Similarly, measure the height at three points: left, middle, and right. Use the longest height measurement to ensure the blinds cover the entire window length.
- Depth Measurement: Check the depth of the window frame to ensure there’s enough space for mounting the blinds. Levolor blinds require a certain depth to fit properly.
- Note Irregularities: Record any irregularities in the window shape or frame. These can affect how you install the blinds and may require additional adjustments.
- Double-Check: Always double-check your measurements. Accurate measurements are the foundation of a successful installation.
By following these steps, you can be confident that the levolor blinds you install will be a perfect fit for your windows. Always refer to the Levolor blinds instructions manual for specific measurement guidelines.
Choosing the Right Levolor Blinds for Your Home
Choosing the right Levolor blinds is essential for both function and style in your home. Here’s how to pick the perfect match:
- Consider Room Function: Think about how you use each room. For bedrooms, you might want darkening blinds for better sleep. In living areas, you might prefer light-filtering options for a bright atmosphere.
- Look at Window Dimensions: The size and shape of your windows will guide the type of blinds you choose. Large windows may need sturdy options like vertical blinds, while smaller or oddly-shaped windows might work well with mini blinds.
- Assess Your Decor Style: Levolor offers a range of styles and colors to match any decor. Whether your home is modern or traditional, you can find blinds that complement your design.
- Energy Efficiency: Energy-efficient blinds can help reduce heating and cooling costs. Consider cellular shades that provide insulation and can save on energy bills.
- Privacy Needs: Determine how much privacy you want. Some blinds offer more privacy than others; blackout blinds might be ideal for privacy, while sheer blinds allow more visibility and light.
- Safety Features: If you have children or pets, look for cordless blinds or those with safety features to prevent accidents.
- Budget: Set a budget for your levolor blinds installation. Options vary in price, so choose the best blinds that you can afford without breaking the bank.
By considering these factors, you will choose Levolor blinds that enhance the comfort and beauty of your home. Remember, the right blinds can transform a room. So take your time to select the best fit for your needs and style preferences.
Step-by-Step Installation Guide
Once you’ve chosen the right Levolor blinds for your home and gathered all the necessary tools and materials, you’re ready to proceed with the actual installation. Follow this detailed guide to install your blinds accurately and efficiently.
Mounting the Brackets
- Mark the Bracket Location: Use your pencil to mark where you will place the brackets. They should align with your measurements and be level.
- Drill Pilot Holes: Drill small pilot holes at your marked points to make it easier to screw in the brackets.
- Secure Brackets: Position the brackets and use your screwdriver to secure them with screws. Ensure they are tight and flush against the wall.
Attaching the Headrail
- Position the Headrail: Lift the headrail and snap it into the brackets you’ve just mounted.
- Lock Into Place: Some models may require you to lock the headrail in place. Follow the Levolor blinds instructions to secure it.
Securing the Valance
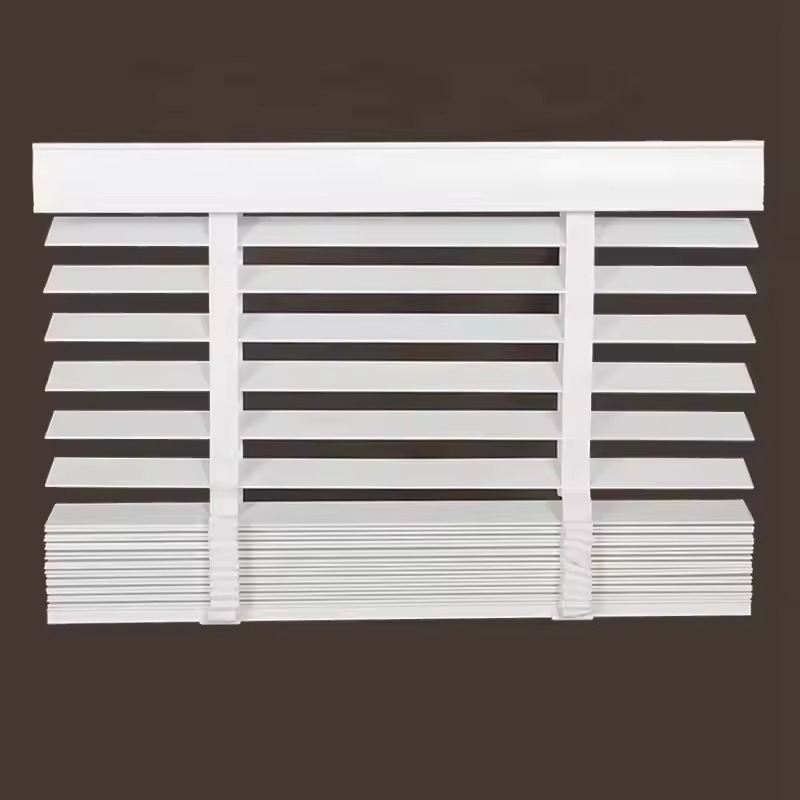
- Align the Valance: The valance is the decorative cover that goes in front of the headrail. Align it properly with the headrail.
- Snap in Place: Push the valance gently until it snaps onto the clips or brackets designed to hold it.
Adjusting the Cord and Safety Features
- Test the Cord: Pull the cord to ensure that the blinds open and close smoothly.
- Secure Loose Cords: If you have a safety device or cord cleat, attach it to the wall to keep cords out of reach of children and pets.
By following these steps, you’ll have a successful Levolor blinds installation that not only functions well but also enhances the safety and aesthetics of your home. Remember to double-check each step for a secure and precise fit.
Tips for Troubleshooting Common Installation Issues
Even when you follow the levolor blinds installation instructions carefully, you may come across some issues. Here are tips to solve common problems:
- Blinds Won’t Fit: If the blinds don’t fit in the window frame, double-check your measurements. You may need to trim the blinds for a proper fit.
- Bracket Problems: If brackets aren’t secure, ensure you’re using the correct screws and anchors for your wall material. Try tightening them or using larger anchors.
- Leveling Issues: If blinds aren’t level, loosen the brackets slightly, adjust until level, and then retighten. A level is your best friend in this step.
- Stiff Operation: If the blinds are hard to open or close, check if the headrail is attached firmly to the brackets. Also, ensure the cord isn’t tangled or caught.
- Gaps or Light Leaks: For unwanted gaps, check that you measured at the narrowest width and longest height. Adjust the placement of brackets as needed.
- Safety Feature Problems: If cord cleats or safety devices aren’t holding, make sure they’re secured to the wall with the appropriate hardware.
- Valance Issues: If the valance won’t snap in, check for misaligned clips or brackets. Adjust them or gently bend the valance for a snug fit.
Addressing these issues promptly will ensure that your levolor blinds function smoothly and look great. Most problems have simple solutions, so don’t be discouraged. With a bit of patience and troubleshooting, you can achieve a flawless installation.
Maintenance of Levolor Blinds After Installation
Ensuring your Levolor blinds remain in top shape after installation is crucial. Regular maintenance not only extends their lifespan but also keeps them looking great. Here’s what you need to do to maintain your blinds:
- Dusting Regularly: Use a soft cloth or duster to gently remove dust from the slats. This should be done weekly.
- Vacuum with Brush Attachment: For deeper cleaning, gently vacuum the slats with a brush attachment every month.
- Spot Cleaning: If there are marks or stains, use a damp cloth with mild soap to spot clean. Make sure the blinds are dry before rolling them up.
- Avoid Harsh Chemicals: Don’t use strong cleaners or bleach as they can damage the finish of the blinds.
- Check Mechanisms: Periodically test the opening and closing mechanisms to ensure they’re working smoothly. If not, refer to your instruction manual for troubleshooting tips.
- Adjust for Seasons: During different seasons, adjust the blinds to manage light and heat effectively. Proper adjustment can also reduce wear and tear.
By following these simple upkeep steps, your Levolor blinds will continue to function perfectly and complement your home’s aesthetics. Stay proactive about maintenance for long-lasting beauty and performance.
Enhanced Home Aesthetics with Proper Blind Installation
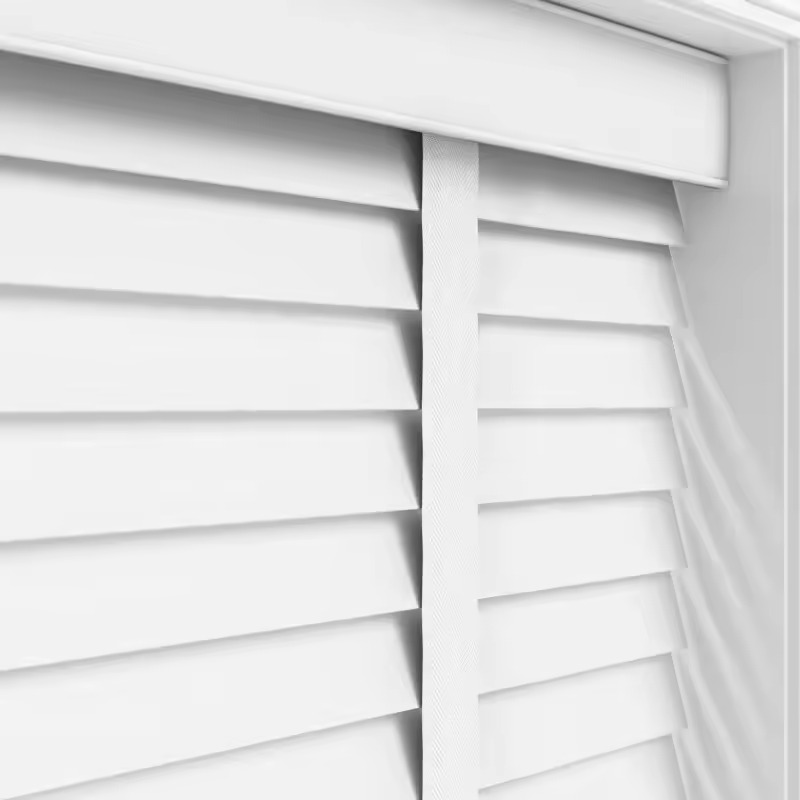
Proper levolor blinds installation not only adds functionality but also boosts your home’s look. Neatly installed blinds can really pull a room together, creating an attractive and cohesive aesthetic. To ensure your blinds enhance your home’s style, consider the following points:
- Align with Interior Design: Choose blinds that match your room’s color scheme and decor style. The right color and material can complement your furnishings and create a polished look.
- Consistency is Key: Install the same style of blinds throughout your home for consistency. This creates a seamless look that can visually expand the space.
- Customize to Windows: Tailor blinds to the shape and size of each window for a custom-fit appearance. There’s no one-size-fits-all; custom fitting can make a world of difference.
- Proper Placement: Install blinds so they open and close without obstruction. Blinds that function well look better and last longer. Also, ensure they provide the intended level of privacy and light control.
- Clean Finish: Hide mounting hardware and brackets with a valance or headrail cover. This gives your blinds a neat, professional look that enhances the room’s aesthetic.
- Periodic Adjustment: Adjust your blinds periodically for light and privacy needs, keeping them at the right angle to look their best at all times.
- Eye for Detail: Pay attention to the small details, like ensuring slats align when closed and cords are neatly tucked away. These details add to a tidy and appealing appearance.
By taking these tips into account, levolor blinds installation can be the finishing touch your home needs. Well-fitted, matching blinds that complement your interior design can truly enhance your home’s overall aesthetic appeal.


