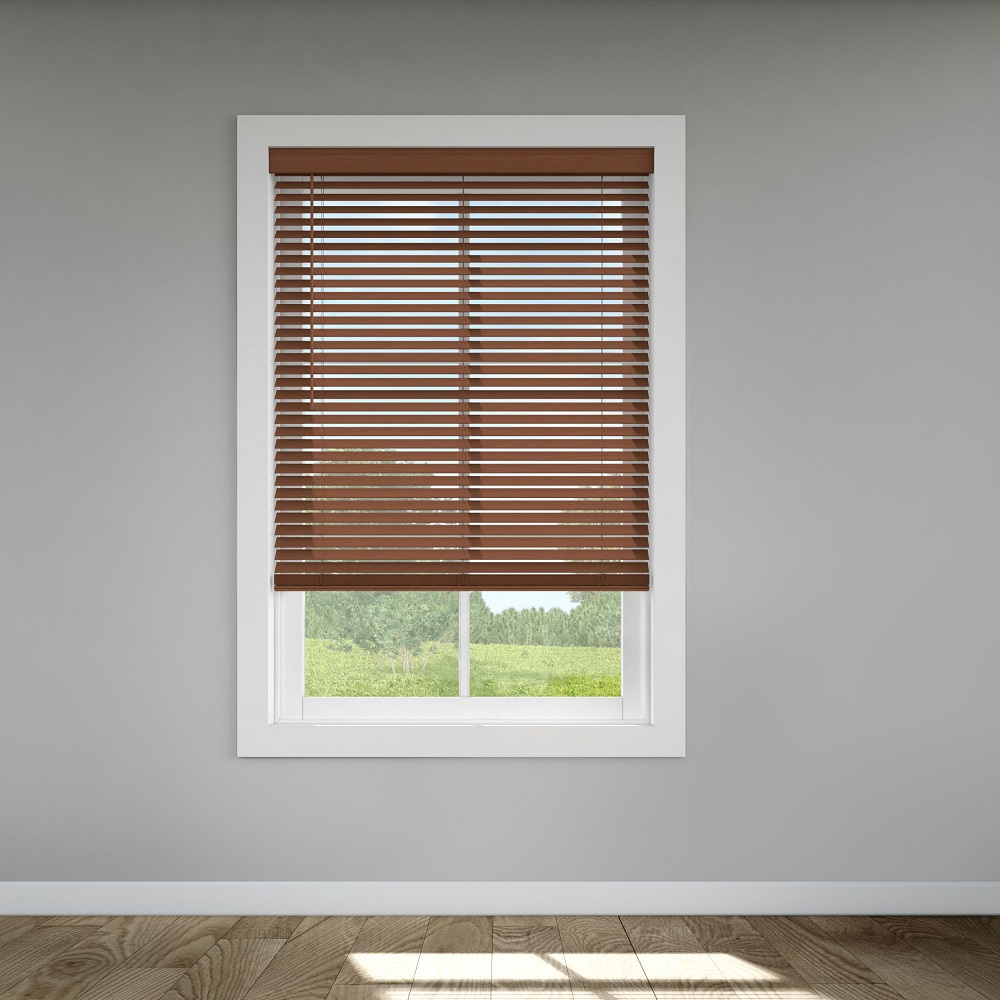
Installing Levolor blinds can significantly enhance the interior design of your home while offering privacy and light control. However, the process can sometimes seem intimidating to DIY enthusiasts. This guide will break the installation down into manageable steps, ensuring that you can confidently take on this project.
Understanding Levolor Blinds
The Variety of Levolor Blinds
Levolor offers an extensive range of blinds to cater to various tastes and functional needs. From roller blinds to verticals and cellular shades, each type features unique materials and mechanisms. Roller shades are known for their simplicity, while cellular shades provide energy efficiency with their honeycomb construction. Vertical blinds are ideal for large windows and sliding doors, offering an elegant solution for light control. Understanding the differences will help you choose the perfect style that complements your living space.
Key Features of Levolor Blinds
Levolor blinds are designed with both aesthetics and functionality in mind. Many models come equipped with innovative features such as cordless operation, which enhances safety, especially in homes with children or pets. They also include UV protection to shield furniture and floors from sun damage while reducing heat buildup in the home. Familiarizing yourself with these features can help you select the best options for your individual needs, making the installation process worthwhile.
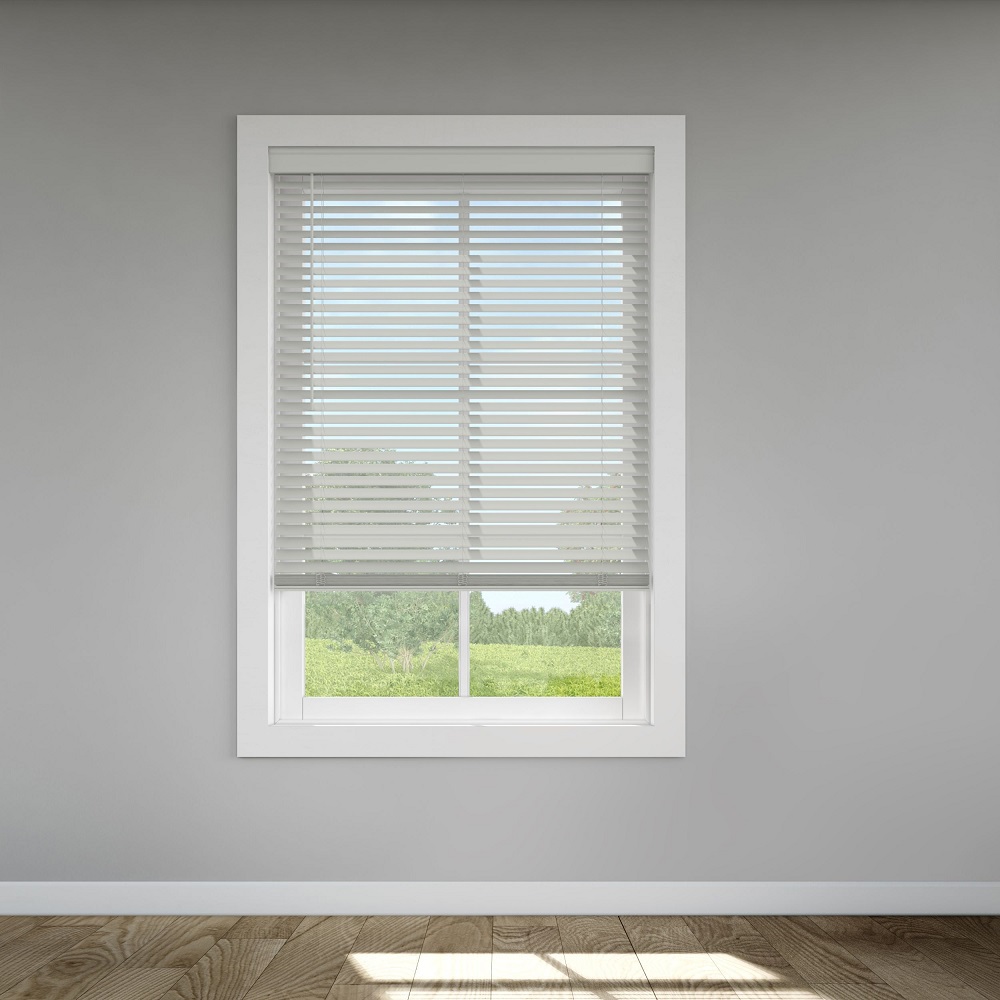
Preparing for Installation
Gather Necessary Tools and Materials
Before you begin your installation journey, it is essential to gather all necessary tools and materials. You will typically need a measuring tape, a level, a drill, a screwdriver, a pencil, and brackets, which usually come with the blinds. Additionally, having a stepladder might prove beneficial if you are working with high windows. Preparing your workspace by clearing the area around the window will also make the process smoother, with fewer interruptions.
Measuring Your Windows
Accurate measurements are critical for a successful installation. Begin by measuring the width and height of your window frame. Depending on how you want to mount your Levolor blinds—inside the frame or outside—be sure to take precise measurements. For inside-mount installations, subtract a half inch from the width measurement to ensure a snug fit. For outside-mount installations, add extra inches to each side for maximum coverage. Record your measurements clearly to avoid any confusion during installation.
Installing Levolor Blinds
Preparing the Brackets for Installation
Once you have your blinds and tools ready, the first step is to install the brackets that will hold the blinds in place. Use the level to determine if you want to install the brackets for an inside or outside mount. Mark the bracket locations using a pencil; ensure these marks are evenly spaced for a professional finish. Most Levolor blinds come with a guide that indicates the correct placement of the brackets. Following these instructions will help you achieve the perfect alignment.
Drilling Holes and Securing the Brackets
After marking the installation spots, it’s time to drill holes for the brackets. Be cautious while drilling; it’s vital to create clean holes to ensure that brackets can be installed securely. Most brackets will require at least two screws for optimal stability. Once drilled, align the brackets with the holes, and use your screwdriver to secure them tightly. Check with a level to ensure the brackets are straight before fully tightening the screws.
Attaching the Blinds
Hanging the Blinds
With the brackets securely in place, it’s time to hang the Levolor blinds. Many models feature a simple clip mechanism, where you can place the blinds in the brackets and snap them in. For more intricate designs, please refer to the manufacturer’s instructions. If the blinds come with a headrail, ensure it is securely rested within the brackets before pressing down. This part of the process is where your earlier measuring and bracket preparation will pay off.
Ensuring Proper Functionality
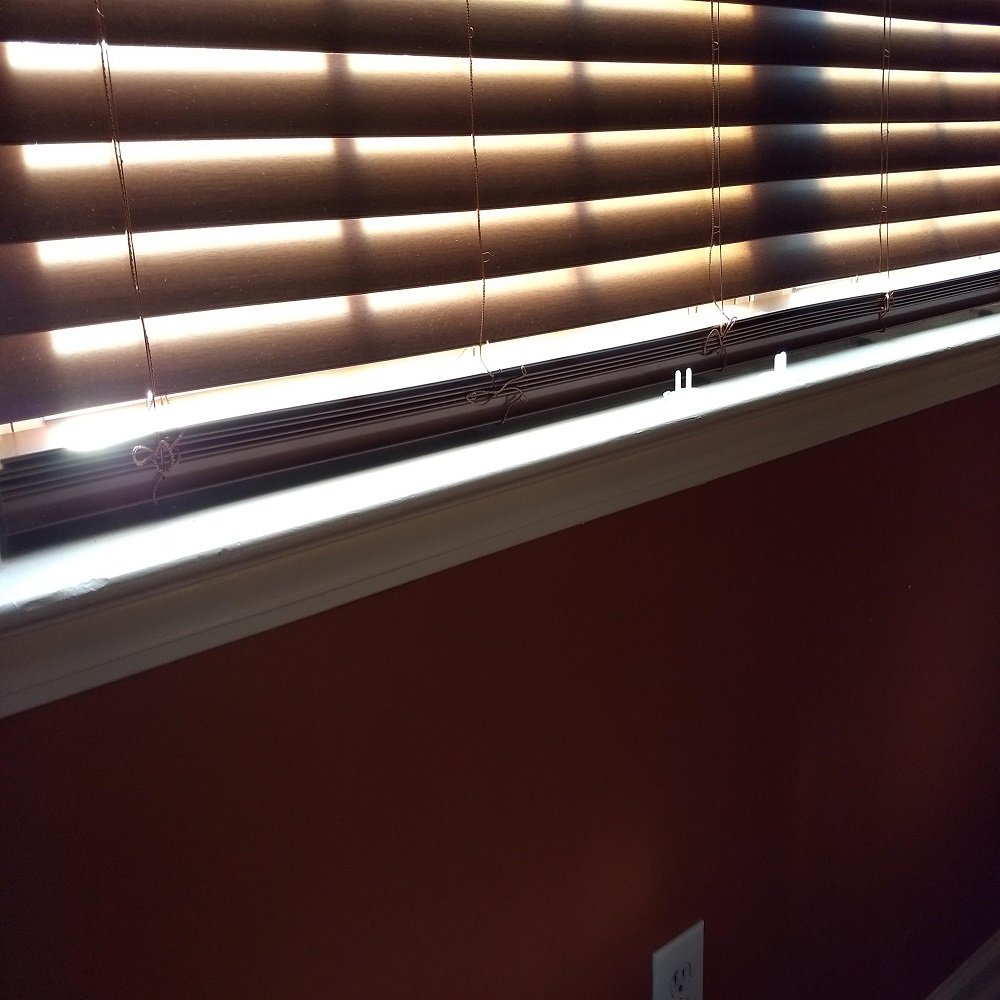
After attaching the blinds, it’s essential to test their functionality. Pull them up and down a few times to ensure they operate smoothly. Check the alignment of the slats; they should close completely and open without obstructions. If you notice any issues during this testing phase, adjust the brackets or consult the installation guide for troubleshooting tips. This ensures your blinds will perform optimally for years to come.
Finalizing the Installation
Trimming and Adjusting
Once your blinds are hung and functional, check to see if they need any trimming. Some Levolor blinds might come with customizable lengths, allowing you to adjust them to fit your window even better. If trimming is necessary, use a utility knife, cutting carefully to ensure a smooth edge. If your blinds are a bit too long, properly trim the excess material and avoid jagged edges for a refined look.
Clean-Up and Maintenance Tips
Finalizing your Levolor blinds installation also includes cleaning up the workspace and maintaining the blinds. Ensure that all tools and debris are cleared away from the area for safety. It’s a good practice to periodically dust your blinds and clean them according to the manufacturer’s guidelines to preserve their appearance and functionality. Using a duster or vacuum attachment will help in maintaining the blinds without damaging them.
Advanced Tips and Tricks
Making Adjustments for Unique Window Styles
If you have non-standard windows, such as those that are arch or angled, adjustments may be required during installation. Levolor blinds come with custom solutions to fit unique window shapes. It’s advisable to consult the company’s specific guidelines for these cases or consider seeking professional assistance for optimal results. Properly addressing unique window styles will improve both appearance and functionality.
Safety and Childproofing
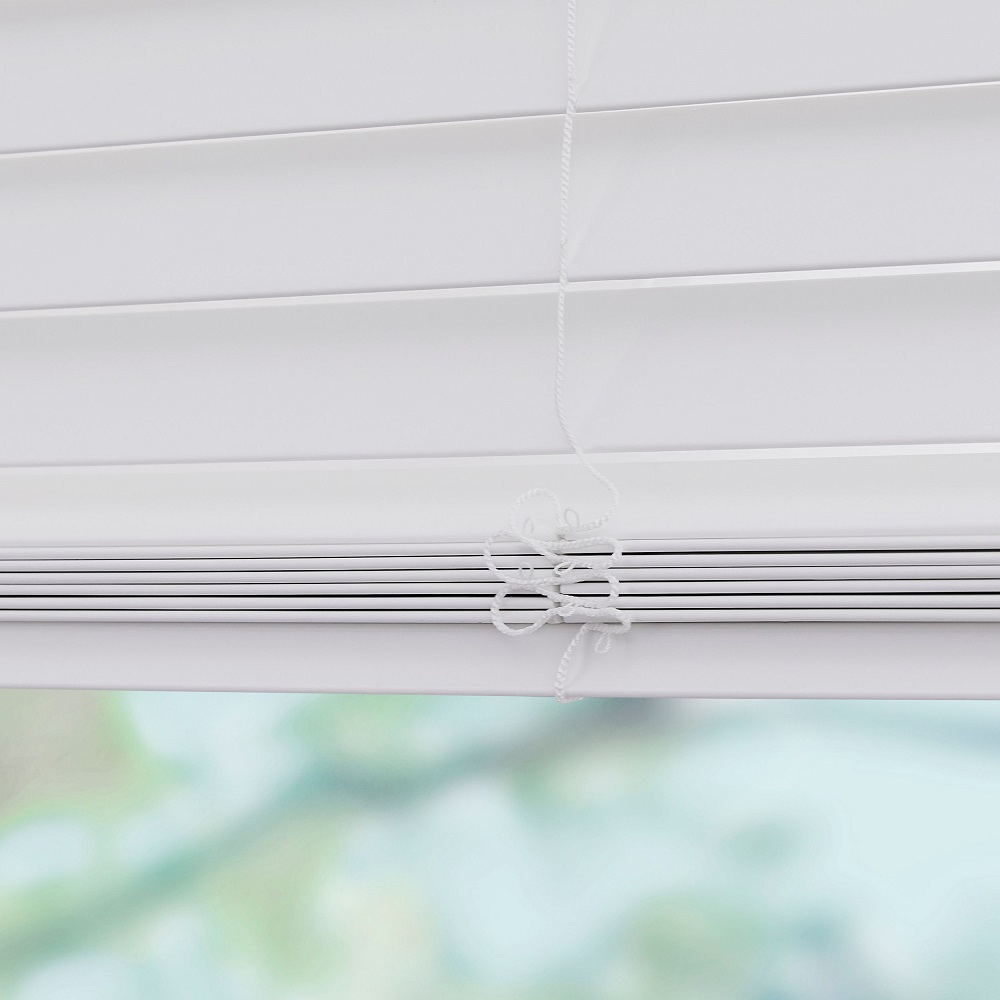
When installing blinds, safety should always be a priority, especially for homes with young children. Levolor offers various options for child-safe installations, including cordless varieties. Additionally, consider using safety devices that tie up corded blinds out of reach of small hands. Installing these features during your initial setup will ensure a secure environment for all family members.
Measuring for Accuracy
Accurate measurements are crucial when installing blinds to ensure a proper fit, especially for non-standard windows. Begin by measuring the width and height of your window frame, taking note of any obstructions such as handles or window cranks. Use a metal tape measure for the best accuracy, and always measure in multiple spots to account for any irregularities in your window’s shape. When considering mounting options—for instance, inside or outside the frame—remember that each will require different measurements. Double-check your figures before placing an order to avoid costly mistakes.
Conclusion
A Satisfying DIY Project
Installing Levolor blinds is a rewarding DIY project that can enhance your home’s aesthetics and increase its functionality. Following this comprehensive step-by-step guide can eliminate confusion and help you achieve a professional-looking installation. As you enjoy the new addition to your space, take pride in the fact that you accomplished this project yourself.
Continuing Education in Home Improvement
Finally, consider exploring other home improvement projects to expand your skillset. Learning new techniques and methods can bolster your confidence in handling future installations, whether it’s blinds, shades, or other interior design elements. Every project you undertake will add to your knowledge and improve your home, giving you the satisfaction of creating a space that feels uniquely yours.
With proper planning and execution, mastering Levolor blinds installation can lead to transforming your living space beautifully. Armed with the right knowledge, tools, and techniques, you can tackle even the most complex installation projects with confidence. Enjoy the beauty and functionality Levolor blinds bring into your home!


