Choosing the Right Blinds for Your Windows
Selecting the perfect blinds for your windows is a critical step. You should consider not only aesthetics but also functionality and durability. Think about the purpose of the room, the amount of natural light you want, and if you need blinds that provide privacy, light control, or insulation.
Types of Blinds Available at Lowes
Lowes offers a wide range of blinds to suit any taste and budget. Some popular types include:
- Vertical Blinds: Ideal for patio doors and large windows.
- Venetian Blinds: These are perfect for achieving a classic look.
- Roller Blinds: Suitable for modern decor styles; they are simple yet effective.
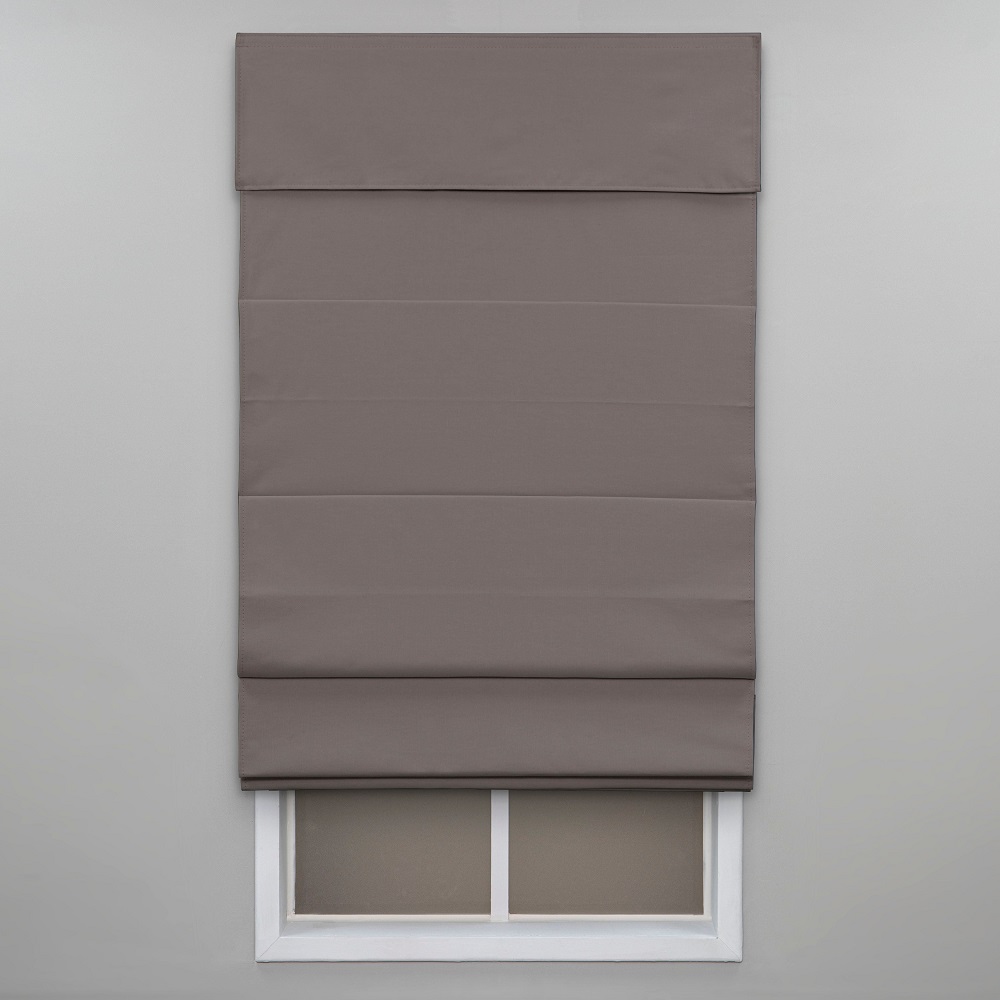
- Roman Blinds: These create a soft, layered effect in your space.
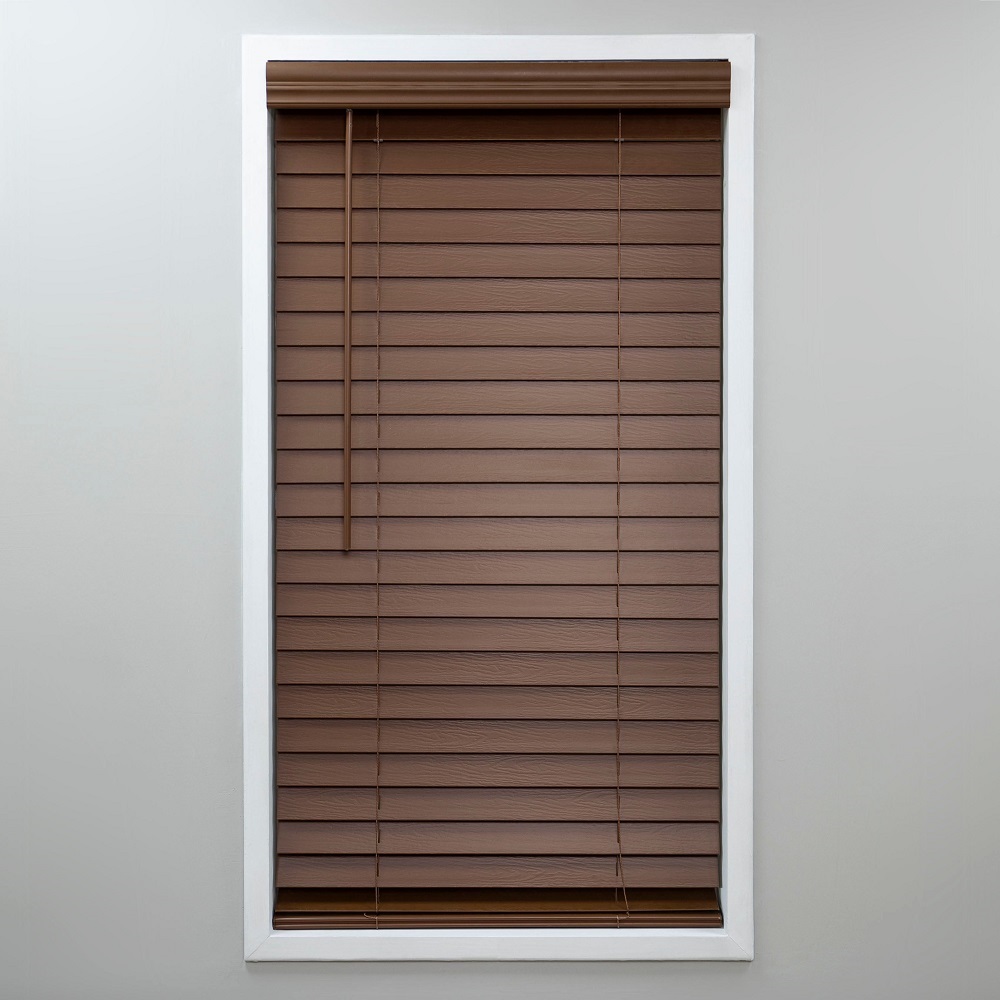
- Wooden Blinds: Best for adding warmth and elegance to any room.
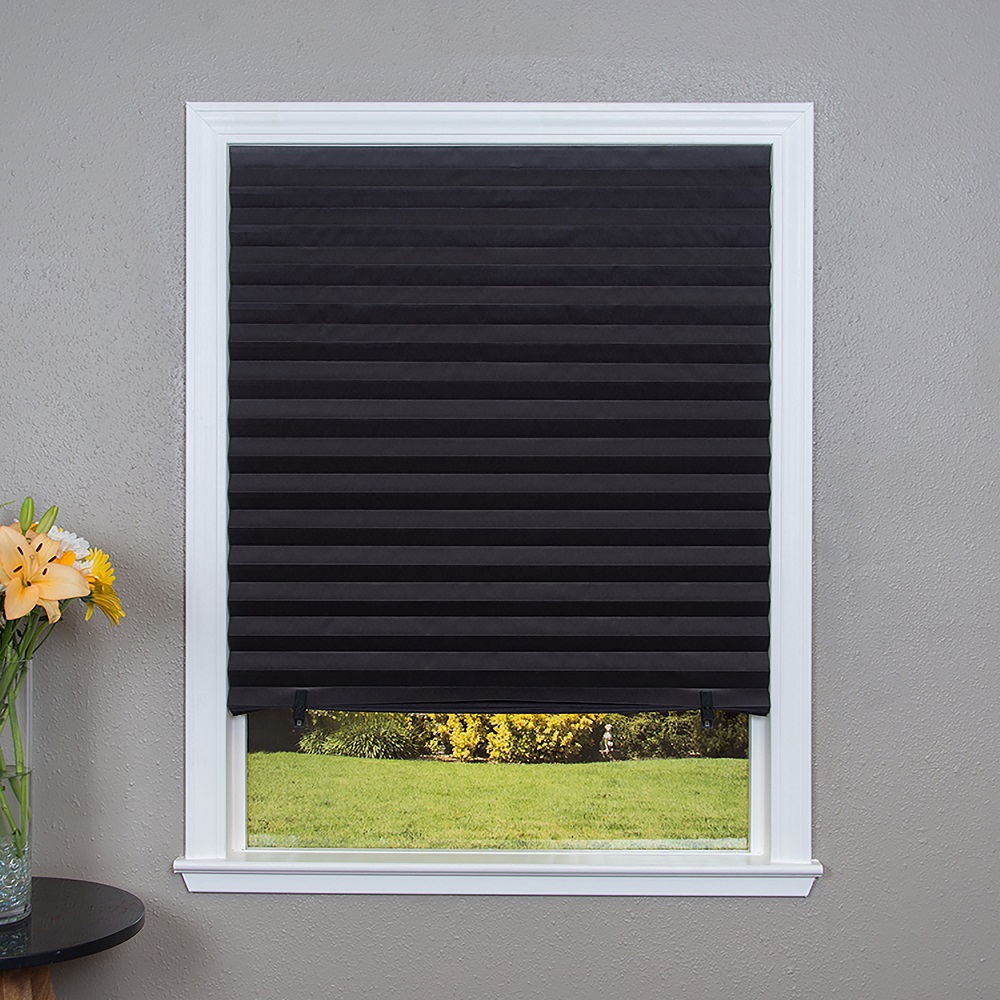
Additionally, there are special blinds for blackout purposes and those suitable for wet areas like kitchens and bathrooms.
Measuring Your Windows Correctly
Accurate measurements are key to the best fit for your blinds. Follow these steps:
- Measure the width of the window from the inside edges at the top, middle, and bottom. Use the smallest width measurement.
- Measure the height from the inside edge of the top of the window to the sill at left, middle, and right. Use the longest height measurement.
- Always remember to check for any obstructions like handles or tiles and consider them in your measurements.
- Record your measurements clearly and double-check them before ordering or cutting any blinds.
By choosing the right type of Lowes blinds and measuring precisely, you can ensure a great look and a functional upgrade for your windows.
Essential Tools and Materials Needed
Before starting the installation of your Lowes blinds, certain tools and materials are indispensable. This section covers what you’ll need to ensure a hassle-free installation process.
Overview of Tools
Equip yourself with the right tools to secure a smooth installation. Essential tools include:
- Measuring Tape: For accurate window measurements.
- Screwdriver: Preferably both flathead and Phillips.
- Drill: To make holes for the brackets.
- Level: Ensures your blinds hang straight.
- Pencil: For marking where screws and brackets go.
These tools are crucial for the proper installation of Lowes blinds. Double-check that you have all these tools before you begin.
Overview of Materials
Alongside the right tools, you need various materials:
- Blinds: Purchased from Lowes tailored to your window’s measurements.
- Brackets: Usually included with your blinds.
- Screws and Anchors: Necessary for securing the brackets.
- Wall Plugs: Depending on your wall type.
Gather all materials and verify their conditions before starting the installation process to avoid any interruptions.
Preparing for Installation
Before you begin the installation of your Lowes blinds, preparation is key. This section outlines the necessary steps to prepare your area and ensure safety throughout the process.
Clearing the Workspace
To make your Lowes blinds installation experience efficient and safe, start by clearing the workspace:
- Remove furniture: Ensure nothing is in the way of your working area around the window.
- Clean the area: Sweep or vacuum to remove dust and debris. This prevents any mess during installation.
- Organize your tools and materials: Arrange all tools and materials within reach but out of the way to avoid any accidents.
Ensuring a clear and accessible workspace will not only make the installation process smoother but also safer.
Safety Precautions to Consider
When installing Lowes blinds, considering safety precautions is essential:
- Wear safety gear: Use safety glasses to protect your eyes and gloves to safeguard your hands.
- Check the condition of your tools: Make sure all tools are in good working order to avoid malfunctions.
- Be mindful of your surroundings: Keep children and pets away from the installation area.
By taking these safety measures, you can prevent injury and ensure an effective installment of your Lowes blinds.
Step-by-Step Installation Process
Now that you’ve selected your Lowes blinds and gathered all the necessary tools and materials, it’s time to dive into the actual installation process. By following these step-by-step instructions, you’ll ensure your blinds are installed properly and efficiently.
Mounting the Brackets
Before you can hang the blinds, you need to secure the brackets to your window frame:
- Identify the Bracket Locations: Use a pencil to mark where the brackets will go. Ensure they are evenly spaced and aligned straight across.
- Drill Pilot Holes: Using a drill, make pilot holes at the marked spots. This will make it easier to screw the brackets in place.
- Attach the Brackets: Screw the brackets into the pilot holes. Double-check they are firm and level before moving on.
Attaching the Blinds
With the brackets in place, you’re ready to attach the blinds:
- Align the Blinds: Lift the blinds and align them with the open brackets.
- Secure the Blinds: Close the brackets to clamp down on the blinds. Ensure they are securely held.
Securing the Blinds
For additional security and functionality, take the following steps:
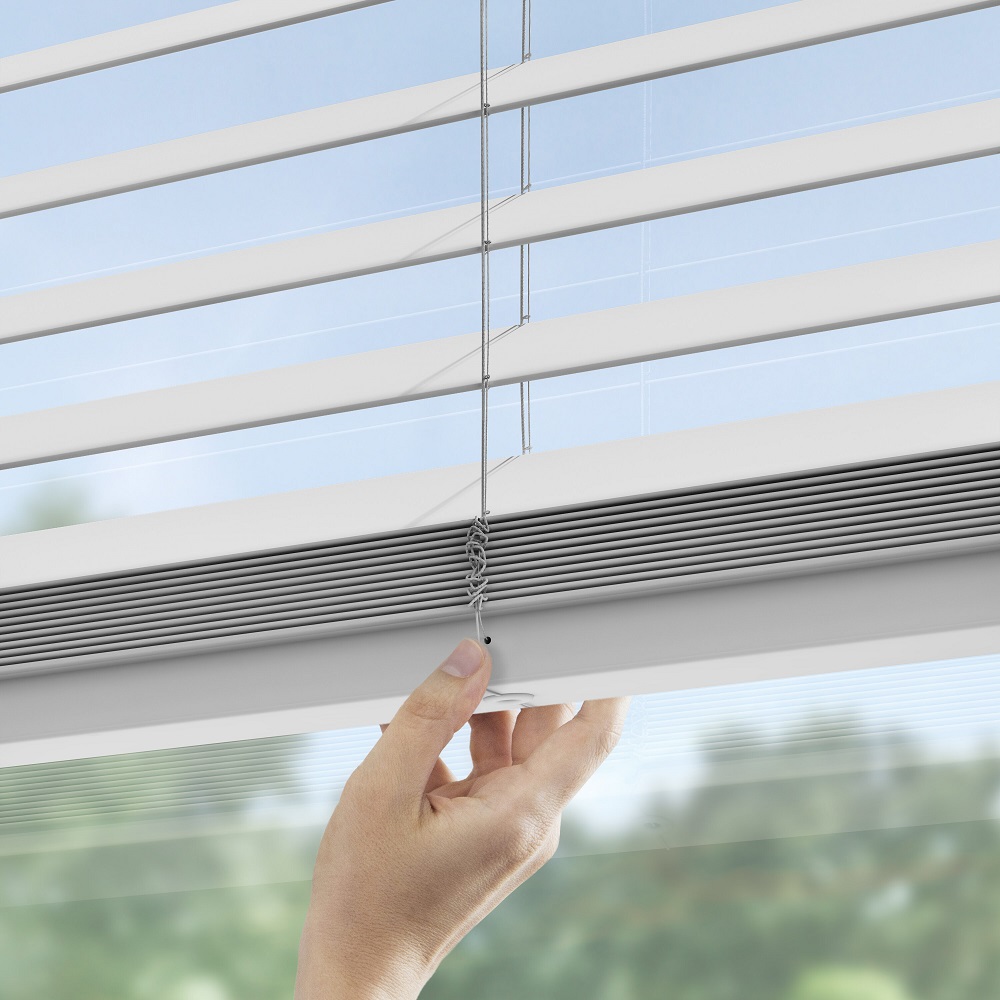
- Test the Mechanism: Pull the cord to ensure the blinds move up and down smoothly.
- Make Adjustments: If the blinds seem uneven or snag, adjust the cords and brackets accordingly.
By following these steps for Lowes blinds installation, you’ll have functional and well-installed blinds that enhance the aesthetic of your room. Always cross-check each step for security and proper alignment.
Tips for a Smooth Installation
Having followed the step-by-step guide for your Lowes blinds installation, we want to ensure you also have a seamless process. Here are some helpful tips to assist you in achieving the perfect install.
Troubleshooting Common Challenges
Even with careful preparation, you might face some difficulties. Here are quick solutions:
- Blind won’t clip into the bracket: Check if the bracket is fully open. Adjust if needed.
- Blinds are uneven: Use the level to confirm the brackets are straight. Realign if they are off.
- Cord is stuck: Gently pull the cord at different angles to release any snags.
- Blinds won’t raise or lower: Confirm the mechanism isn’t locked. Consult the manual when in doubt.
Adjustments and Fine-Tuning
After mounting your blinds from Lowes, small tweaks can improve their operation:
- Refine Bracket Placement: Shift brackets slightly if blinds aren’t sitting well.
- Balancing the Slats: Tilt them to ensure they are evenly spaced for a clean look.
- Cord Length: Adjust the cord length for easy reach and to prevent tangling.
- Test Repeatedly: Raise and lower the blinds several times to ensure smooth movement.
By handling these common issues and making small adjustments, your Lowes blinds installation will not only look great but function perfectly for years to come.
Maintenance and Care for Your Lowes Blinds
Proper upkeep is crucial to extend the life of your Lowes blinds. With some easy, regular maintenance routines, you can keep your blinds looking as good as new.
Regular Maintenance Tips
To maintain the appearance and function of your blinds, consider the following:
- Dust Regularly: Use a soft cloth or duster to wipe away dust. Do this weekly.
- Spot Cleaning: For spots or stains, use a damp cloth with mild soap.
- Avoid Harsh Chemicals: Stick to gentle cleaners to prevent damage to blinds material.
- Check Mechanisms: Monthly, test the cords and moving parts to ensure they work smoothly.
These simple practices can significantly prolong the blinds’ lifespan and performance.
When to Replace Your Blinds
Sometimes, it’s time for an upgrade. Look out for these signs:
- Wear and Tear: If slats are bent or the mechanism fails, consider new blinds.
- Outdated Style: Upgrade to match recent decor changes in your home.
- Reduced Functionality: Should the blinds stop providing adequate light control or privacy, get new ones.
If you notice these issues, visit Lowes to find a replacement that fits your new needs and style. Remember to recycle old blinds if possible, contributing to environmental sustainability.


