


Introduction to Blinds Installation
Blinds are a practical and stylish way to control light and privacy in your home. When purchasing blinds from Lowe’s, professional installation can ensure they fit perfectly and function properly. This guide will offer expert tips for a smooth and efficient blinds installation process, covering preparation, measurement, installation, and maintenance.
Understanding Different Types of Blinds
Vertical vs. Horizontal Blinds
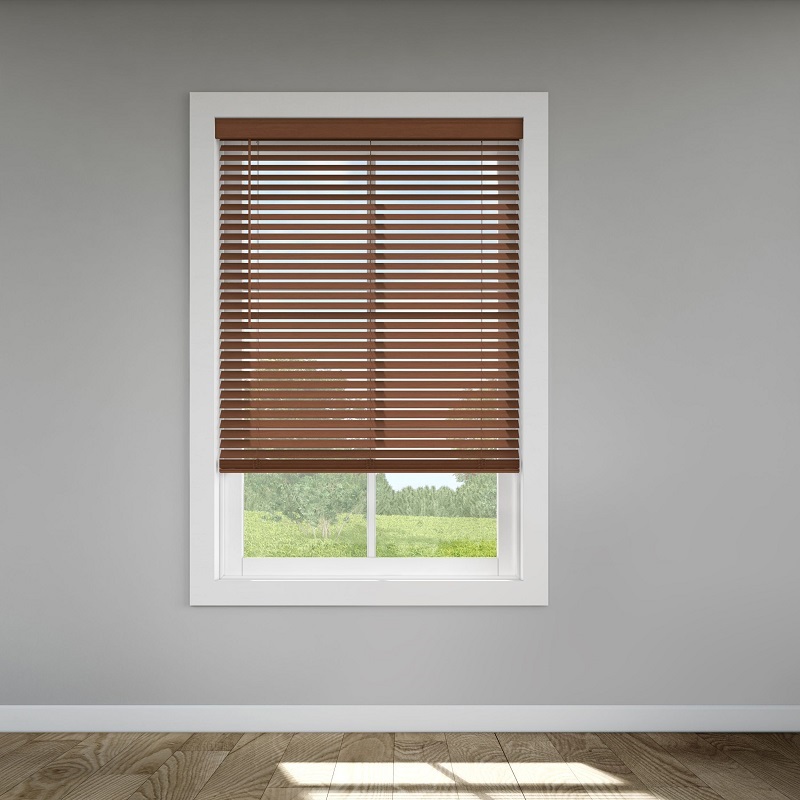
Blinds come in various styles, with vertical and horizontal being the most common. Vertical blinds are ideal for large windows or sliding glass doors and offer a modern look. They are easy to clean and allow for precise light control. Horizontal blinds, including mini blinds and Venetian blinds, are better suited for smaller windows and offer a classic appearance. They are versatile and available in a range of materials, such as wood, faux wood, and aluminum.
Choosing the Right Material
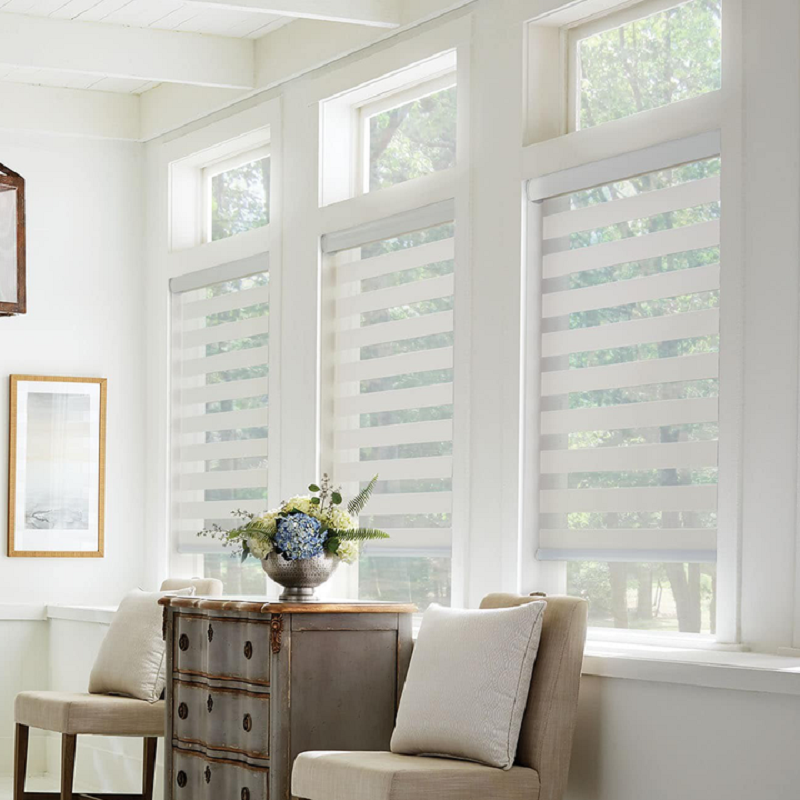
Selecting the right material for your blinds is crucial for both aesthetics and functionality. Fabric blinds, such as those made from polyester or cotton, are great for filtering light and adding a soft touch to your room. Wooden blinds add warmth and elegance but may require more maintenance. Faux wood blinds offer the look of wood but are more durable and resistant to moisture. Each material has its own set of advantages, so consider factors like durability, ease of cleaning, and style when making your choice.
Preparation Before Installation
Gathering Necessary Tools and Supplies
Before you begin the installation process, gather all necessary tools and supplies. You’ll need a tape measure, a pencil, a level, a drill, screws, brackets, and of course, the blinds themselves. A screwdriver and a step ladder might also be helpful, depending on the height of your windows. Ensure that you have all components that came with the blinds, including any hardware or installation instructions provided by Lowe’s.
Clearing the Installation Area
Prepare the installation area by clearing any furniture or obstacles around the window. This will provide you with ample space to work and ensure you can easily access the window and its frame. Dust and clean the window area to make sure there’s no debris that could affect the installation process. Proper preparation will help prevent mistakes and ensure a smooth installation.
Measuring Your Windows
Accurate Measurements for Inside Mounts
For an inside mount, measure the width and height of the window opening. Take measurements at three different points: the top, middle, and bottom of the window for width, and the left, middle, and right for height. Use the smallest measurement for width and the shortest for height to ensure a proper fit. Accurate measurements are critical for ensuring that your blinds fit snugly inside the window frame.
Accurate Measurements for Outside Mounts
If you prefer an outside mount, measure the width of the area you want the blinds to cover. Add extra width to ensure that the blinds will fully cover the window opening and provide adequate light control and privacy. Measure the height from the top of the mounting area to where you want the blinds to end. Adding extra height can also help block out more light and improve privacy.
Installing Blinds: Step-by-Step
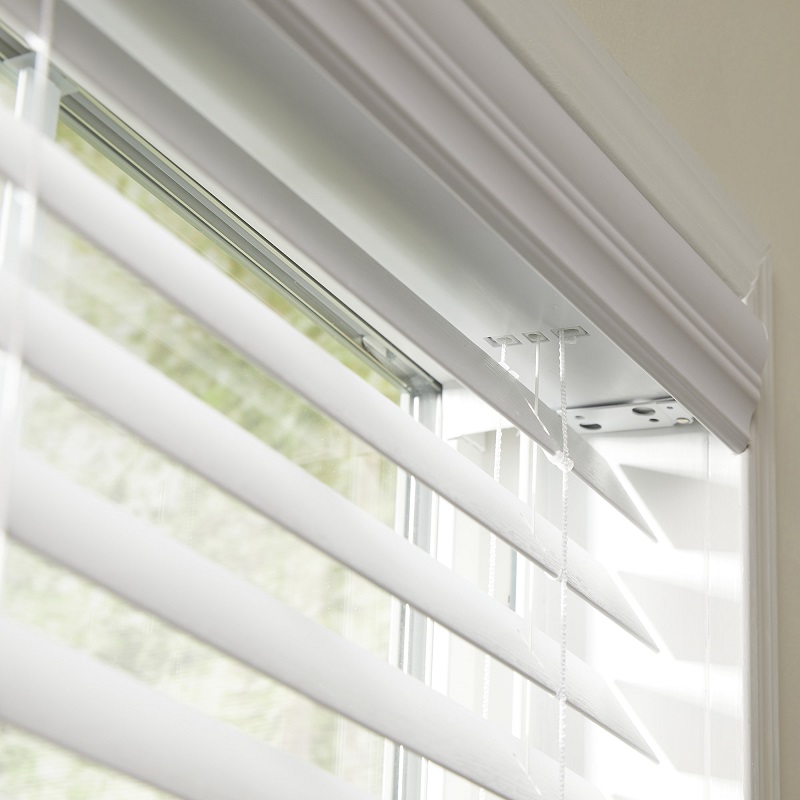
Mounting the Brackets
Start by marking the bracket positions on the window frame or wall. Use a level to ensure the brackets are aligned properly. Drill pilot holes for the screws, then attach the brackets securely. Ensure that the brackets are firmly fixed and level to avoid any issues with the blinds’ operation. Follow the specific instructions provided by Lowe’s for the best results.
Attaching the Blinds
Once the brackets are in place, you can attach the blinds. Slide the headrail of the blinds into the mounted brackets, making sure it’s securely seated. For blinds with a cord or chain, ensure that these components are correctly threaded through the appropriate channels or guides. Test the blinds to make sure they open and close smoothly, and adjust as necessary to ensure proper function.
Adjusting and Testing
Fine-Tuning the Fit
After installation, check the fit of the blinds. Ensure that they are level and that there are no gaps between the blinds and the window frame. Make any necessary adjustments to the brackets or blinds to achieve a perfect fit. If your blinds have a tilt mechanism, test it to ensure that the slats tilt evenly and that there are no obstructions.
Testing Operation
Test the blinds by operating them several times to ensure they work smoothly. Check for any issues with opening, closing, or tilting. If you encounter any problems, review the installation instructions and make adjustments as needed. Proper testing ensures that the blinds will function as expected and provide the desired level of light control and privacy.
Maintaining Your Blinds
Regular Cleaning Practices
Regular cleaning is essential for maintaining the appearance and functionality of your blinds. For fabric blinds, use a vacuum with a brush attachment or a damp cloth to remove dust and stains. Wooden blinds should be dusted regularly with a soft cloth or a feather duster. Faux wood and metal blinds can be cleaned with a mild detergent and a damp cloth. Avoid using harsh chemicals that could damage the blinds.
Addressing Common Issues
Over time, blinds may encounter issues such as frayed cords, misaligned slats, or damaged brackets. Address these problems promptly to prevent further damage and ensure continued functionality. Replace any broken components and realign slats if necessary. Regular maintenance and prompt repairs will extend the lifespan of your blinds and keep them looking their best.
Exploring Customization Options
Customizing Blinds to Fit Your Style
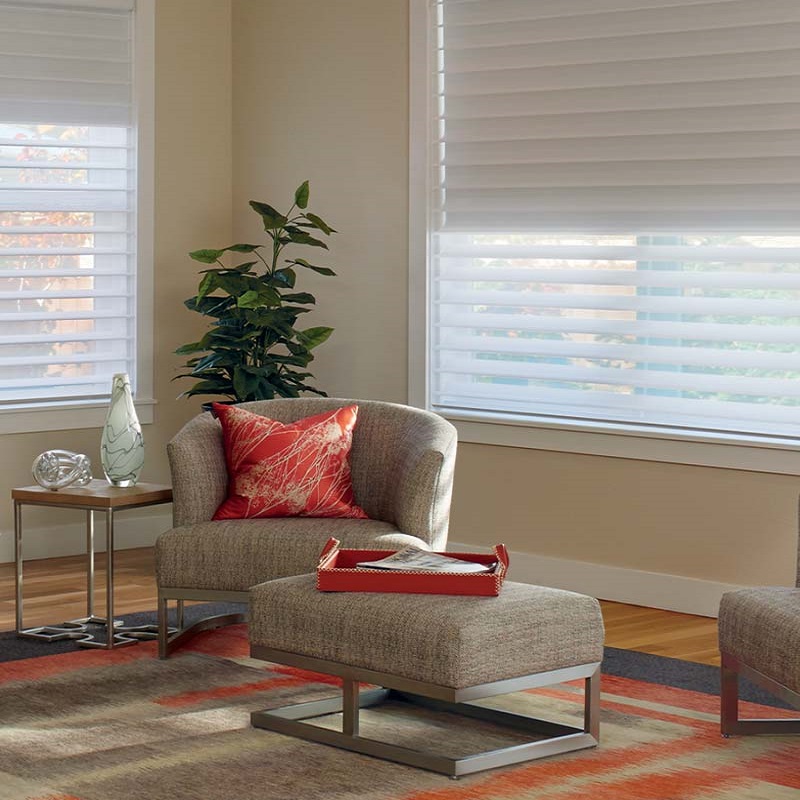
Lowe’s offers various customization options for blinds, allowing you to tailor them to your specific style and needs. You can choose from different colors, patterns, and finishes to match your décor. Consider fabric choices for added texture or wood types for a more natural look. Customization ensures that your blinds complement your interior design and reflect your personal taste.
Enhancing Functionality with Smart Features
For added convenience, explore smart blinds that can be integrated with home automation systems. Smart blinds offer features such as remote control, scheduling, and voice command compatibility. This technology allows you to adjust your blinds with ease and incorporate them into your daily routine, enhancing both functionality and comfort in your home.
Troubleshooting Installation Issues
Addressing Common Installation Challenges
During installation, you may encounter challenges such as misaligned brackets or uneven blinds. If the blinds do not fit as expected, double-check your measurements and ensure that the brackets are securely mounted and level. For issues with operation, verify that all components are correctly installed and that there are no obstructions affecting the blinds’ movement.
Seeking Professional Help
If you experience persistent issues or prefer a more hands-off approach, consider seeking professional help. Lowe’s offers installation services that ensure a precise and hassle-free installation. Professional installers are experienced in handling various types of blinds and can address any complications that may arise, providing peace of mind and ensuring optimal performance.
Conclusion
Installing blinds from Lowe’s can significantly enhance the look and functionality of your windows. By understanding the different types of blinds, preparing adequately, measuring accurately, and following proper installation procedures, you can achieve a professional and polished result. Regular maintenance and addressing issues promptly will ensure that your blinds remain in excellent condition and continue to meet your needs for light control and privacy.


