


Vertical blinds can be a stylish and practical addition to any home, but they may occasionally encounter issues. Whether it’s due to wear and tear, an accidental snag, or even a pet-related incident, fixing vertical blinds can seem daunting. Fortunately, with a bit of patience and the right technique, you can restore them to their former glory. This comprehensive guide will take you through the step-by-step process of fixing vertical blinds like a pro.
Understanding the Anatomy of Vertical Blinds
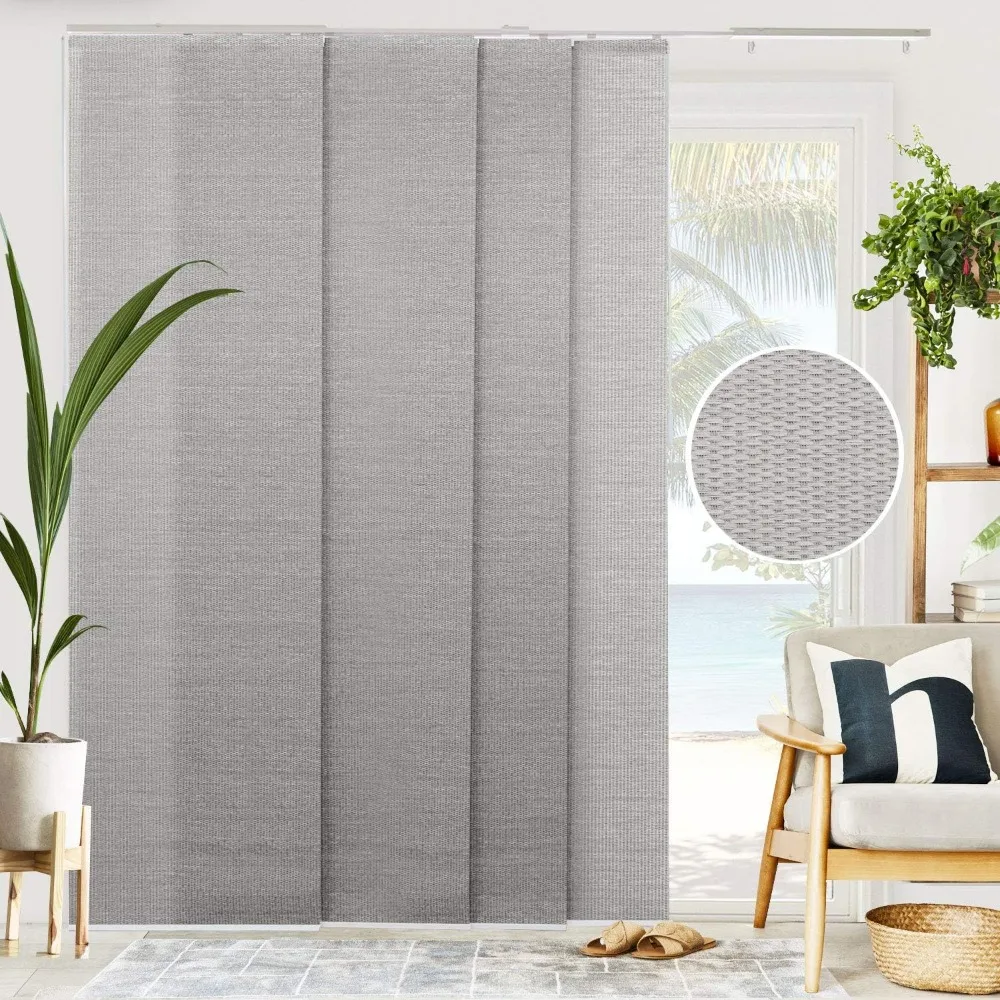
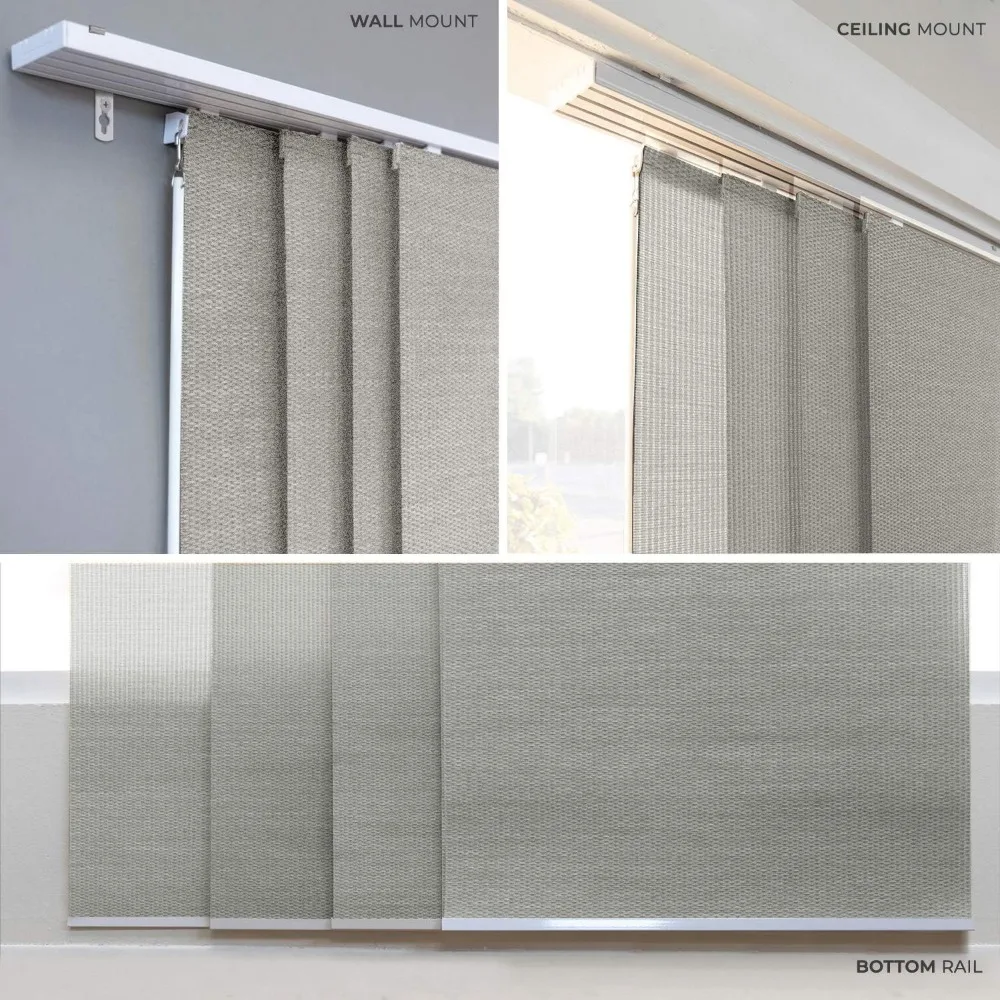
Before diving into repairs, it’s vital to understand how vertical blinds are constructed. Typically, vertical blinds consist of slats, a headrail, and a control mechanism. The slats are usually made of fabric, vinyl, or aluminum, attached to a headrail that houses the mechanism for opening and closing the blinds. The control system often includes a chain, wand, or cord, allowing slats to rotate and draw aside for better light and visibility. By familiarizing yourself with these components, you’ll be better prepared to identify issues and determine the best course of action for your repairs.
Common Issues with Vertical Blinds
There are several common problems that may arise with vertical blinds. Slats can get stuck, fall out, or break, and mechanisms may wear down over time. Sometimes, a simple dirt buildup can affect their operation. Other issues to consider include the valance getting dislodged or the mounting brackets loosening. Identifying the specific issue is the first step towards a successful fix. For example, if a slat has fallen off, you need to determine whether it’s a broken clip, a damaged slat, or simply a misalignment. Once you categorize the problem, you’ll be ready to tackle it head-on.
Tools and Materials Needed for Repairs
A well-prepared toolkit can make the repair process much smoother. Here’s a list of essential items you may need:
- Screwdriver: For reattaching brackets and hardware.
- Replacement Slats: If any are broken, having a few extra on hand makes replacements easy.
- Clips: These hold the slats in place and may need replacing regularly.
- Measuring tape: To ensure any new slats fit properly.
- Ladder or step stool: Useful for reaching high-mounted blinds.
- Cleaning cloth and mild detergent: To clean slats and the headrail.
- Pliers: For gripping and adjusting any tight connections.
Having these tools will expedite your efforts and reduce the hassle during the repair process. It’s always smart to check your blinds for extra clips or slats, just in case additional repairs are needed during your working session.
Step 1: Safety First
Before you begin any repair work, ensure your safety comes first. If your vertical blinds are mounted high on a window frame, take precautions when using a ladder or step stool. Make sure the ladder is stable and always face the step ladder when reaching. It’s also smart to remove any nearby furniture that may hinder your movement or pose a tripping hazard. Wearing safety goggles can also be a wise choice, especially if there is broken hardware or components you have to deal with.
Step 2: Diagnose the Problem
Once you’ve prepared your workspace, the next step is to diagnose the issues with your vertical blinds. Pull the blinds completely open and inspect each slat for any signs of damage, such as cracks or fraying. Check the headrail for any malfunctioning parts. The control mechanism should operate smoothly; unresponsive or stuck mechanisms may need lubrication or replacement. A thorough examination will help you determine which repairs are necessary and which components may require full replacement.
Step 3: Cleaning Your Vertical Blinds
Before making any repairs, it’s often wise to clean your vertical blinds. Dust, dirt, and allergens can accumulate on the surfaces, causing operational issues over time. To clean, simply use a gentle detergent diluted in warm water with a soft cloth to wipe down each slat, headrail, and any hardware. For fabric slats, you may also consider using a soft brush attachment on a vacuum cleaner to remove dust effectively. After cleaning, allow everything to dry before proceeding with repairs. A clean start can make a significant difference in both the function and appearance of your blinds.
Step 4: Fixing Slats and Clips
If you’ve discovered that one or more slats have fallen off, or if the clips holding them in place are damaged, you’ll need to replace them. To do this, remove any faulty clips by gently prying them off with your screwdriver. Once they are free, clip the new ones in place securely. If any slats are damaged, follow the measurements taken earlier and replace them with newly purchased slats that match your existing blinds. After installing the new slats, ensure they’re aligned properly to avoid unsightly gaps.
Step 5: Repairing the Headrail and Mechanism
If the headrail is malfunctioning, it’s essential to make repairs before attempting to use the vertical blinds. Start by checking the mechanism for any stuck components; there might be dust or grime that has built up over time. Lubricating the gears can often solve common issues. If components are broken, you may need to replace the entire headrail, which is generally sold as a separate part. When tackling this, follow the instructions for your specific model to ensure a seamless installation.
Step 6: Reattaching or Replacing the Valance
The valance adds a finishing touch to your vertical blinds but can often come loose or dislodge during regular use. Inspect it carefully; if it’s damaged, consider purchasing a replacement. Installation generally involves sliding it back onto the clips on the headrail. If clips are broken, those can often be easily replaced as well. When reattaching the valance, ensure it’s secure and aligned with the blinds, so it looks cohesive and stylish.
Step 7: Mounting and Bracket Installations
Another common issue involves mounting brackets becoming loose or misaligned. For this repair, check that screws and brackets are secure. If you notice that any brackets are bent or damaged, it’s time to replace them. Unscrew the faulty bracket and replace it with a new one. Ensure that it’s level when securing it, as an improperly installed bracket can cause your blinds to hang crookedly. Tighten everything securely to ensure long-term stability.
Step 8: Testing the Functionality
After completing all repairs, the next step is to test everything to ensure that it’s working as expected. Open and close the vertical blinds multiple times to check for any sticking points or bugs in the mechanism. Rotate the slats to see if they move freely. Make sure that any replacement slats visually align well with the existing ones. If you notice any movement that seems off, take the time to recheck the installation and make necessary adjustments.
Step 9: Maintenance Tips for Longevity
Once your vertical blinds are back in operation, there are a few maintenance tips you can employ to ensure they stand the test of time. Regular cleaning can minimize dust and dirt buildup that leads to operational issues. Periodically check screws and clips to ensure they’re secure, and do a function test every few months. If any part shows signs of wear, consider making minor repairs immediately to avoid more significant issues down the road. Regular attention can help maintain not only the function but also the aesthetics of your vertical blinds.
Conclusion: Fixing Vertical Blinds Like a Pro
With the right tools, techniques, and understanding of how vertical blinds work, fixing them can be a straightforward task. Whether you’re dealing with slats, mechanisms, or brackets, a patient and methodical approach will yield the best results. Follow this step-by-step guide to take on repairs with confidence and enjoy the benefits of well-functioning vertical blinds in your home. With proper care and maintenance, your blinds can continue to provide both functionality and style for years to come.


