


Installing window blinds can seem like a daunting task. However, with the right information, tools, and a little patience, you can achieve professional-looking results in the comfort of your own home. In this comprehensive guide, we will walk you through everything you need to know about installing window blinds.
Understanding the Types of Window Blinds
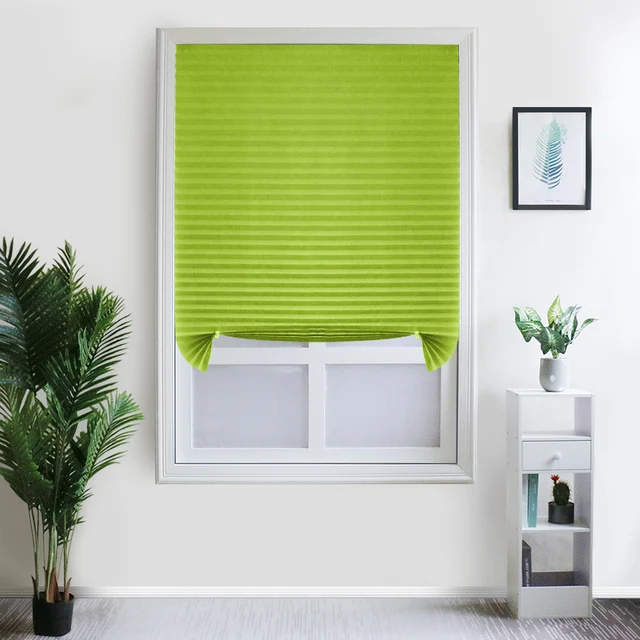
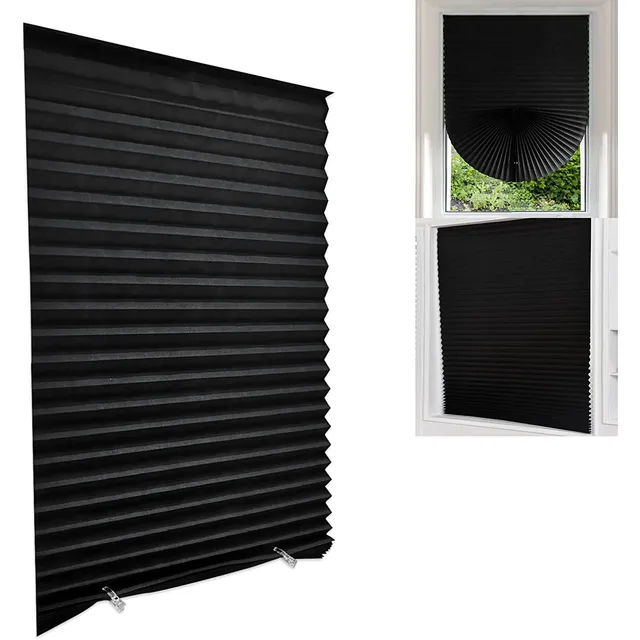
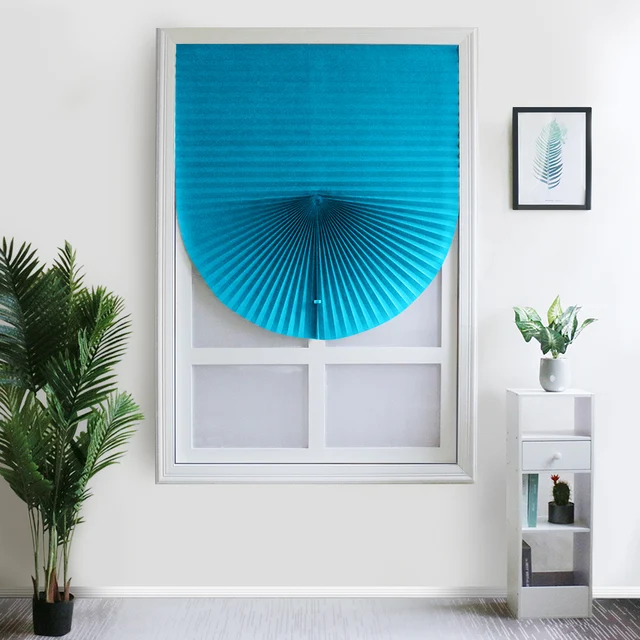
Before jumping into the installation process, it’s essential to understand the various types of blinds available. Window blinds come in numerous materials, styles, and functionalities. Common types include roller blinds, Venetian blinds, vertical blinds, and Roman shades. Roller blinds are sleek and minimalistic, making them ideal for modern interiors. Venetian blinds consist of horizontal slats that can be tilted for light control, while vertical blinds are perfect for large windows and sliding doors. Roman shades offer a classic aesthetic that can elevate your home decor. By understanding these options, you can choose the style that best suits your needs and preferences.
Gathering Tools and Supplies
Once you have selected the type and style of window blinds that you want to install, the next step is to gather the necessary tools and supplies. You will generally need a few basic items: a measuring tape, a level, a pencil, a drill, a screwdriver, and brackets for mounting. Some blinds come with their installation kits, which will usually include screws and brackets, while others may require additional purchases.
Measuring tools are crucial for ensuring a perfect fit. Accurate measurements will prevent mistakes that could lead to gaps or the need for costly returns. A drill is essential for creating holes for the mounting brackets, and a level will help ensure that your blinds hang straight. Depending on the type of blinds you’ve selected, you may also need a fabric cutter or a staple gun.
By preparing these materials in advance, you are setting the stage for a smooth and efficient installation process.
Measuring Your Windows Accurately
Accurate measurements are the cornerstone of a successful blinds installation. Whether you are mounting the blinds inside the window frame or outside, precise measurements will ensure a proper fit. For inside mounts, measure the width and height of the window opening in three places each: at the top, middle, and bottom for width, and left, center, and right for height. Record the smallest measurement to ensure your blinds will fit properly.
For outside mounts, measure the width you desire beyond the window frame for maximum light coverage and privacy. A common recommendation is to extend the blinds 2-3 inches past each side of the window. Height should be measured from the top of the window frame to where you want the bottom of the blinds to fall.
Taking these careful measurements will allow you to avoid common pitfalls, such as blinds that are too short or too wide, which could jeopardize both aesthetics and functionality.
Preparing the Installation Area
Once you have your blinds and tools ready, it’s time to prepare your installation area. Clear the window space of any obstructions such as furniture, decor, or dangling cords. Dust and dirt can impair the installation process, so be sure to clean the window and any surrounding areas. If you’re installing blinds in a room with several windows, it might be helpful to prepare each area before you start the installation.
You can also take this opportunity to organize your tools and supplies in one central location. This setup minimizes interruptions during the installation. Furthermore, it’s wise to do a quick safety check on your tools to ensure that everything is functioning correctly. If you have to use a ladder, make sure to place it on a stable surface and keep the area around the ladder clear.

Installing Inside-Mounted Blinds
With your area prepared and measurements taken, you can begin the installation process. For inside-mounted blinds, start by attaching the mounting brackets. Using your level, mark the positions for the brackets based on your measurements—ensuring they are equidistant from the top of the window frame. Drill holes for the screws you’ll be using to secure the brackets to the frame.
Once the brackets are in place, it’s time to insert the blinds. Carefully lift the blinds into the brackets, making sure they engage properly. Test the operation by lowering and raising the blinds a few times to ensure they operate smoothly. This installation method not only looks cleaner but also allows for better light control and aesthetics, as the blinds sit flush against the window frame.
If you encounter any resistance during operation, double-check that the brackets are level and securely attached. Making necessary adjustments at this stage will save you a considerable amount of trouble down the line.
Installing Outside-Mounted Blinds
If you are opting for outside-mounted blinds, the installation process is somewhat different. Begin by measuring and marking the appropriate positions for your mounting brackets, similar to how you would for inside-mounted blinds. The key difference here is that you will want your brackets positioned outside of the window frame, providing more coverage for light and privacy.
After marking the bracket positions, drill the necessary holes and secure the brackets using the supplied screws. The next step involves attaching the blinds to the mounting brackets, which may require aligning the headrail according to the manufacturer’s instructions.
Check the installation for level and make adjustments as needed. Outside-mounted blinds generally provide a more dramatic flair to the room and may be more forgiving regarding unconventional window sizes or shapes. Taking the time to ensure a proper fit will create a visually appealing and functional window treatment.
Adding Final Touches
Now that the blinds are installed, it’s time to add the final touches. Check to ensure that all screws are tightened properly and that there are no gaps or misalignments in the installation. Some window blinds have additional decorative elements, such as valances or fabric dummies, that can further enhance their aesthetic appeal.
If your blinds come with these accessories, now is the time to install them. These details can make a significant difference, elevating the overall look of the room. Once installed, test the functionality of the blinds once more: raise and lower them several times to ensure that everything operates smoothly.
Troubleshooting Common Issues
Even the most seasoned DIY-ers can run into complications during installation. Common issues include blinds that are not level, won’t open or close smoothly, or do not fit within their intended space. Before you jump into troubleshooting, take a moment to review your manufacturer’s guidelines, which typically provide an FAQ section addressing common problems.
For blinds that aren’t level, check all your previous measurements and the alignment of the brackets. Minor adjustments may resolve the issue. If your blinds are not operating smoothly, ensure that they’ve been securely attached to the headrail and that any cords are free from tangles.
If you find you are unable to resolve the issue on your own after following these troubleshooting steps, don’t hesitate to seek additional help from a professional installer. They can provide valuable insight into more complex problems.
Maintenance Tips for Longevity
Once your blinds are successfully installed, it’s essential to maintain them for longevity and to keep them looking their best. Different types of blinds have varying maintenance requirements. For instance, fabric blinds may require regular dusting and occasional cleaning with specific solutions, whereas wooden blinds can benefit from a little polish to keep them looking like new.
Conclusion
In conclusion, installing window blinds can enhance both the aesthetics and functionality of your living space. By understanding the types of blinds available, gathering the necessary tools, accurately measuring your windows, and following the correct installation steps, you can achieve professional results with relative ease. Take your time during each stage of the process to avoid mistakes, and remember that maintenance is key for longevity.
As you familiarize yourself with these tips for a flawless finish, you’ll find that DIY home improvement projects, including window blind installations, can offer a rewarding sense of accomplishment. Enjoy your new window blinds and the transformation they bring to your home!


