


Blinds are an essential part of home decor, offering both aesthetic appeal and functional benefits, such as light control and privacy. However, sometimes standard-size blinds don’t fit perfectly within the dimensions of your window frames. Rather than returning them or seeking custom options, there are simple methods to shorten blinds. This DIY guide will walk you through each step, ensuring your blinds fit flawlessly without any professional help.

Understanding the Types of Blinds
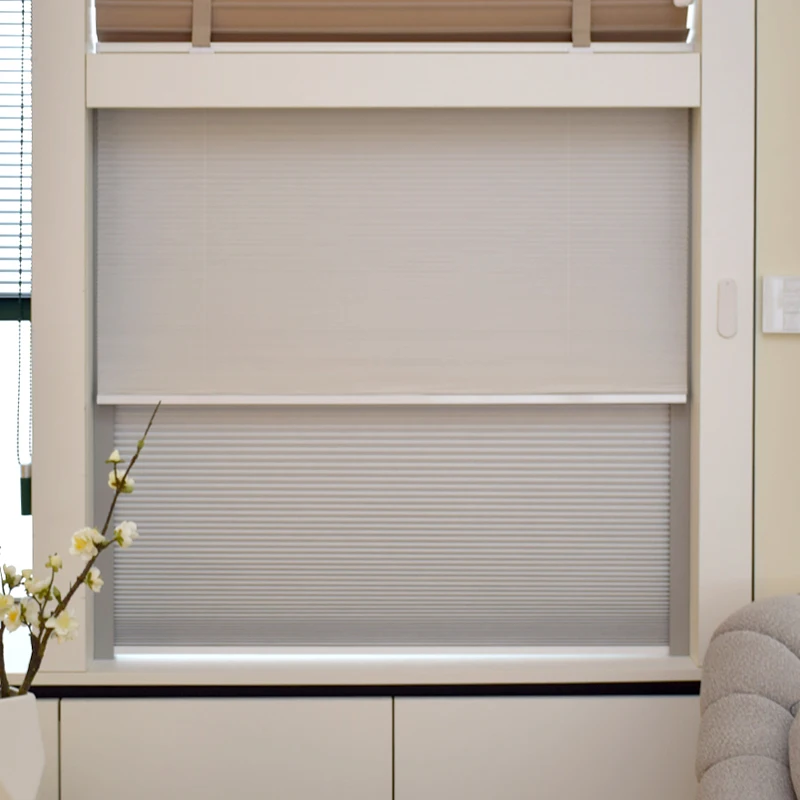
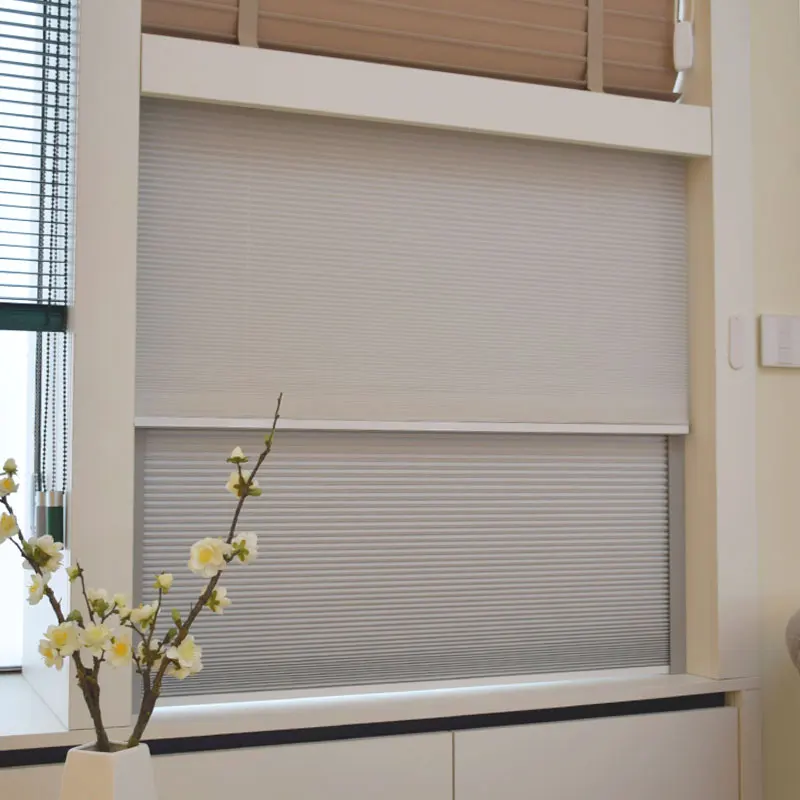
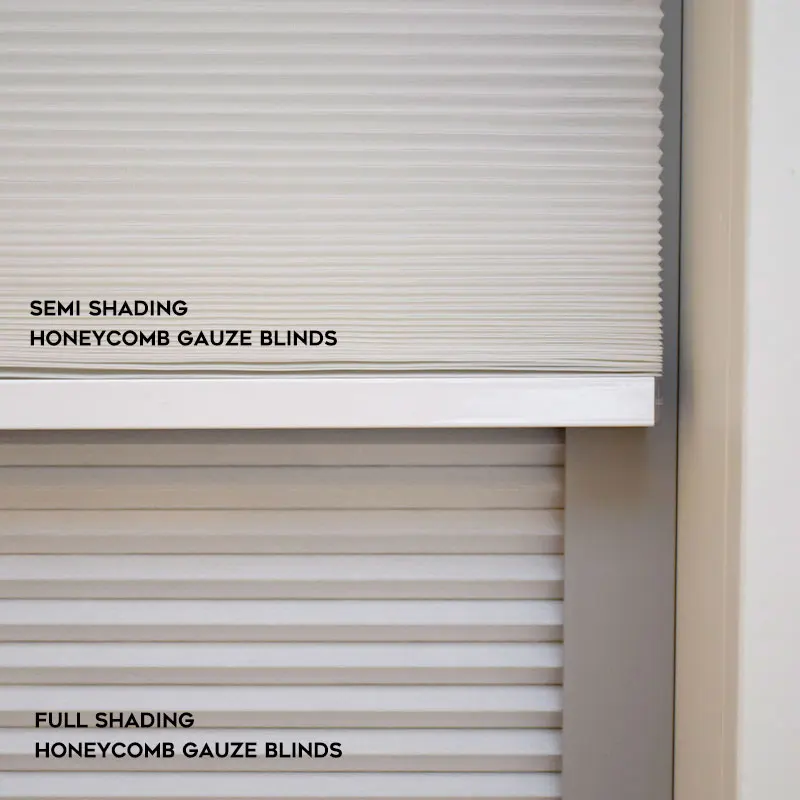
Before diving into the process of shortening blinds, it’s important to understand the types of blinds available on the market. The most common types include Venetian blinds, roller blinds, and vertical blinds. Venetian blinds have horizontal slats that can be made from materials like wood, metal, or plastic. Roller blinds are typically made of fabric and can be rolled up or down. Vertical blinds, often used for large windows or sliding doors, have vertical slats. The methods for shortening these blinds may vary slightly depending on their type and material. It’s crucial to identify which type you have to apply the correct shortening technique.
Tools and Materials You’ll Need
To shorten your blinds, you’ll need a few basic tools and materials. The standard toolkit for this task includes a measuring tape, sharp scissors, a flathead screwdriver, pliers, a lighter (for certain materials), a pencil, and possibly a ladder. Make sure you also have a clean and spacious working area where you can lay out your blinds. Having everything prepared beforehand will make the process smoother and more efficient, preventing any unnecessary interruptions. Note that specific blinds might require additional tools, such as a seam ripper for fabric blinds or a hacksaw for metal ones.
Measuring Your Window Frame and Blinds
Accurate measurements are key to ensuring your blinds fit perfectly. Start by measuring the width and height of your window frame. For inside mounts, measure the width at the top, middle, and bottom of the frame, and use the narrowest measurement. For the height, measure from the top of the frame to the sill on the left, right, and center, using the longest measurement. Once you have these measurements, compare them to the dimensions of your blinds. Mark the excess length on the blinds with a pencil, ensuring precision and avoiding mistakes.
Preparing the Blinds for Shortening
Before beginning the actual trimming, it’s essential to prepare your blinds. Lay them flat on a clean surface and extend them fully. Ensure that all the slats are evenly aligned, and all cords are untangled. This step is vital, as any misalignment can lead to crooked or uneven blinds post-shortening. Remove the bottom rail and any decorative caps or end pieces that may be present. This often involves using a flathead screwdriver to pry open clips or tabs. Keep these small components safely aside, as you’ll need to reattach them later.
Shortening Venetian Blinds
Shortening Venetian blinds involves cutting both the slats and the cord. First, determine how many slats need to be removed. Carefully untie or cut the knots holding the bottom rail and remove the rail, setting it aside. Slide out the slats you no longer need, taking care to keep the others lined up. Once you’ve removed the excess slats, cut the cord to the desired length, making sure to leave enough slack to tie it back to the bottom rail. Thread the cord back through the remaining slats and tie it to the bottom rail. Reattach any end caps or trim pieces you removed earlier.
Shortening Roller Blinds
Roller blinds can be shortened by adjusting the length of the fabric and, if necessary, trimming the roller tube. Start by unrolling the blind fully and marking the desired length. Use sharp scissors to cut off the excess fabric. Ensure you cut in a straight line to avoid a crooked appearance. If the fabric is fraying, seal the edge with a lighter or fabric sealant. In some cases, you might also need to cut the roller tube. Use a hacksaw to trim the tube to the appropriate length. Slide the fabric back onto the tube, making sure it’s evenly distributed, and reassemble the mounting brackets.
Shortening Vertical Blinds
Vertical blinds are a bit different due to their vertical orientation. Start by measuring the desired length from the top of the headrail down to the bottom of the window or floor. Mark the slats with a pencil, ensuring that all marks are even. Remove the slats and cut each to the marked length using sharp scissors or a rotary cutter. If the slats are made of fabric, a fabric sealant can help prevent fraying. Reattach the slats to the headrail and adjust the weights at the bottom. Ensure all slats are level and hanging evenly for a professional look.
Reassembling and Testing Your Blinds
Once you’ve shortened the blinds, it’s important to reassemble them correctly. For Venetian blinds, thread the cords back through the remaining slats and reattach the bottom rail. Make sure the knots are secure to prevent the slats from slipping. For roller blinds, reattach the fabric to the roller tube and secure it in place with mounting brackets. Vertical blinds should have their slats reattached and weights readjusted if necessary. After reassembling, test the blinds to ensure they operate smoothly. Raise and lower them several times to confirm that the mechanism works correctly and that the blinds hang evenly.
Addressing Common Issues and Troubleshooting
During the process of shortening your blinds, you might encounter a few common issues. Uneven hanging, difficulty in raising or lowering, or frayed edges are some of the problems you might face. If the blinds hang unevenly, double-check your measurements and ensure that all slats or fabric pieces were cut evenly. If the raising or lowering mechanism isn’t working smoothly, make sure the cords are not tangled or too tight. For frayed edges, especially on fabric blinds, applying a fabric sealant or carefully singeing the edges with a lighter can help. Understanding these potential issues and knowing how to troubleshoot them can save you time and frustration.
Safety Tips for DIY Blinds Shortening
Safety is paramount when undertaking any DIY project. Always use sharp tools carefully and keep them away from children and pets. When using a ladder, make sure it’s stable and placed on a flat surface to avoid accidents. Wear protective gear such as gloves and safety glasses, especially when using tools like hacksaws or scissors. Work in a well-lit area to ensure precision and avoid mistakes. Finally, if you’re unsure about any step or feel uncomfortable performing a particular task, don’t hesitate to seek professional help. Safety should always come first, even in DIY projects.
Maintaining Your Shortened Blinds
Once your blinds are shortened and in place, regular maintenance will help them last longer and function better. Dust them regularly using a microfiber cloth or a vacuum with a brush attachment. For deeper cleaning, use a mild soap solution and a damp cloth, but ensure that the material of your blinds can handle this type of cleaning. Avoid using harsh chemicals or abrasive scrubbers that can damage the surface of the blinds. Periodically check the cords and mechanisms to ensure they are functioning smoothly and make any necessary adjustments. Proper maintenance can extend the lifespan of your blinds and keep them looking new.
Conclusion: Achieving Perfectly Fitted Blinds
Shortening your blinds may seem like a daunting task, but with the right guidance and tools, it’s entirely achievable as a DIY project. By following this comprehensive guide on simple methods to shorten blinds, you can ensure a perfect fit for your windows without professional assistance. Remember, accurate measurements and careful execution are key to a successful outcome. Regular maintenance and thoughtful customization can further enhance the functionality and appearance of your blinds. With these steps, you can enjoy perfectly fitted blinds that complement your home decor and provide the privacy and light control you need.


