Watercolor Basics: Starting Your Painting Journey
Embarking on a creative endeavor like watercolor painting can be both exhilarating and daunting, especially for beginners. This guide aims to demystify the basics, equipping you with the knowledge and confidence to dip your brush into the vibrant world of watercolors.
Understanding Watercolor Paints
Watercolors are characterized by their luminosity and transparency, achieved by mixing pigments with a binder, usually gum arabic, and designed to be thinned and reactivated with water. They come in various forms: tubes, pans, and liquid watercolors. Tubes offer the richest colors and are ideal for large-scale paintings or artists who prefer to work with a lot of water. Pans are compact, dry blocks of color that are portable and perfect for plein air painting or quick sketches. Liquid watercolors are pre-mixed and highly pigmented, great for creating intense hues instantly.
When selecting paints, look for artist-grade rather than student-grade, as they contain higher pigment concentrations, producing more vivid and lightfast results. Start with a basic palette of primary colors (red, blue, and yellow) plus black and white, allowing you to mix a wide range of hues.
Choosing the Right Paper
The paper you choose plays a pivotal role in how your watercolors behave. Watercolor paper comes in three main textures: hot-pressed (smooth), cold-pressed (slightly textured), and rough (heavily textured). Beginners often find cold-pressed paper the most versatile, as it provides a balance between control and absorbency, suitable for both detailed work and washes.
Ensure your paper is heavyweight, preferably 140lb or above, to withstand wet media without buckling. Papers are available in sheets, blocks, or pads; blocks are convenient as they do not require stretching and provide a firm surface to paint on directly.
Essential Tools and Materials
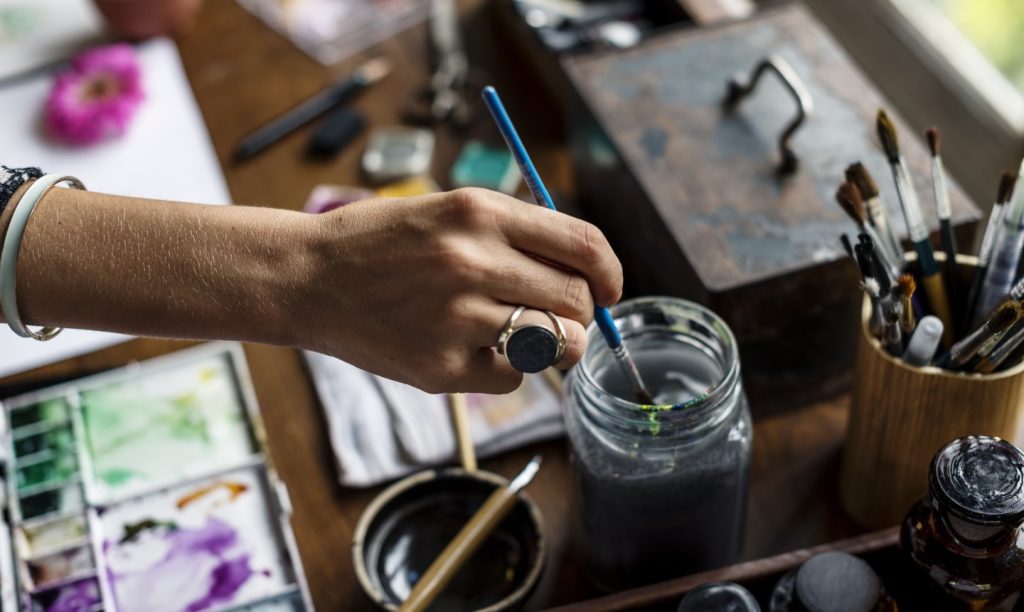
To begin your watercolor journey, gather a few essential tools alongside your paints and paper. These include:
- Brushes: A variety of brush sizes and shapes is ideal, starting with a round brush for detail, a flat brush for broad strokes, and a mop brush for washes.
- Palette: A plastic or porcelain palette with wells to hold your mixed colors.
- Water containers: One for clean water and another for rinsing brushes.
- Masking tape: To secure your paper to a board and create clean edges.
- Pencil and eraser: For sketching out compositions lightly before painting.
- Paper towels or a cloth: For blotting excess water or lifting color.
Mastering Basic Techniques
Watercolor painting techniques can be broadly categorized into wet-on-dry, wet-on-wet, glazing, and dry brushing.
- Wet-on-dry involves applying paint onto dry paper, offering more control over the pigment, suitable for detailed work.
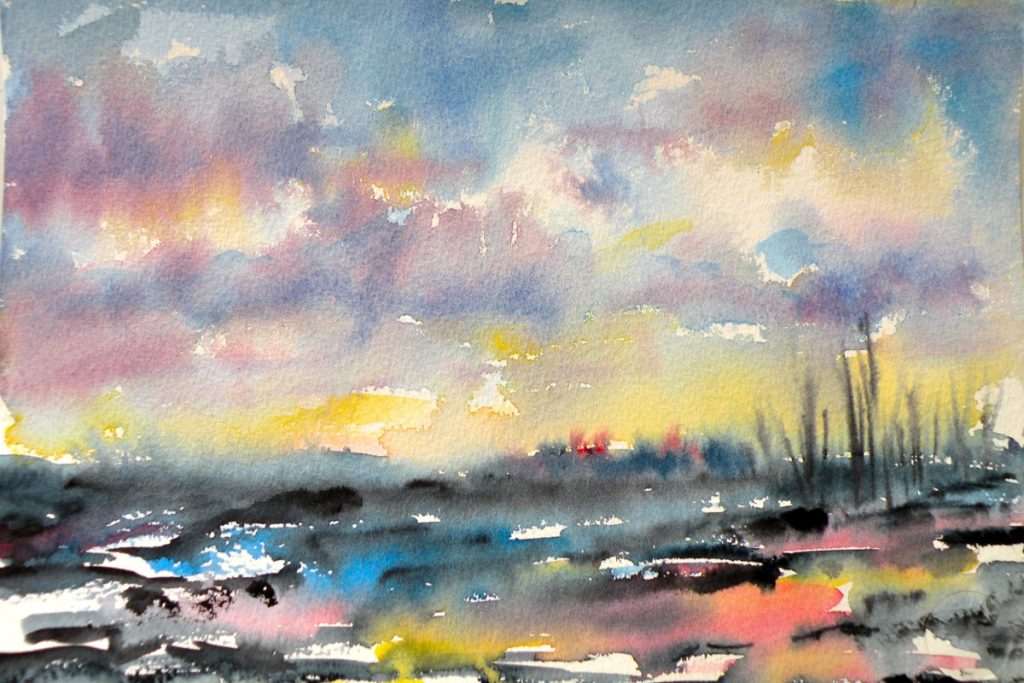
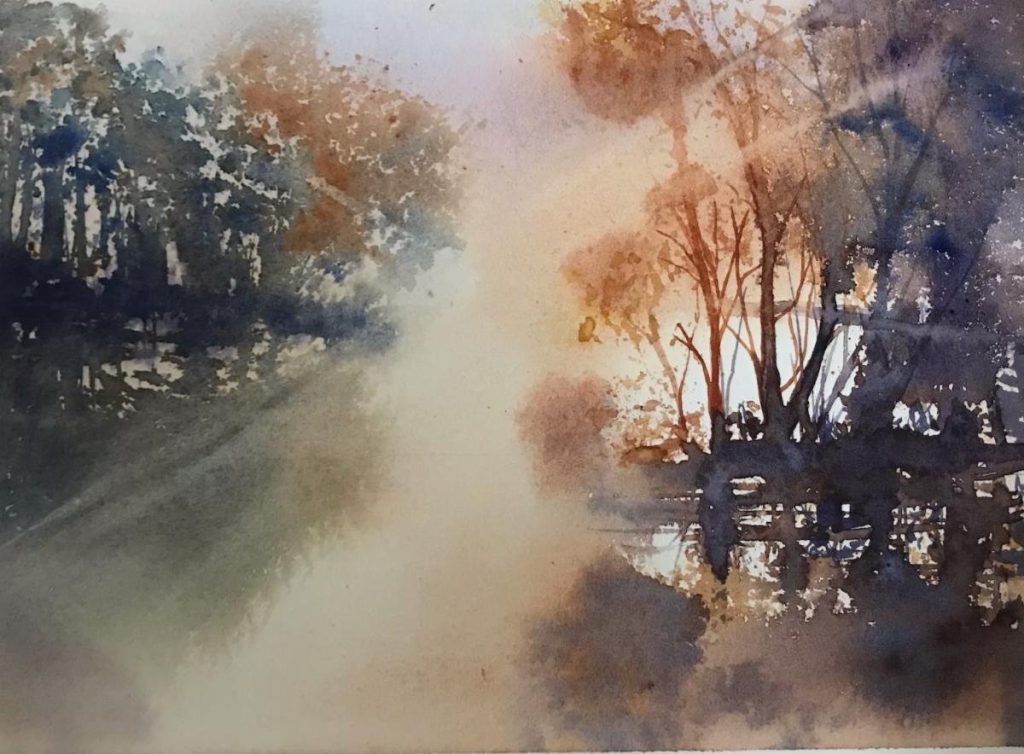
- Wet-on-wet applies paint onto damp paper, creating soft, blurred edges and spontaneous effects, excellent for backgrounds and skies.
- Glazing is layering translucent washes of color over dried layers, deepening hues and adding complexity to your paintings.
- Dry brushing uses a dry brush with minimal water to create texture and highlights.
Practice each technique separately to understand their unique properties and how they interact with different papers and pigments.
Color Mixing Fundamentals
Mastering color mixing is key to expanding your color palette naturally. Start by mixing secondary colors (green, orange, and purple) from the primary colors. Observe how adding more of one color changes the hue and saturation. Learn about color temperature and how warm and cool versions of colors can create mood and depth.
A color wheel can be a useful reference tool for understanding complementary colors (opposites on the wheel) that neutralize each other when mixed, creating shades of gray or brown, and analogous colors (next to each other on the wheel) that harmonize well in a painting.
Sketching and Composition
Before painting, sketch your composition lightly in pencil. Focus on the overall layout, considering elements of design such as balance, contrast, and focal points. Remember, watercolors are forgiving but also unforgiving; while you can layer washes, it’s challenging to erase mistakes. Thus, planning ahead is crucial.
Preserving Whites and Highlights
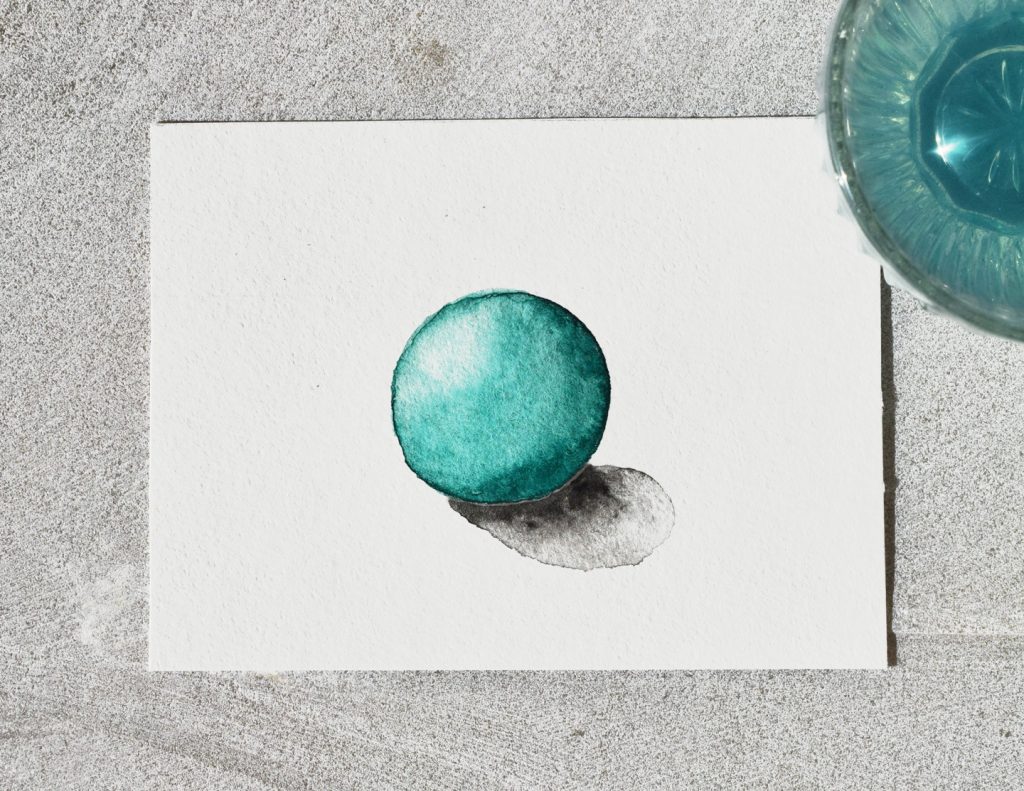
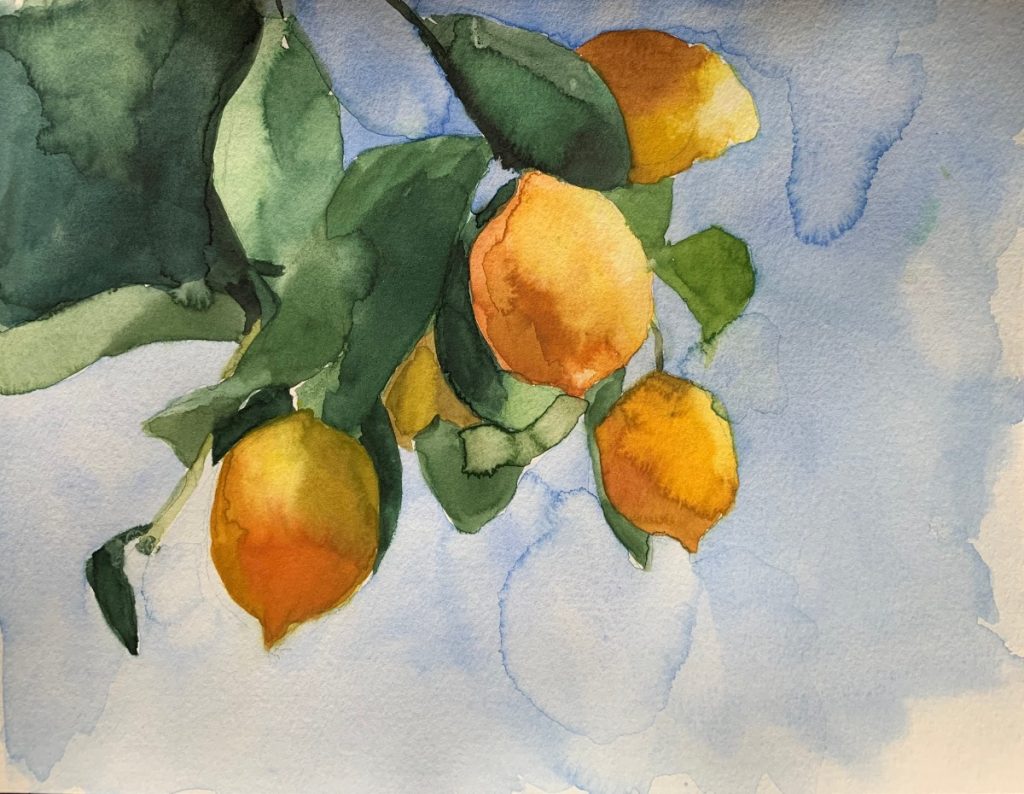
One of the charms of watercolor is its ability to showcase the white of the paper. To preserve whites, either leave areas unpainted or use masking fluid, a rubbery substance applied before painting that can be peeled off later to reveal untouched paper.
Embracing the Unpredictable Nature of Watercolors
Watercolors have a life of their own, often resulting in unexpected outcomes. Embrace these ‘happy accidents’ as they add character and uniqueness to your work. Experimentation and playfulness are integral to developing your style and honing your skills.
Practicing and Patience
Like any skill, proficiency in watercolor painting comes with practice. Set aside regular time for painting sessions, even if they’re short. Keep a sketchbook for daily exercises or to record color mixes and techniques you want to remember. Remember, every artist has a learning curve; progress may seem slow initially, but consistent effort yields significant improvements over time.
Exploring Inspiration and Styles
Draw inspiration from nature, art books, online tutorials, or join local art groups for workshops and critiques. Study the works of master watercolorists to understand their techniques and styles. Don’t be afraid to experiment with different styles, from loose and expressive to tightly controlled realism, to discover what resonates with you.
Layering and Glazing Techniques
Watercolors allow for beautiful layering and glazing effects, which can add depth and luminosity to your paintings. Start with light washes and gradually build up color intensity. Allow each layer to dry completely before applying the next to prevent muddying the colors. Glazing involves applying a transparent layer of color over a dried layer, creating rich hues and a sense of depth.
Color Theory and Mixing
Understanding color theory is vital in watercolor painting. Familiarize yourself with the color wheel, complementary colors, and how to create a range of tones by mixing primary colors. Practice color mixing on a palette or in a separate sketchbook to achieve the hues you desire. Remember that watercolors tend to dry slightly lighter than when wet, so aim for a slightly darker mix.
Conclusion: Enjoy the Journey
Starting your watercolor journey is as much about personal expression as it is about technical skill. As you navigate through the basics, remember to enjoy the process. Each stroke, each blend of colors, is a testament to your creativity and growth. With patience, persistence, and a willingness to learn, you’ll soon find yourself mastering the delicate dance of water and pigment, creating artworks that are uniquely yours.


