


Introduction
Watercolor painting is a beautiful and expressive art form, and flowers are a popular subject for beginners due to their organic shapes and vibrant colors. In this step-by-step tutorial, we will explore an easy and approachable method for painting flowers with watercolors. Whether you’re new to painting or looking to refine your skills, this tutorial will guide you through the process, from selecting the right materials to creating a stunning floral composition. With a few simple techniques and a bit of practice, you’ll be able to capture the timeless beauty of flowers in your watercolor paintings.
Gathering Your Materials
Before diving into the painting process, it’s essential to gather the right materials. For this tutorial, you will need watercolor paper, watercolor paints, brushes, a palette, water jars, and a pencil. When selecting watercolor paper, choose a high-quality, heavyweight paper that can withstand the wetness of the paint without buckling. As for watercolor paints, a basic set of primary and secondary colors will suffice for this tutorial, but feel free to incorporate additional shades for more variety. Make sure to have a range of brush sizes, including a fine-point brush for detail work. With your materials in hand, you’re ready to embark on your watercolor flower painting journey.
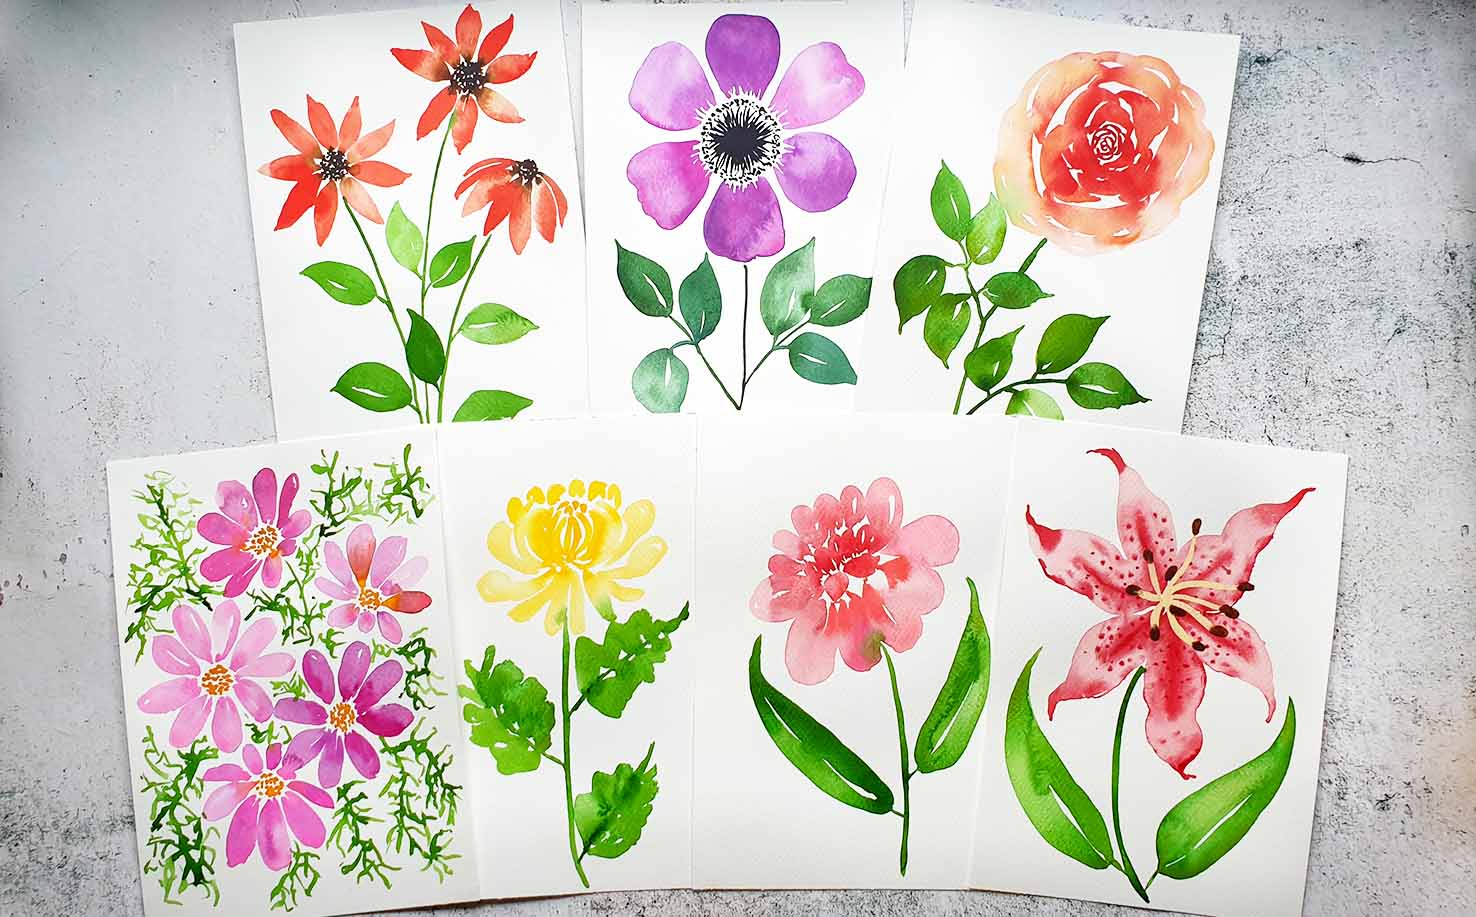
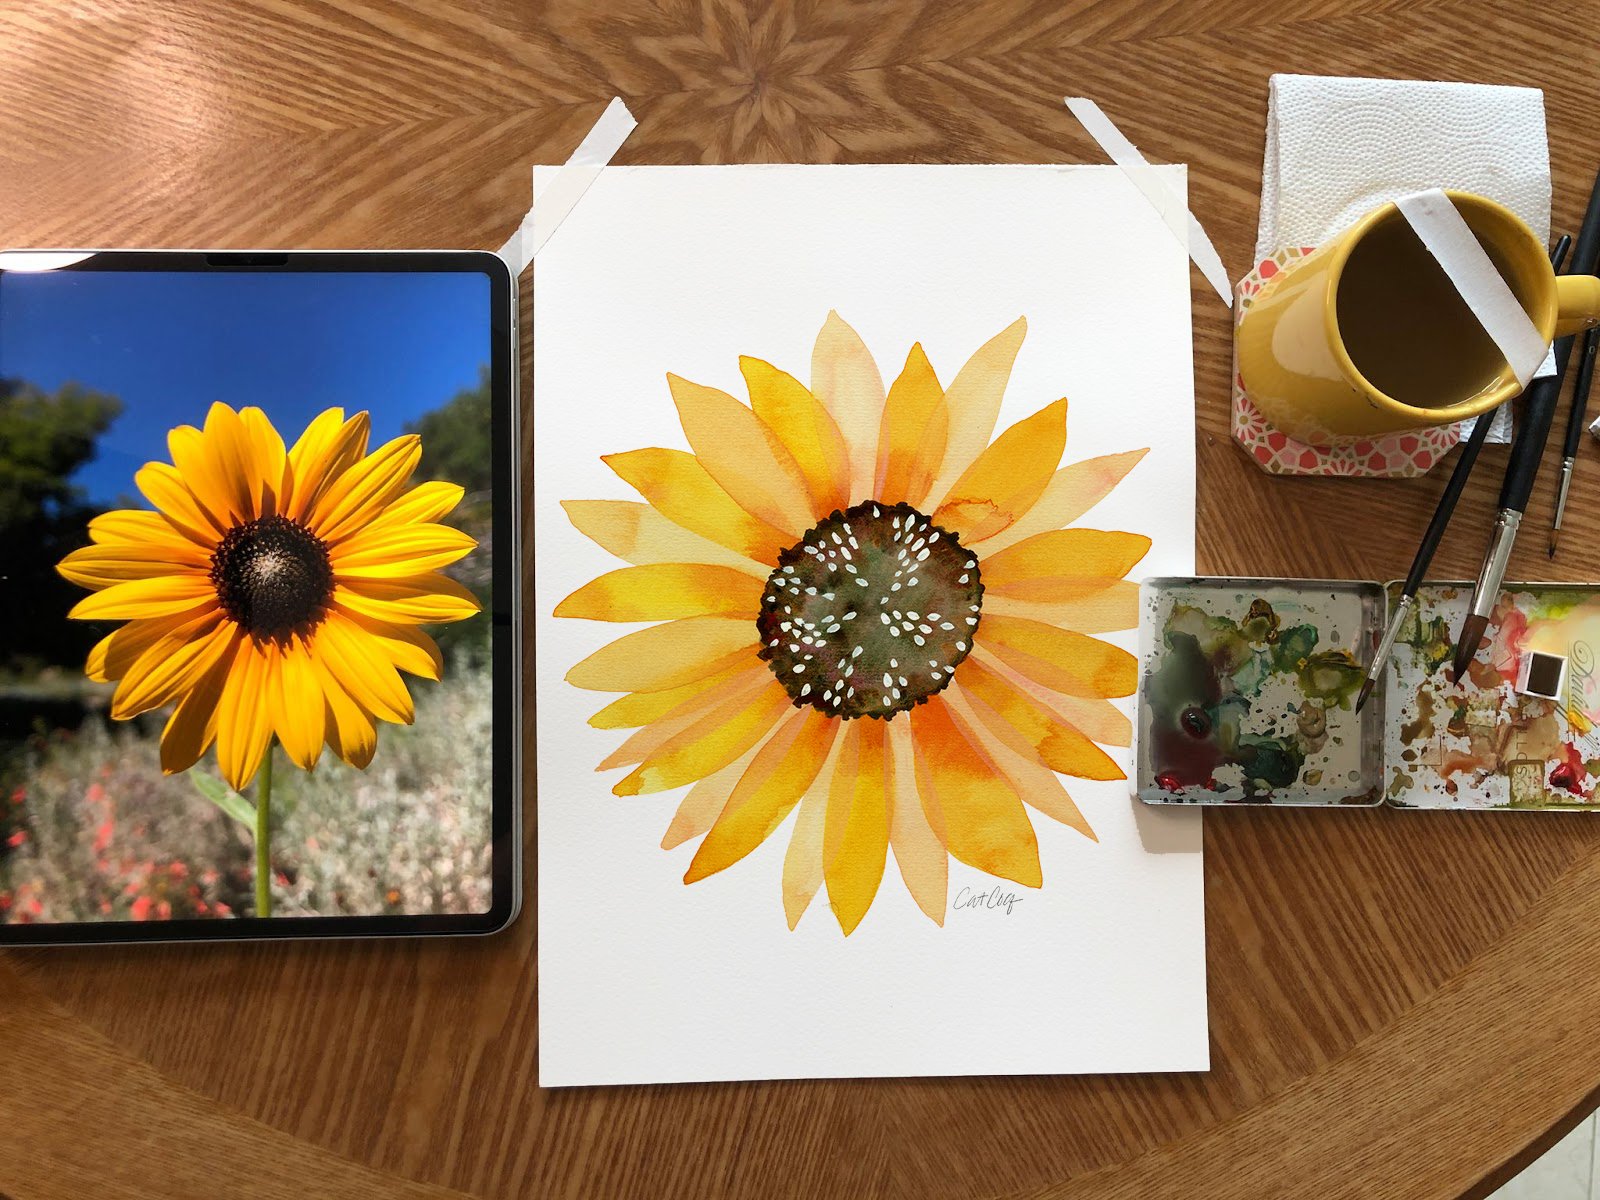
Choosing Your Flower Subject
Flowers come in a myriad of shapes and colors, offering endless possibilities for artistic interpretation. Before starting your painting, consider which type of flower you’d like to depict. Whether it’s a delicate rose, a cheerful daisy, or a vibrant sunflower, each flower presents its own unique characteristics and challenges. For beginners, it’s often helpful to start with simpler flower shapes, such as a tulip or a daffodil, before progressing to more complex blooms. Additionally, reference photos or real flowers can provide inspiration and serve as visual aids as you begin sketching your composition. Once you’ve chosen your flower subject, it’s time to move on to the initial sketch.
Sketching Your Composition
Begin by lightly sketching the basic outline of your flower composition onto the watercolor paper using a pencil. Focus on capturing the general shape and proportions of the flowers, leaves, and stems. Don’t worry about including intricate details at this stage – the goal is to create a simple roadmap for your painting. Pay attention to the placement of each element within the composition, considering factors such as balance and symmetry. Remember that the sketch serves as a guide and can be adjusted as needed during the painting process. Once you’re satisfied with the overall layout, your sketch is ready for the first wash of color.
Applying the Base Wash
With your sketch in place, it’s time to apply the base wash of color to your watercolor paper. Begin by mixing a light, watery wash of the desired color for the petals. Using a large, soft brush, carefully cover the entire flower area with this initial wash, allowing the paint to flow and blend naturally. Be mindful of leaving white spaces to suggest highlights and areas of light on the petals. Next, apply a separate, light wash for the leaves and stems, again focusing on creating a sense of volume and dimension. The goal of the base wash is to establish the underlying tones and values of the flowers and foliage, laying the foundation for subsequent layers of color.
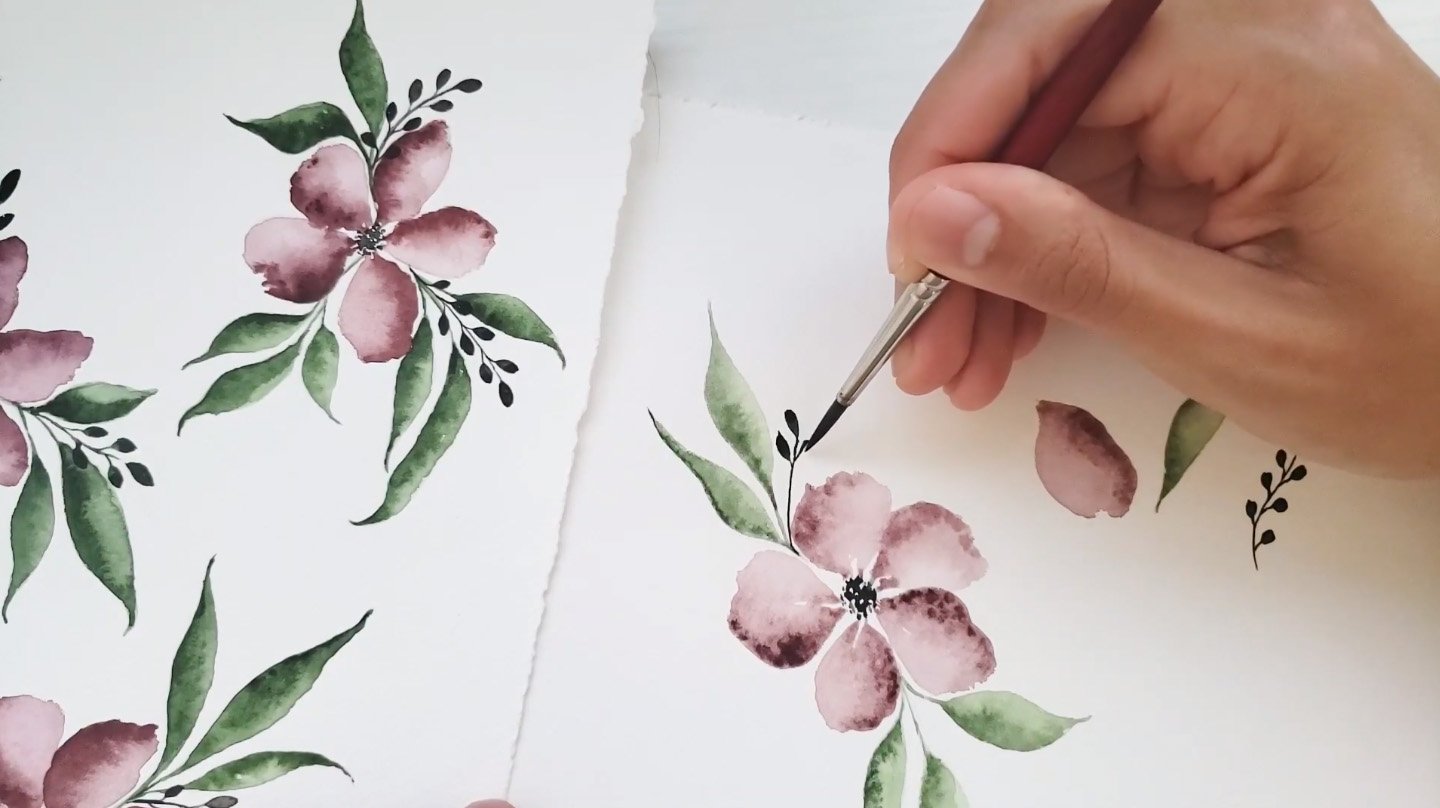
Layering Colors and Details
Once the base wash has dried, you can begin adding layers of color and detailing to your flower painting. Working from light to dark, gradually build up the intensity of the colors on the petals, leaves, and stems. Pay attention to the natural variations in color and shading within the flower, using a combination of wet-on-wet and wet-on-dry techniques to achieve different effects. For instance, wet-on-wet application creates soft, diffused edges, while wet-on-dry allows for more controlled and defined lines. Experiment with blending and layering different hues to create depth and texture in your floral elements. As you progress, gradually add finer details such as veining on the leaves and intricate patterns on the petals.
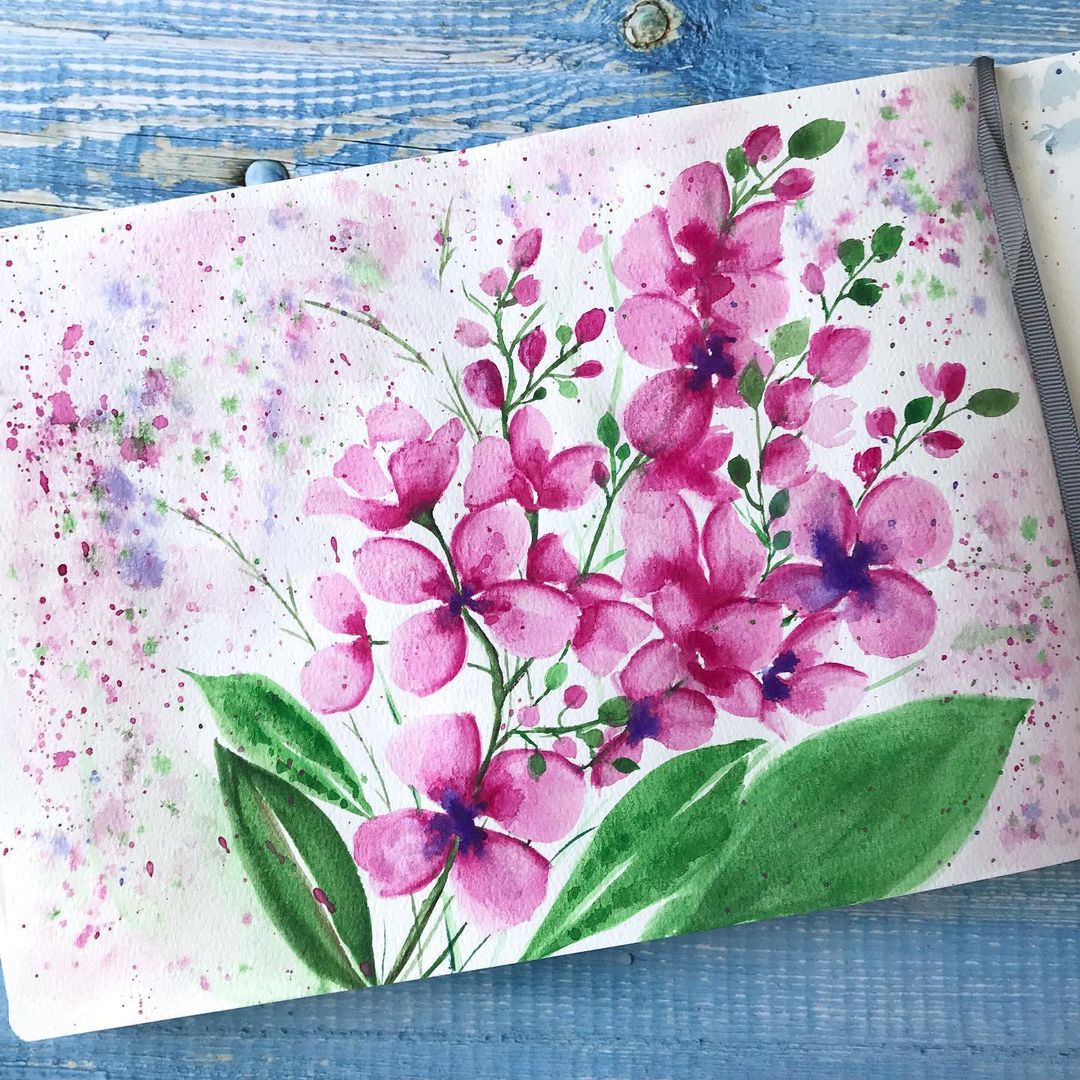
Embracing Imperfection and Fluidity
One of the unique qualities of watercolor painting is its inherent fluidity and unpredictability. Embrace the spontaneous nature of the medium and allow the paint to flow and blend organically on the paper. Don’t be afraid to let go of perfection and instead focus on capturing the essence and movement of the flowers. Watercolor lends itself to soft, ethereal effects that can convey the delicate nature of petals and the graceful curves of leaves. If unexpected blooms or bleeds occur, consider incorporating them into your composition rather than trying to correct them. These happy accidents can add character and charm to your painting, making each piece truly one-of-a-kind.
Incorporating Negative Painting Techniques
Negative painting is a valuable technique in watercolor that involves painting around the subject to create defined shapes and contrasts. In the context of flower painting, negative painting can be used to emphasize the form of the flowers and bring depth to the composition. By carefully painting around the outer edges of the petals and leaves, you can create a sense of three-dimensionality and separation between the floral elements. Negative painting also allows you to suggest overlapping petals and intricate floral arrangements, adding visual interest and complexity to your artwork. Practice this technique to enhance the overall impact of your watercolor flower painting.
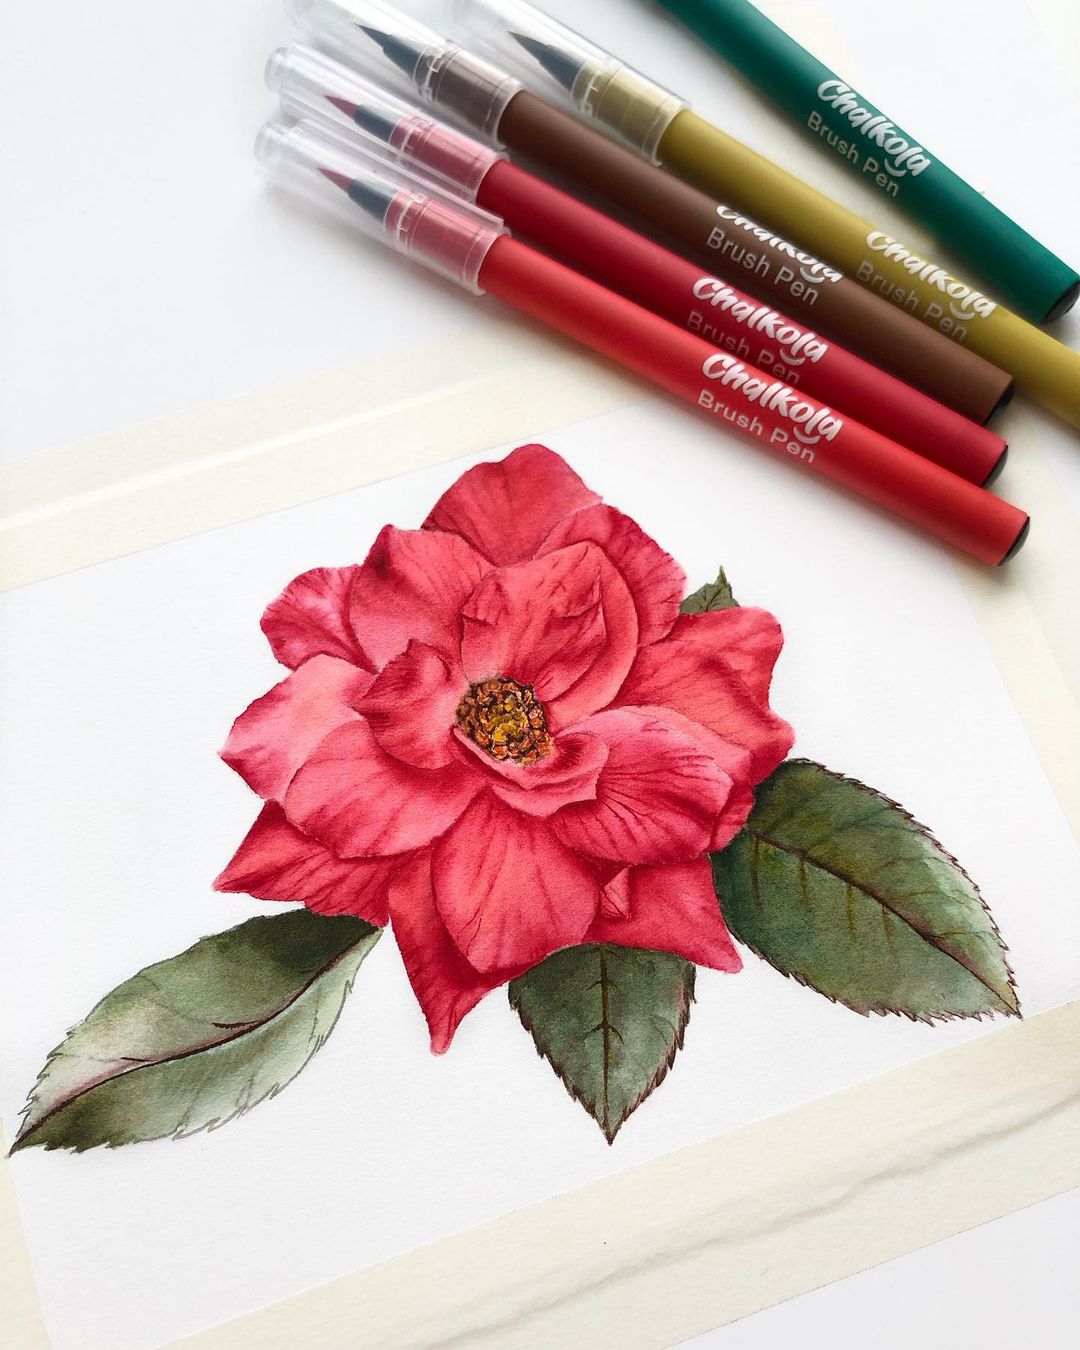
Adding Final Touches and Accents
As your floral composition nears completion, take the time to add final touches and accents that elevate the overall appearance of the painting. Consider incorporating subtle details such as delicate stamens, pollen, or dewdrops on the petals to enhance realism and visual interest. You can also use a fine-point brush to define the edges of the flowers and leaves, refining their shapes and adding crispness to the composition. Additionally, carefully evaluate the background of your painting – a simple wash of complementary color or a soft, diffused backdrop can bring focus to the flowers and create a sense of depth. Take a step back and assess the painting as a whole, making any necessary adjustments before declaring it complete.
Protecting Your Artwork
Once you’ve finished your watercolor flower painting, it’s essential to protect and preserve your artwork for years to come. Allow the painting to dry completely before handling or framing it. To prevent smudging or damage, consider applying a fixative spray specifically designed for watercolor paintings. This protective sealant helps secure the delicate pigments in place and guards against moisture and UV exposure. When framing your artwork, opt for acid-free mats and backing to prevent discoloration over time. Display your finished painting in a location away from direct sunlight and excessive humidity to maintain its vibrancy and integrity.
Conclusion
Watercolor painting offers a wonderful avenue for expressing the beauty of flowers in a loose, expressive style. With the techniques outlined in this tutorial, you can create captivating watercolor floral compositions that capture the delicate intricacies of nature. Remember to experiment with different flower varieties, color palettes, and compositions to expand your artistic repertoire and find your unique style. Whether you’re painting a single bloom or an entire bouquet, embrace the versatility of watercolor and enjoy the meditative process of bringing flowers to life on paper. With practice and patience, you’ll discover the joy of creating enchanting watercolor flower paintings that reflect your personal vision and creativity.


