


Embark on a captivating journey through the vibrant world of watercolor painting, where we will explore the enchanting realm of sunflowers. This tutorial is designed to guide both novice and seasoned artists in capturing the essence of these radiant blooms, known for their ability to brighten up any canvas with their warm hues and intricate details. As we delve into the techniques and steps involved in creating a stunning watercolor sunflower, remember that art is a personal adventure—let your creativity bloom alongside the petals we paint.
Gathering the Tools of the Trade: Essential Materials for Your Watercolor Expedition
To embark on this artistic quest, it’s crucial to assemble the right tools. Begin by selecting high-quality watercolor paper; its thickness and texture play a pivotal role in how your paint behaves. A cold-pressed paper with a medium grain is often favored for its versatility and ability to hold both fine lines and washes beautifully. Next, gather an array of watercolor paints, ensuring you have shades of yellow, ochre, brown, green, and perhaps a touch of red for depth. Don’t forget a selection of brushes ranging from fine to broad, a clean water container, a palette for mixing colors, a pencil for sketching, and an eraser for refining lines. With your materials at hand, you’re ready to set sail on this colorful odyssey.
Sketching the Soul: Laying the Foundation for Your Sunflower
Before dipping your brush into the paint, take a moment to sketch the basic structure of your sunflower onto the paper. Lightly outline the circular center surrounded by a halo of petals, paying attention to the organic, spiraling pattern they form. Remember, perfection isn’t the goal here; allow your lines to be fluid and expressive, capturing the lively energy of the flower. Sketching also serves as a roadmap for your painting, allowing you to plan the placement and composition thoughtfully. Once satisfied, use a light touch with your eraser to lift any excess graphite, leaving a faint guide that will soon come alive with color.
Dancing with Pigments: Layering the Center of Your Sunflower
The heart of the sunflower, its dark and intriguing center, is where our painting journey truly begins. Start by wetting the area within the sketched circle lightly with clean water, being cautious not to oversaturate. Using a mix of burnt sienna and a touch of ultramarine blue, apply the pigment around the edges, allowing the colors to gently blend and create depth. Gradually build up layers, introducing hints of yellow ochre and raw umber to mimic the texture of the seed-filled disk. Embrace the unpredictable nature of watercolors as the pigments mingle, creating a mesmerizing display of tonal variation. Remember to leave some white spaces to suggest highlights and add dimension.
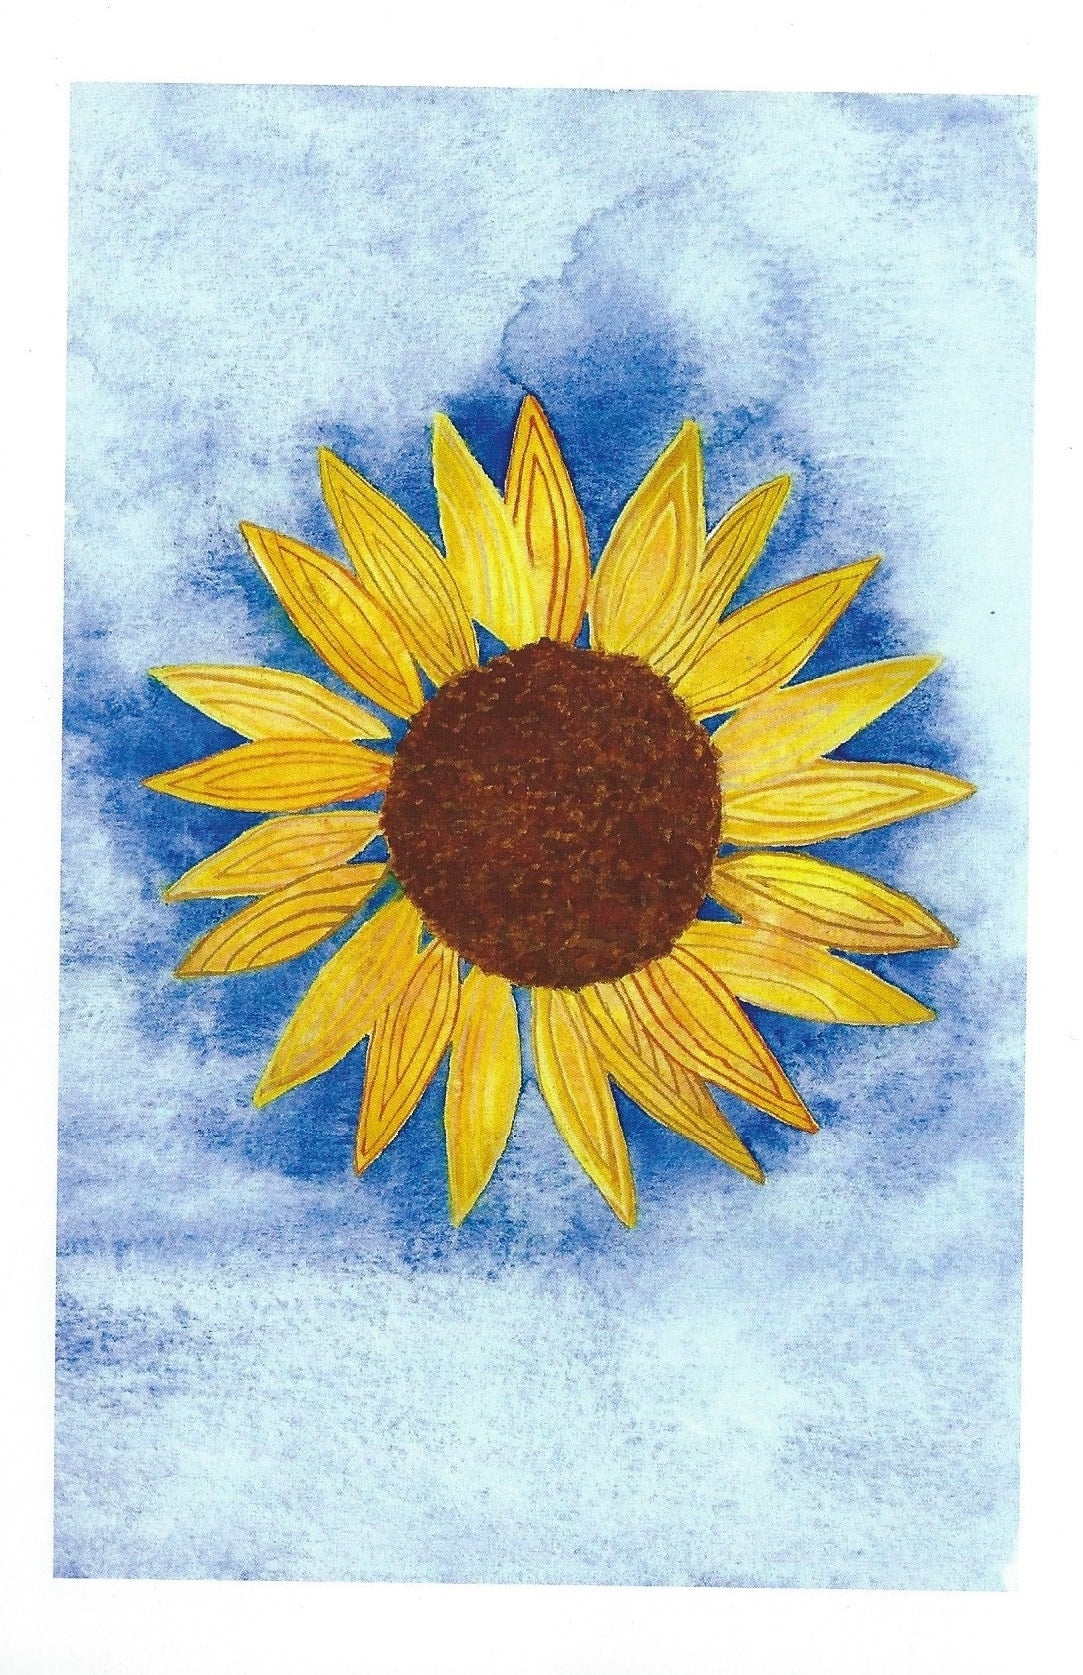
Petals Unfurling: Capturing the Radiance of Sunflower Blooms
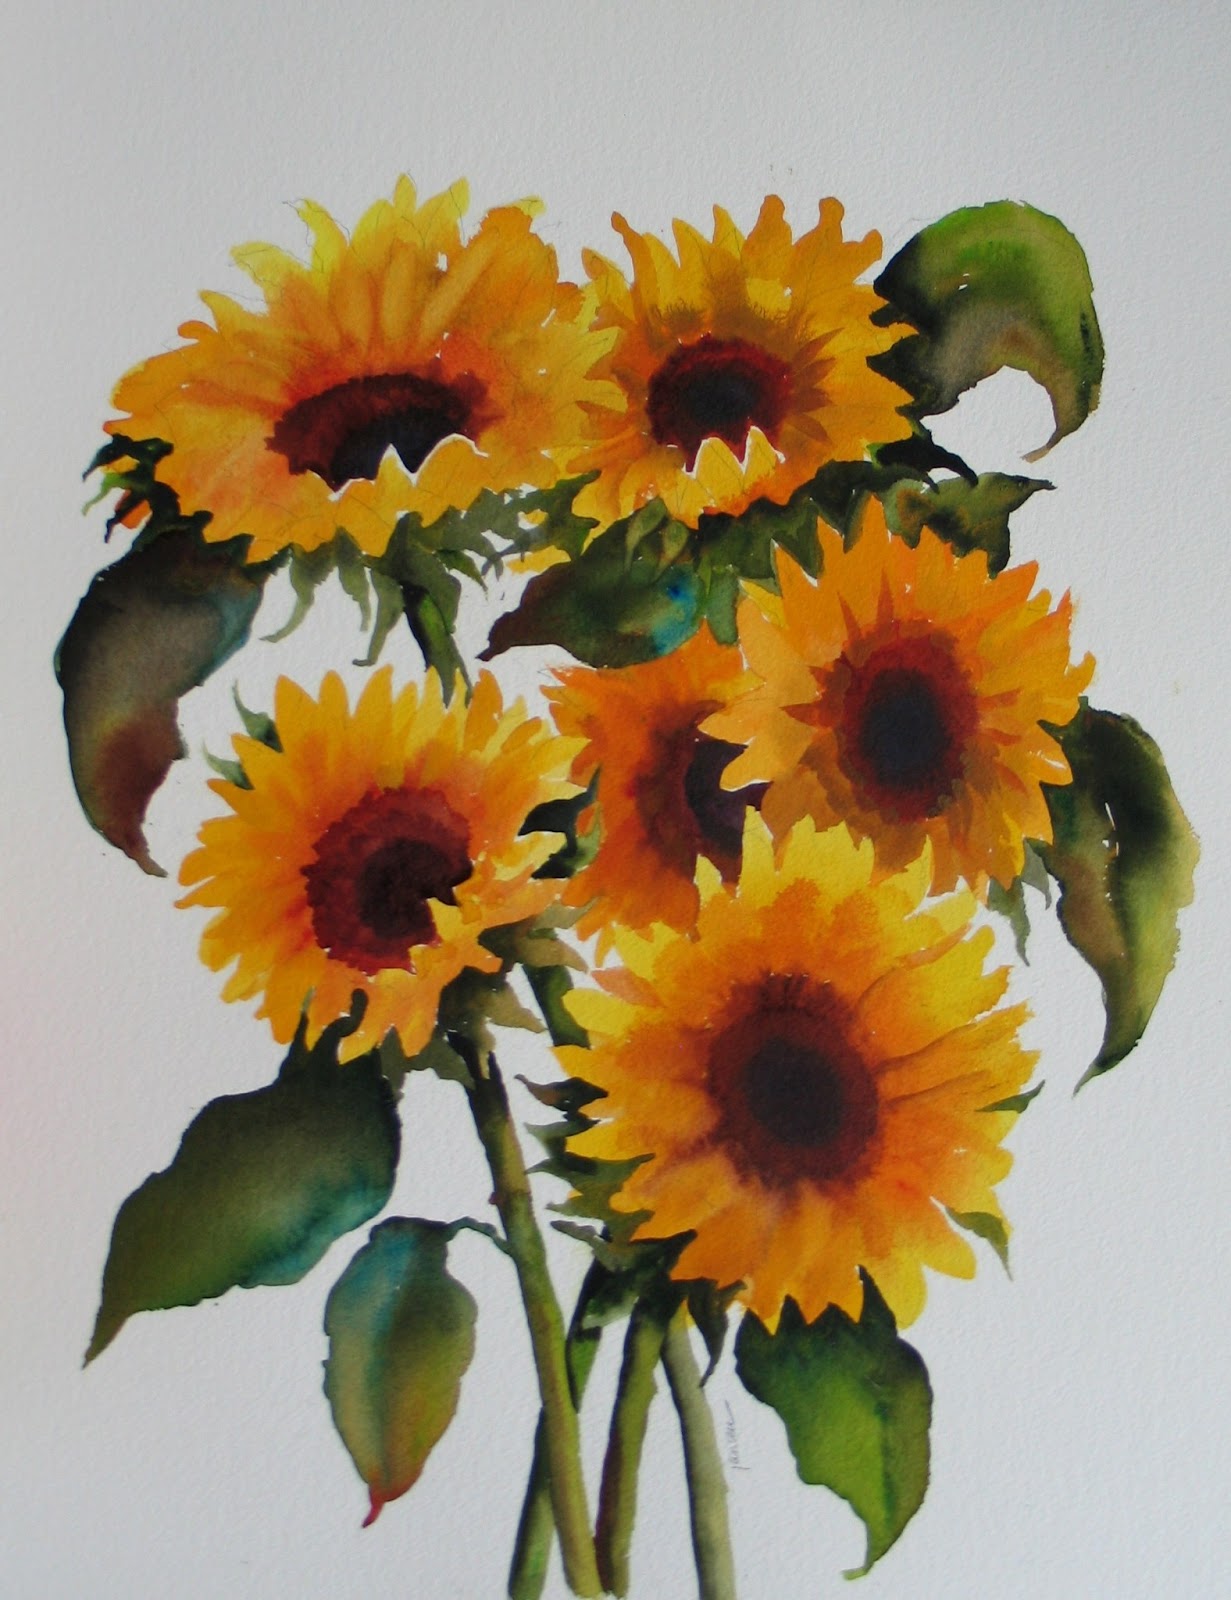
Moving outward, it’s time to bring those vibrant petals to life. Begin with a light wash of lemon yellow, applying it to the tips of the petals where the sunlight would naturally hit. Gradually introduce warmer tones like cadmium yellow and a touch of orange closer to the center, suggesting the transition from light to shadow. As you work, maintain a loose yet controlled hand, allowing the edges of the petals to remain soft and ethereal. To enhance the three-dimensional quality, deepen the shadows beneath each petal with a mixture of yellow ochre and a hint of Payne’s gray. The key lies in layering and patience, gradually building up the intensity and depth of the colors while preserving the translucent beauty that defines watercolor.
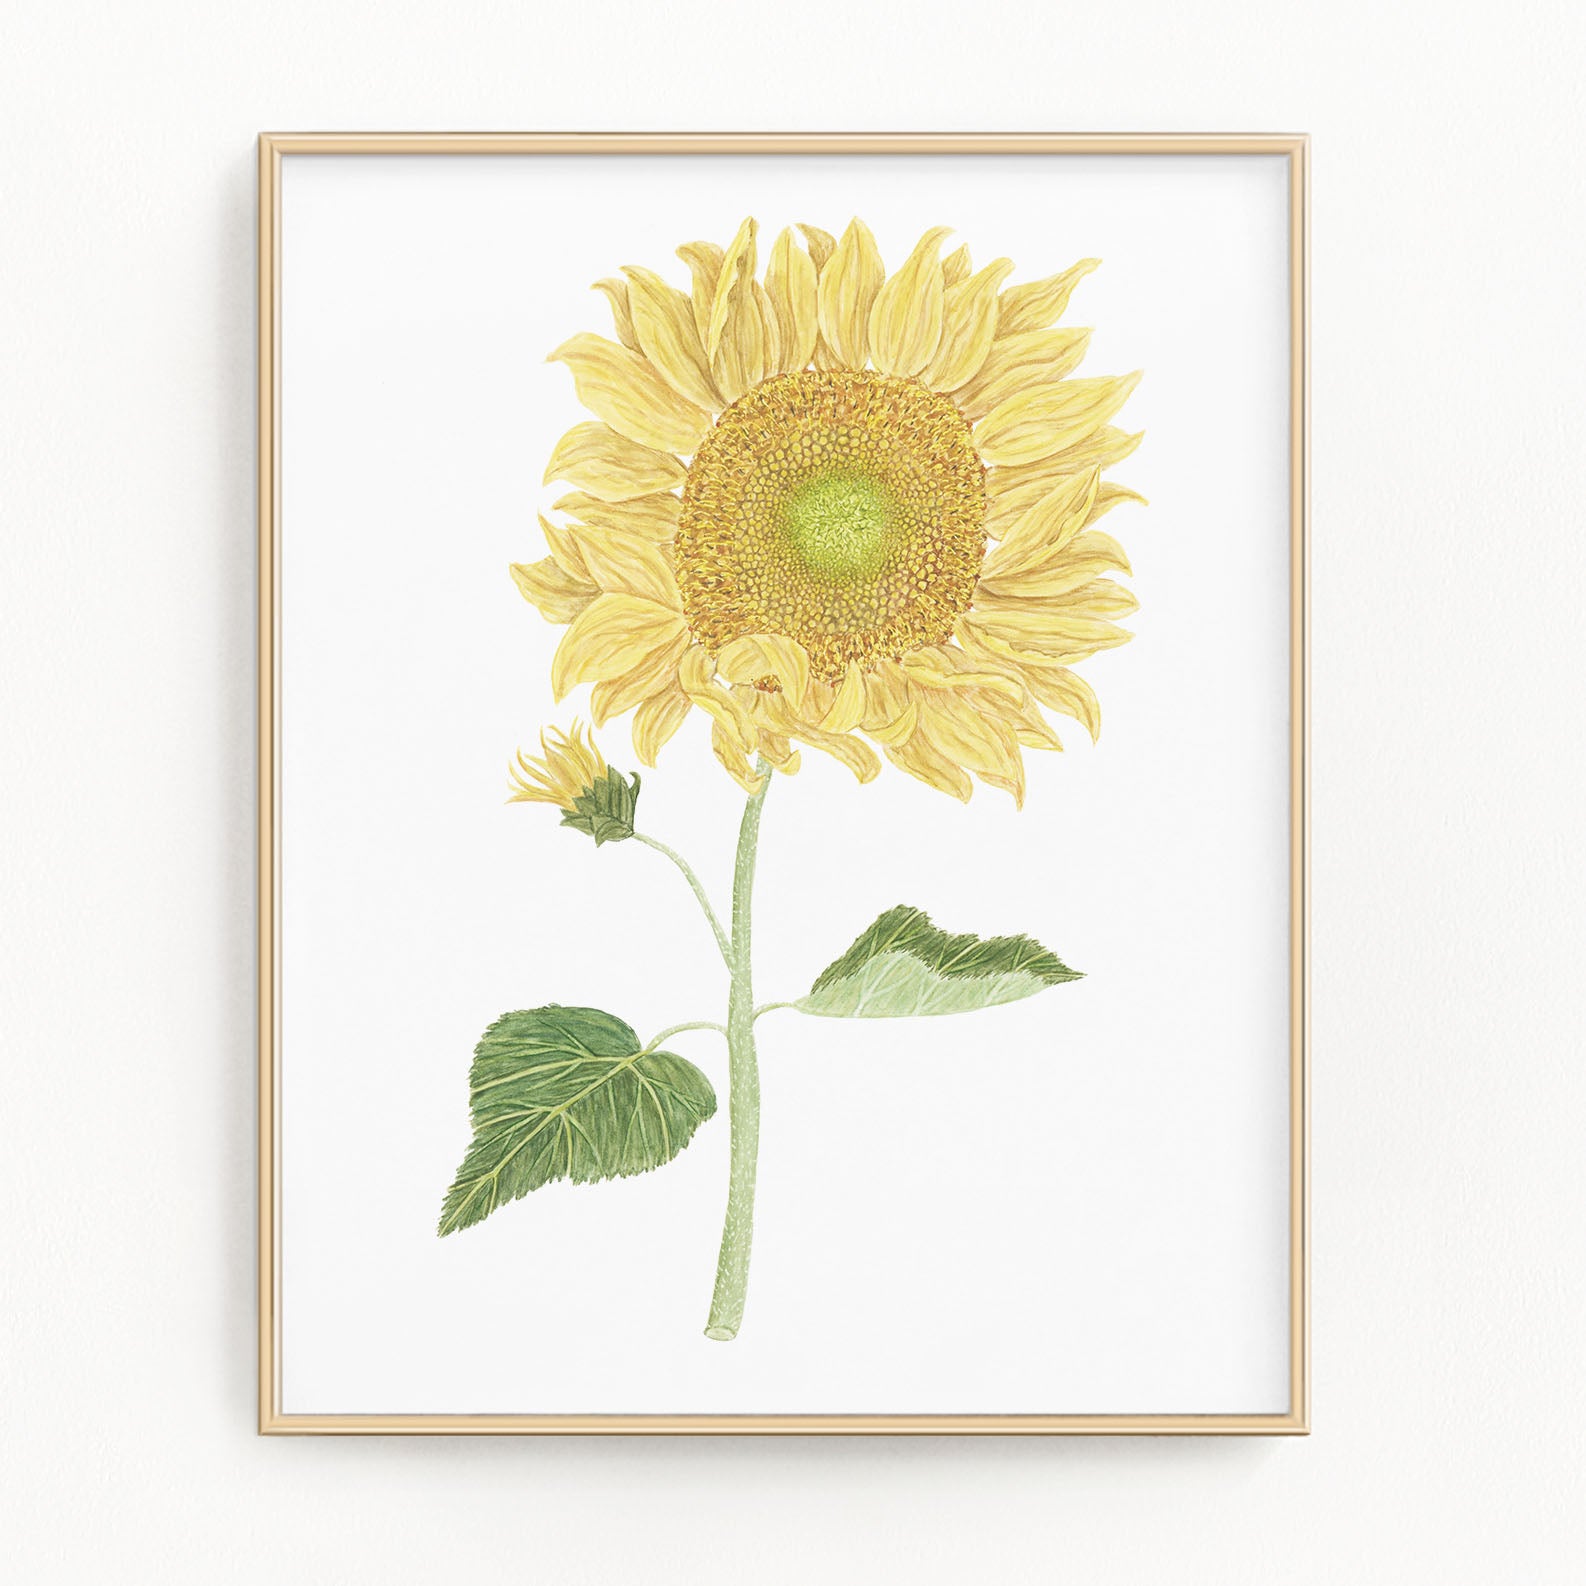
Nature’s Embrace: Painting the Stem and Leaves
No sunflower is complete without its sturdy stem and lush foliage. For the stem, start with a watery mix of sap green, adding touches of yellow ochre for warmth. Paint it with long, confident strokes, allowing the color to fade towards the tips for a natural gradient. As for the leaves, use a combination of greens, layering darker tones at the base and lighter towards the edges to mimic the play of light. Introduce a touch of blue or yellow to create variety and realism in your foliage. Remember, leaves are not flat; consider their shape and the way light falls upon them, adding veins with a fine brush for added detail.
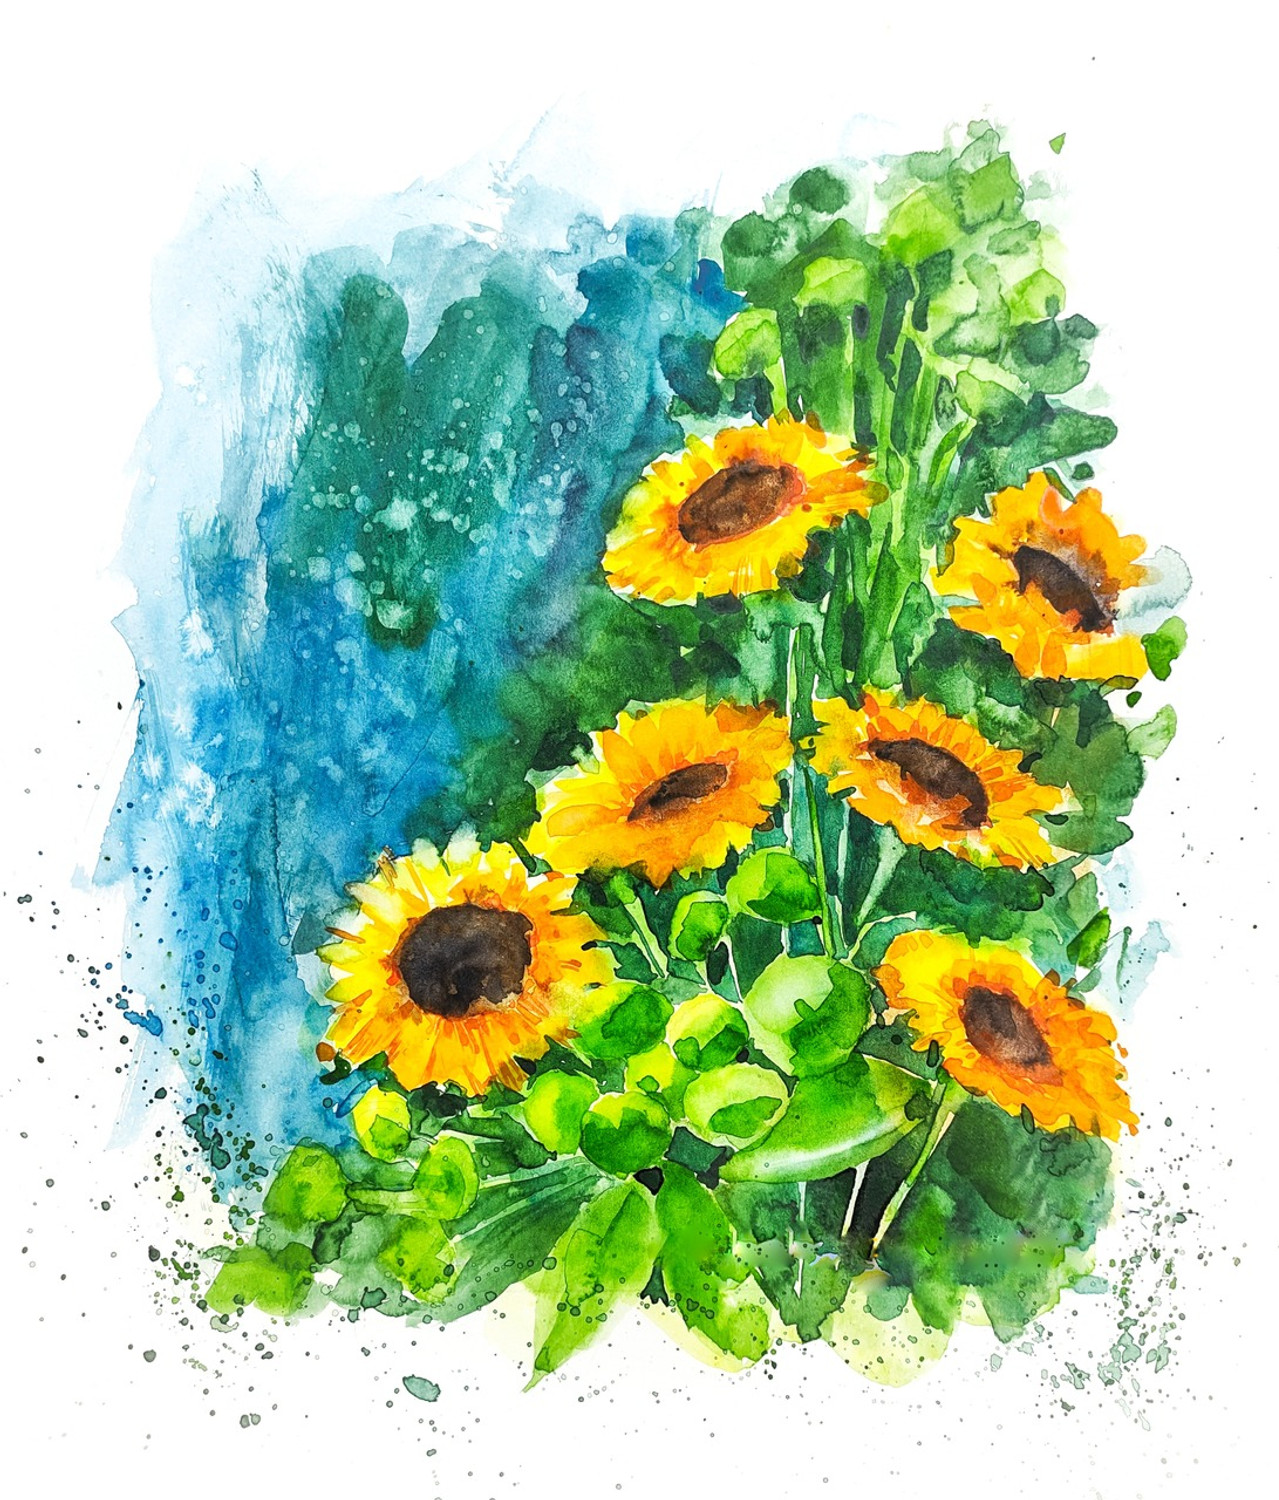
Bringing It All Together: Finishing Touches and Personal Expression
With the primary elements in place, take a step back and assess your work. Are there areas that need more depth? Perhaps a few final touches of shadow or highlights to make certain elements pop? Now is the time to refine and polish your masterpiece. You might choose to add delicate splatters of yellow and brown around the center to simulate pollen, or emphasize the texture of the petals further with careful dry-brushing. Remember, every artist’s interpretation is unique; don’t hesitate to experiment and infuse your own creative flair into the painting. It’s through these personal touches that your watercolor sunflower truly comes alive, reflecting not just the beauty of nature but also your artistic spirit.
Embracing the Journey’s End: Reflections and Future Explorations
Completing a watercolor sunflower painting is not merely the end of a project; it marks the beginning of a new chapter in your artistic journey. Reflect on what you’ve learned—each stroke, each blend, is a testament to your growth as an artist. Celebrate your creation, whether it turned out exactly as envisioned or took on a life of its own. The beauty of watercolors lies in their unpredictability and the opportunity for continuous learning. As you look ahead, consider exploring different subjects, techniques, or styles, knowing that with every brushstroke, you’re nurturing your artistic soul. This sunflower painting tutorial is but one stop along a wondrous adventure that spans a lifetime of creative exploration. So, keep painting, keep learning, and let your art continue to blossom.
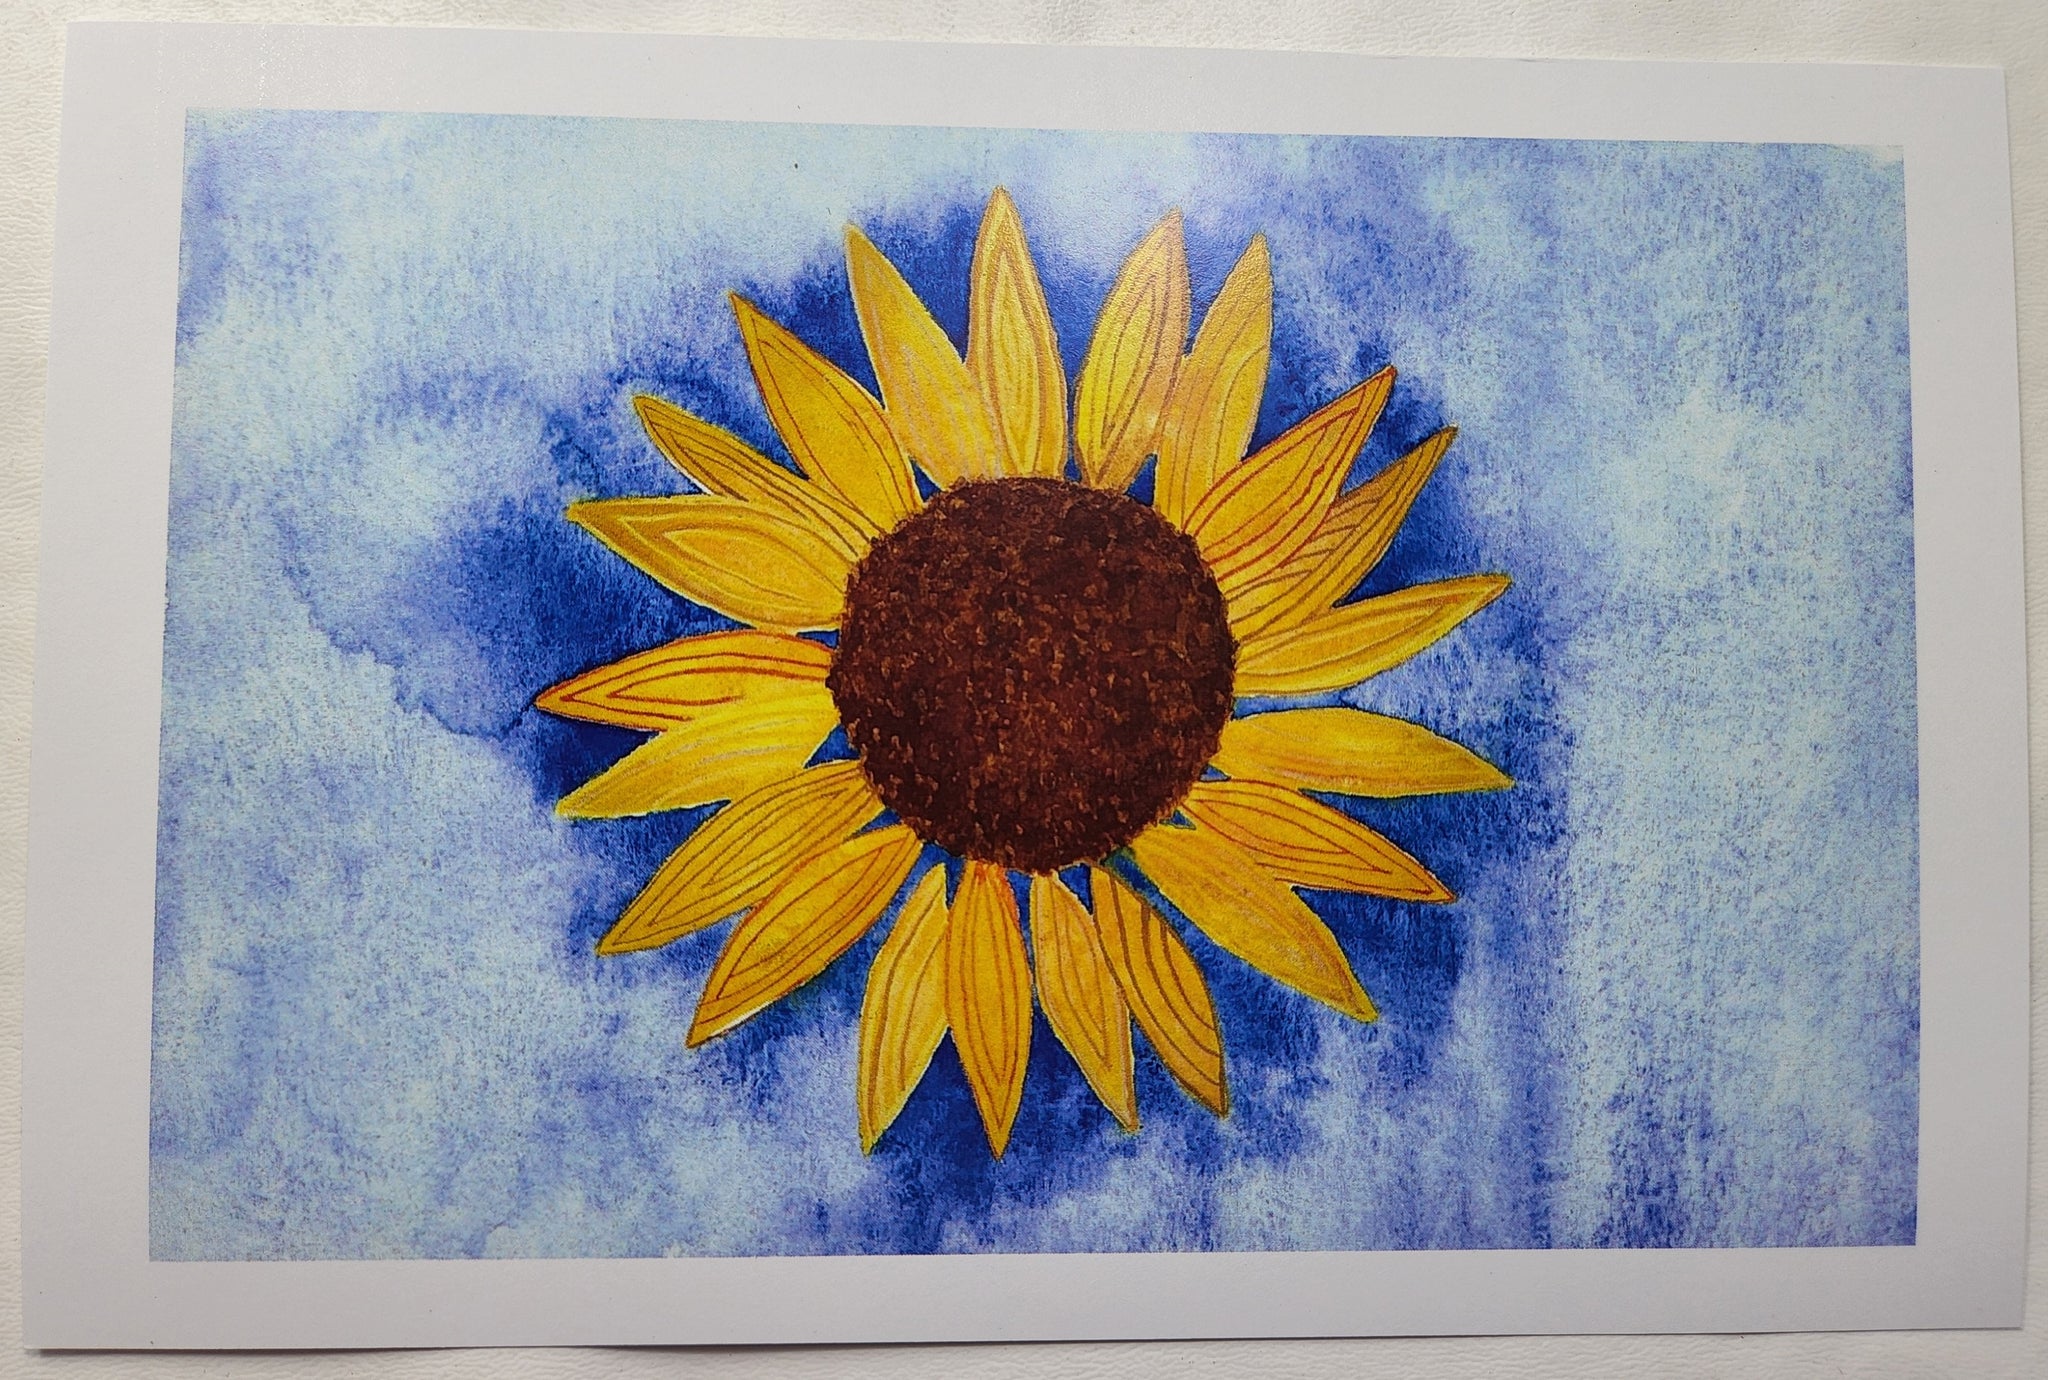
Capturing Atmosphere: Playing with Light and Shadow
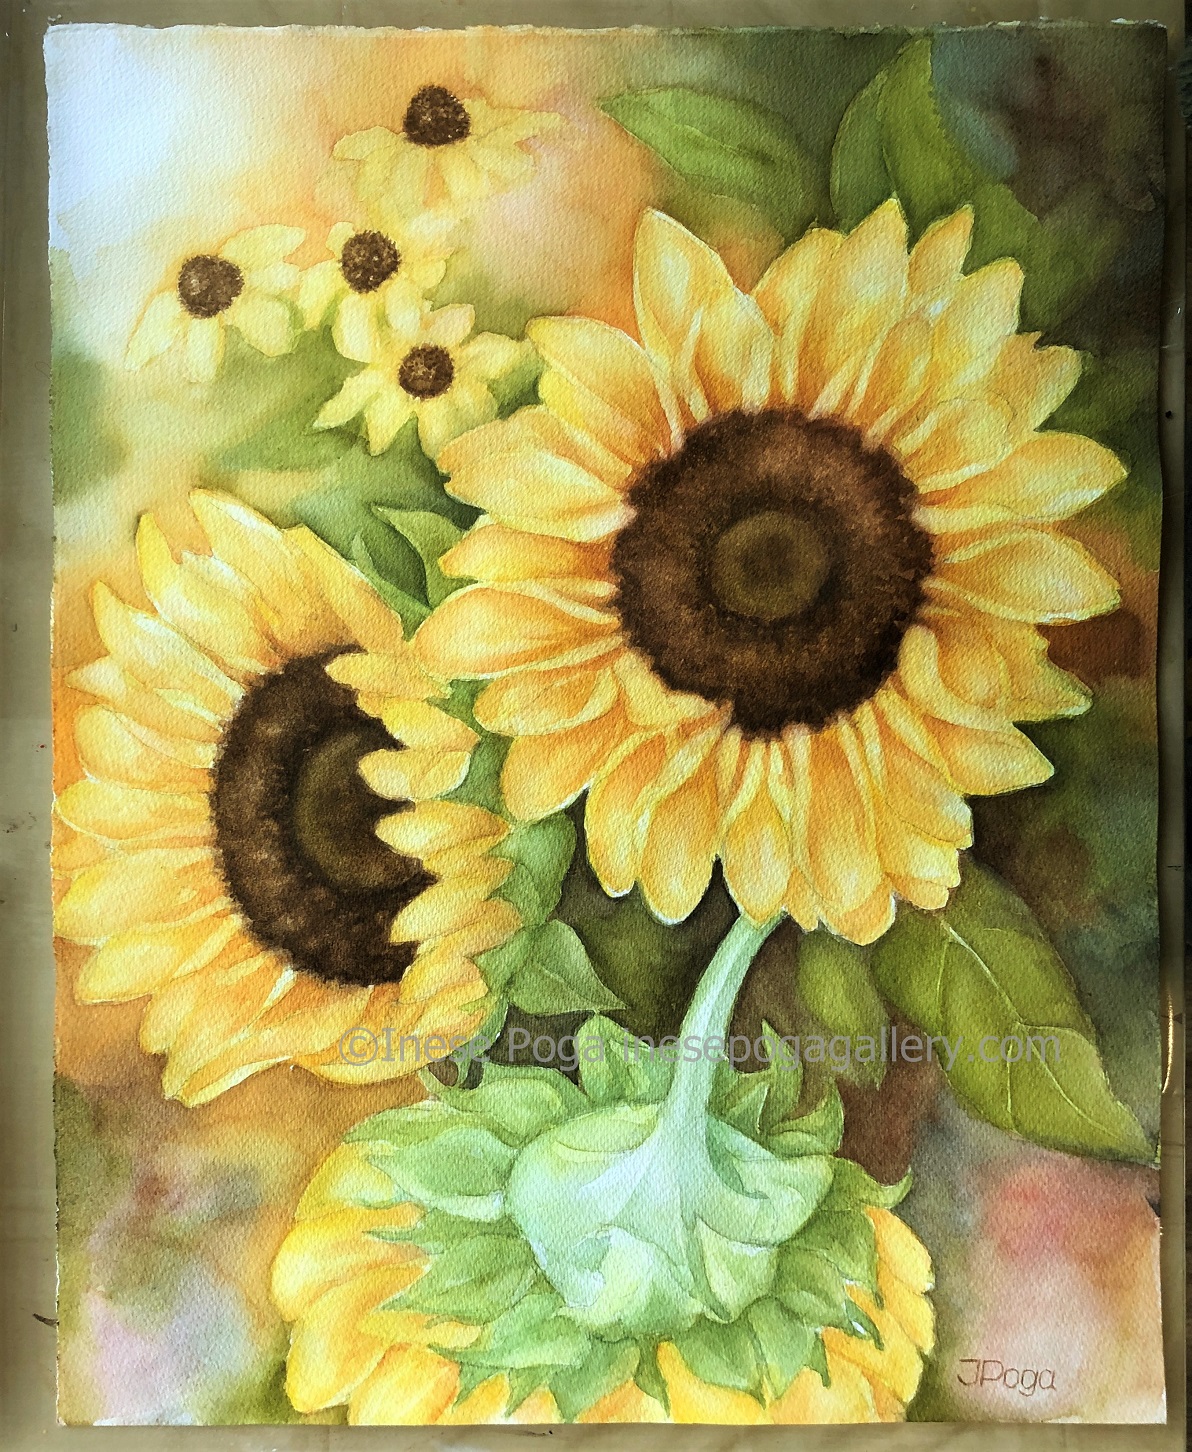
To elevate your sunflower painting, pay close attention to the interplay of light and shadow. Observe how light sources in nature affect the colors and shapes of objects. Consider adding a soft glow around the flower heads where the sunlight filters through the petals, using a wet-on-wet technique with pale yellows or even a hint of white. Darken the background slightly with a wash of cooler blues or grays to create contrast and push the sunflowers forward, making them the focal point. This contrast not only adds depth but also imbues the scene with a sense of atmosphere and time of day, be it the golden glow of late afternoon or the fresh light of morning.


